
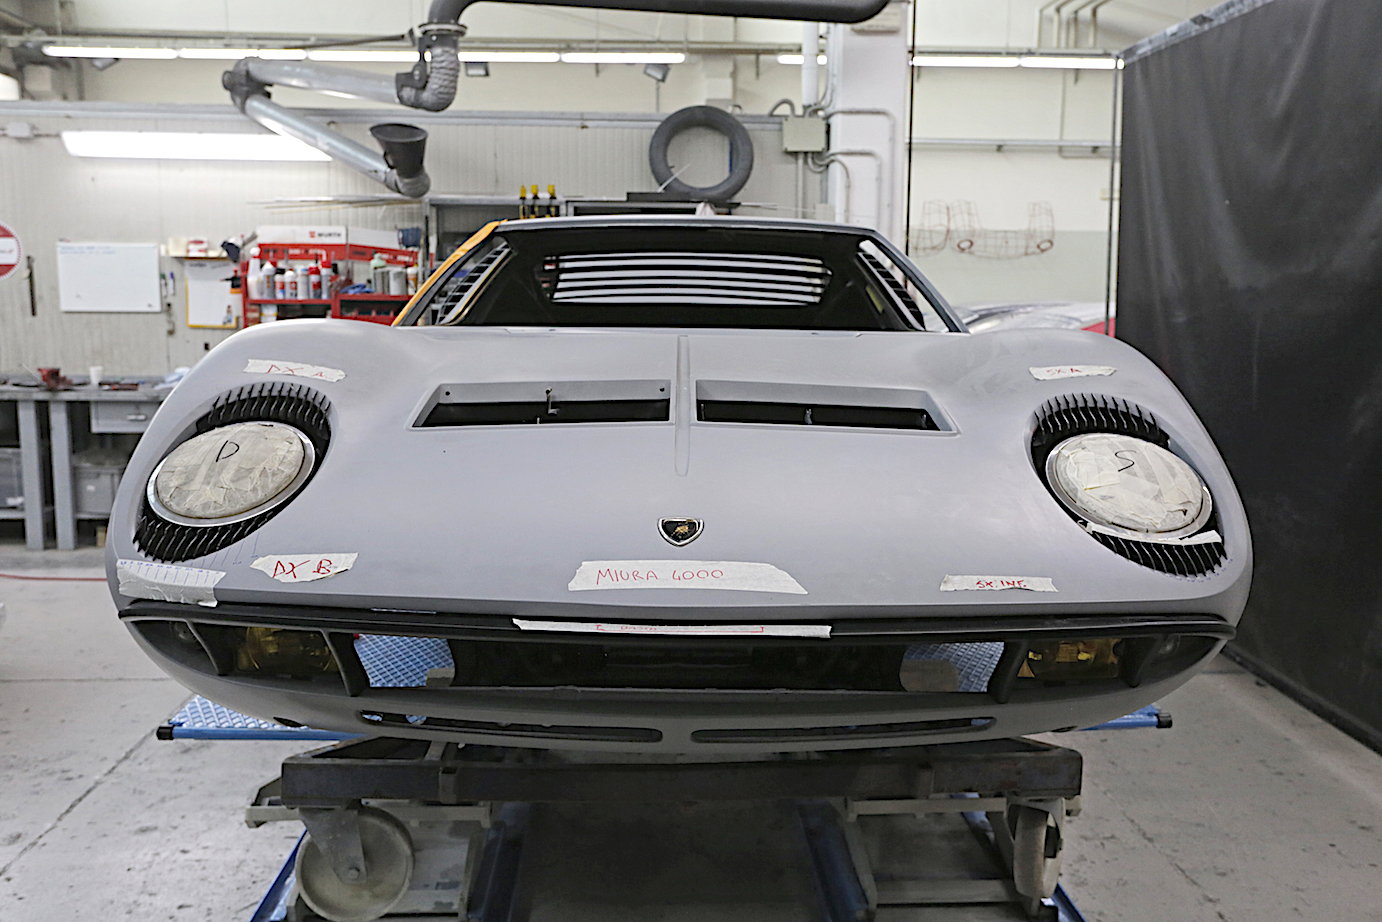
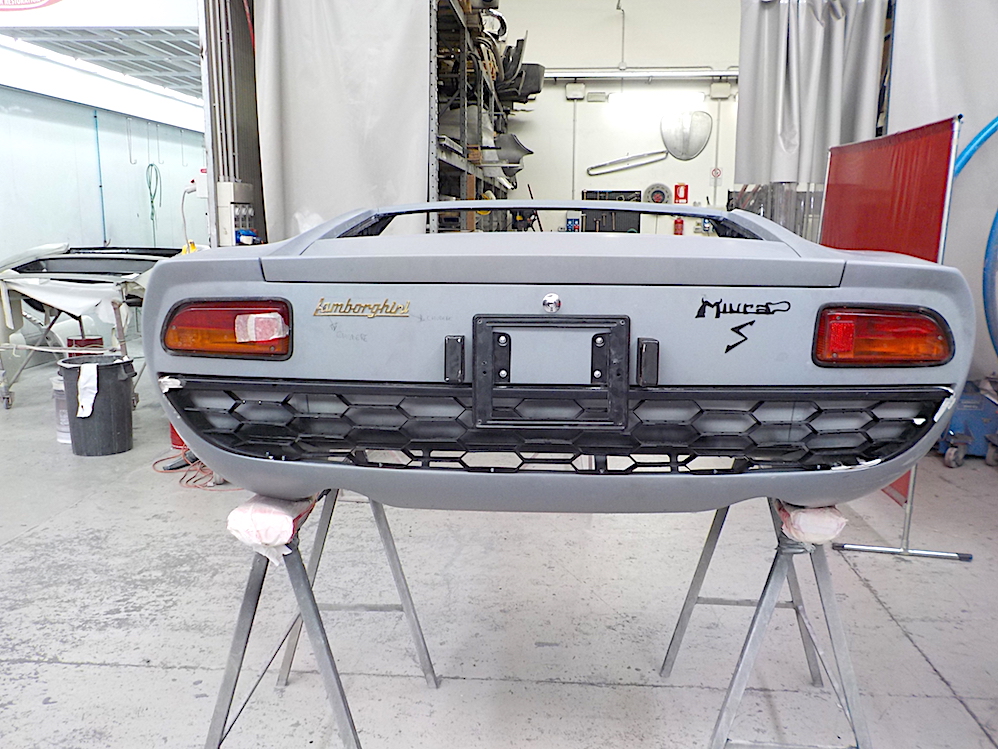
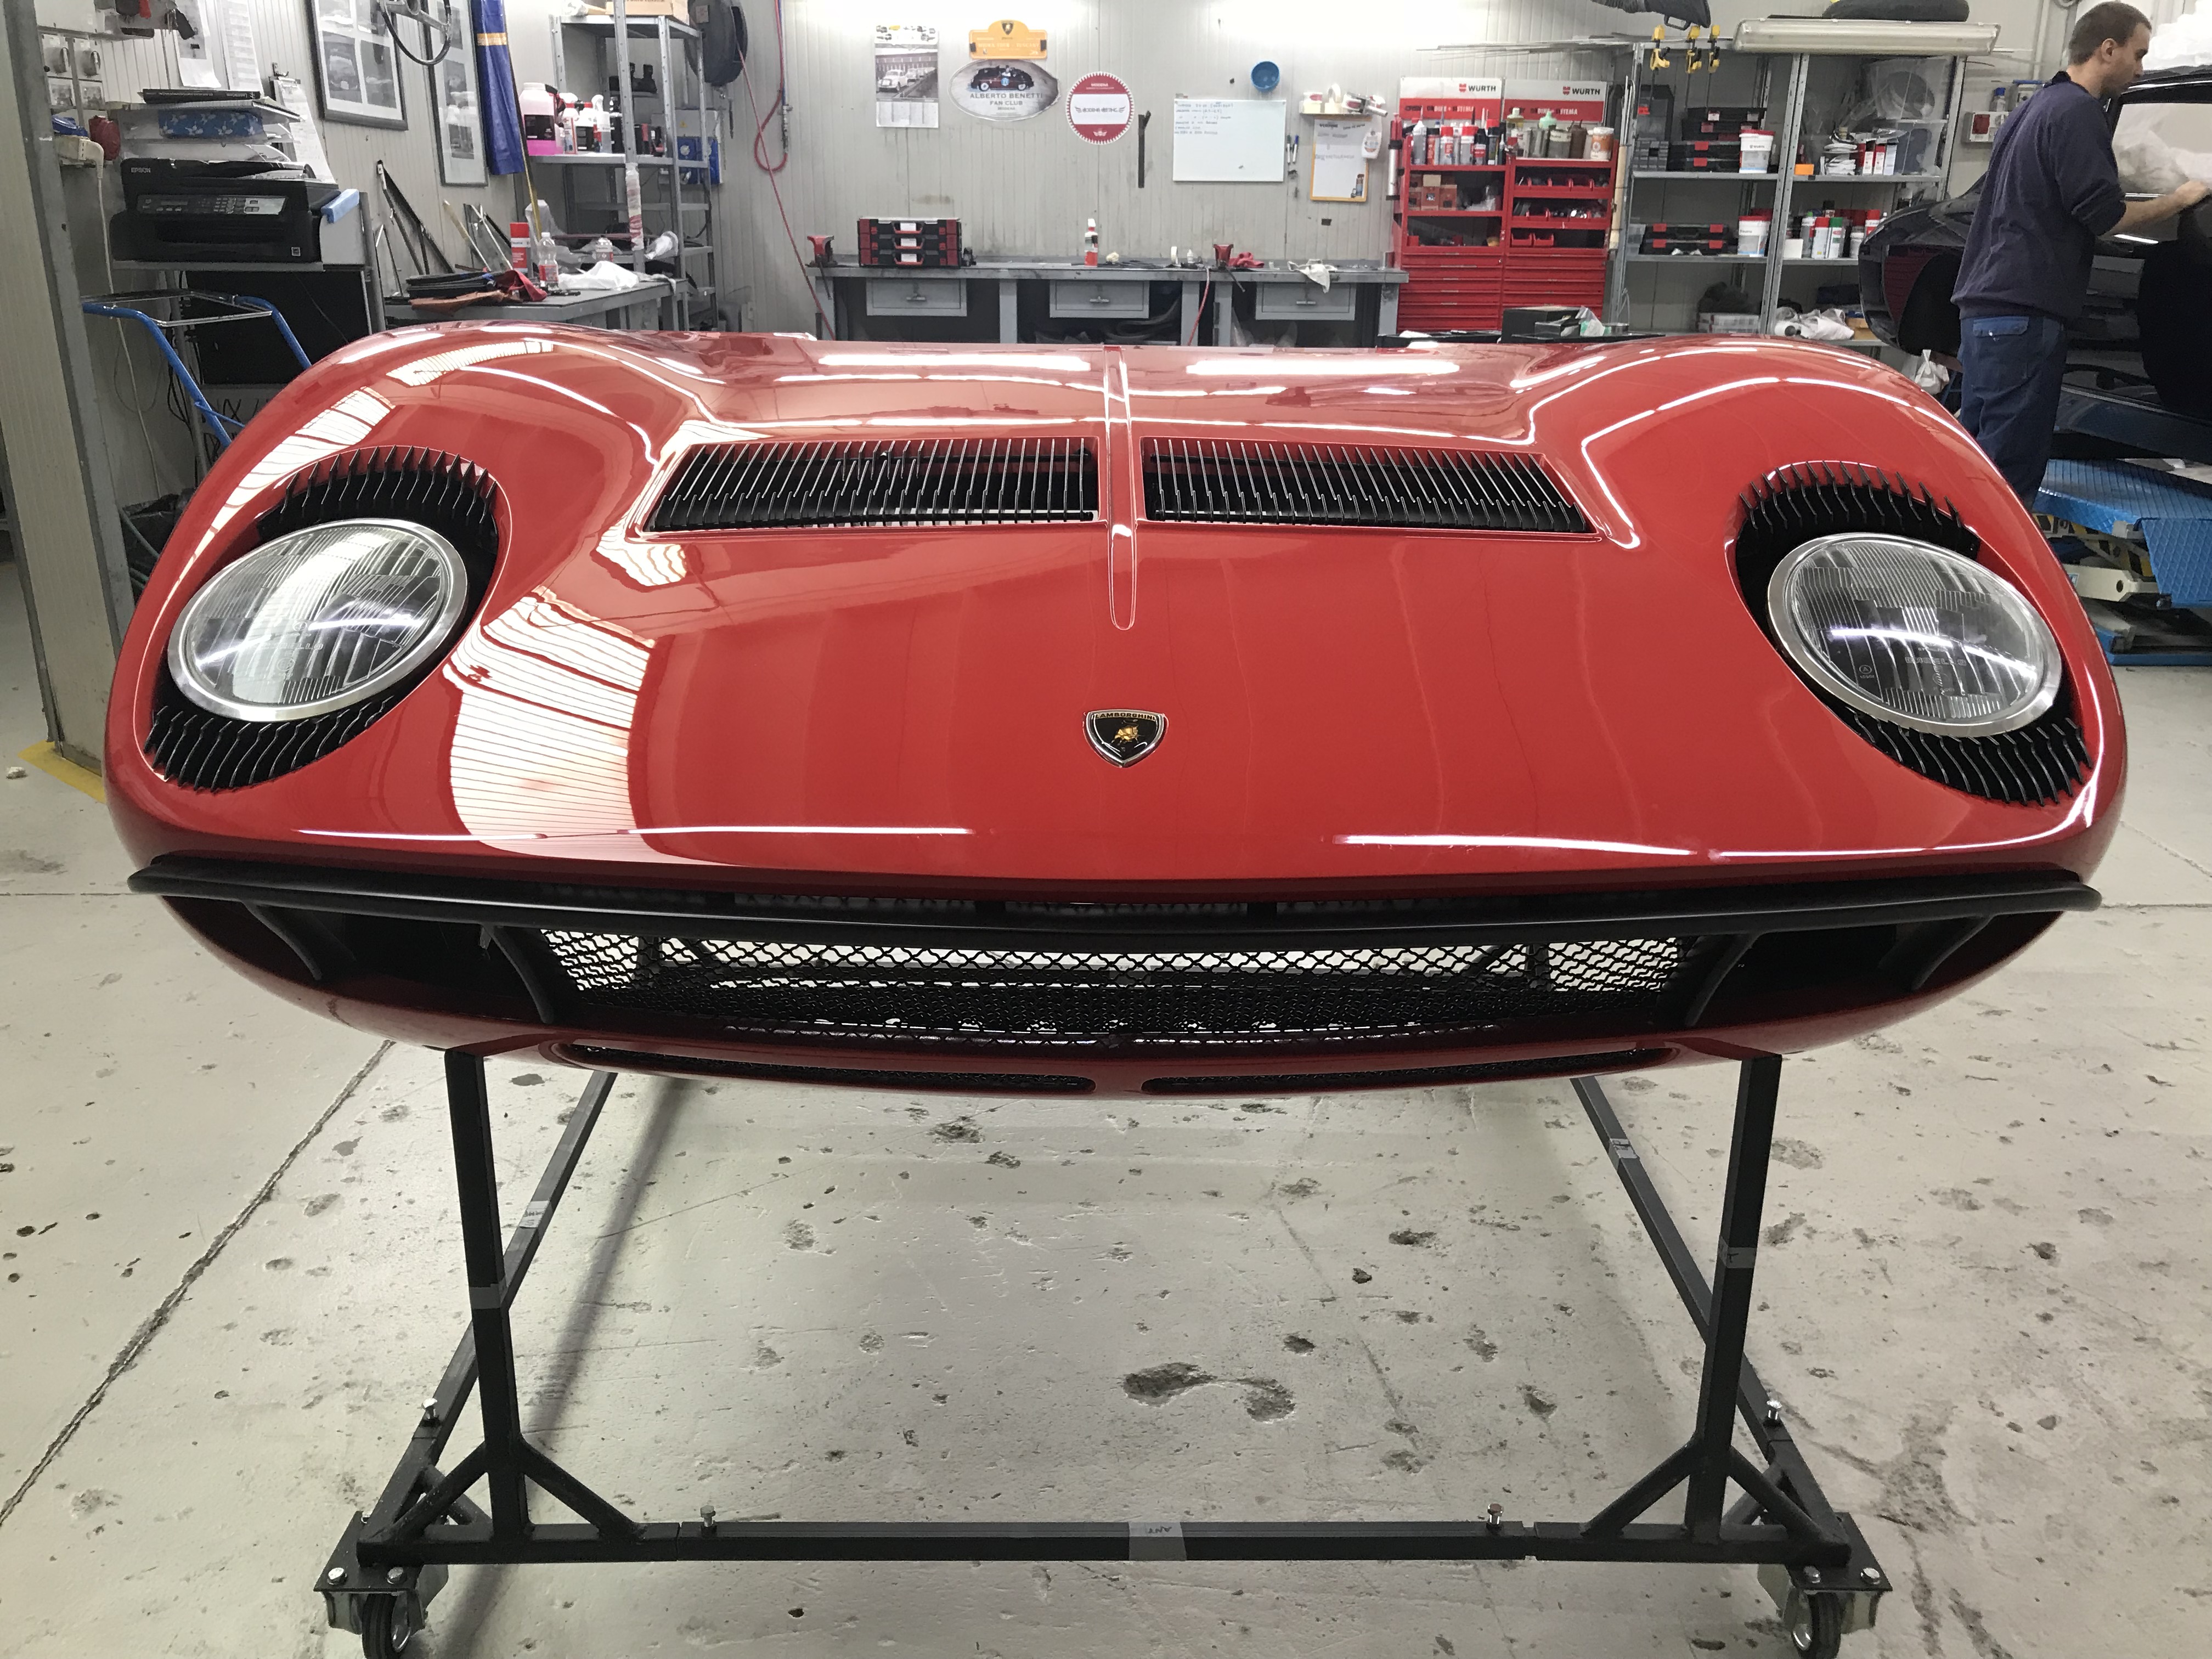
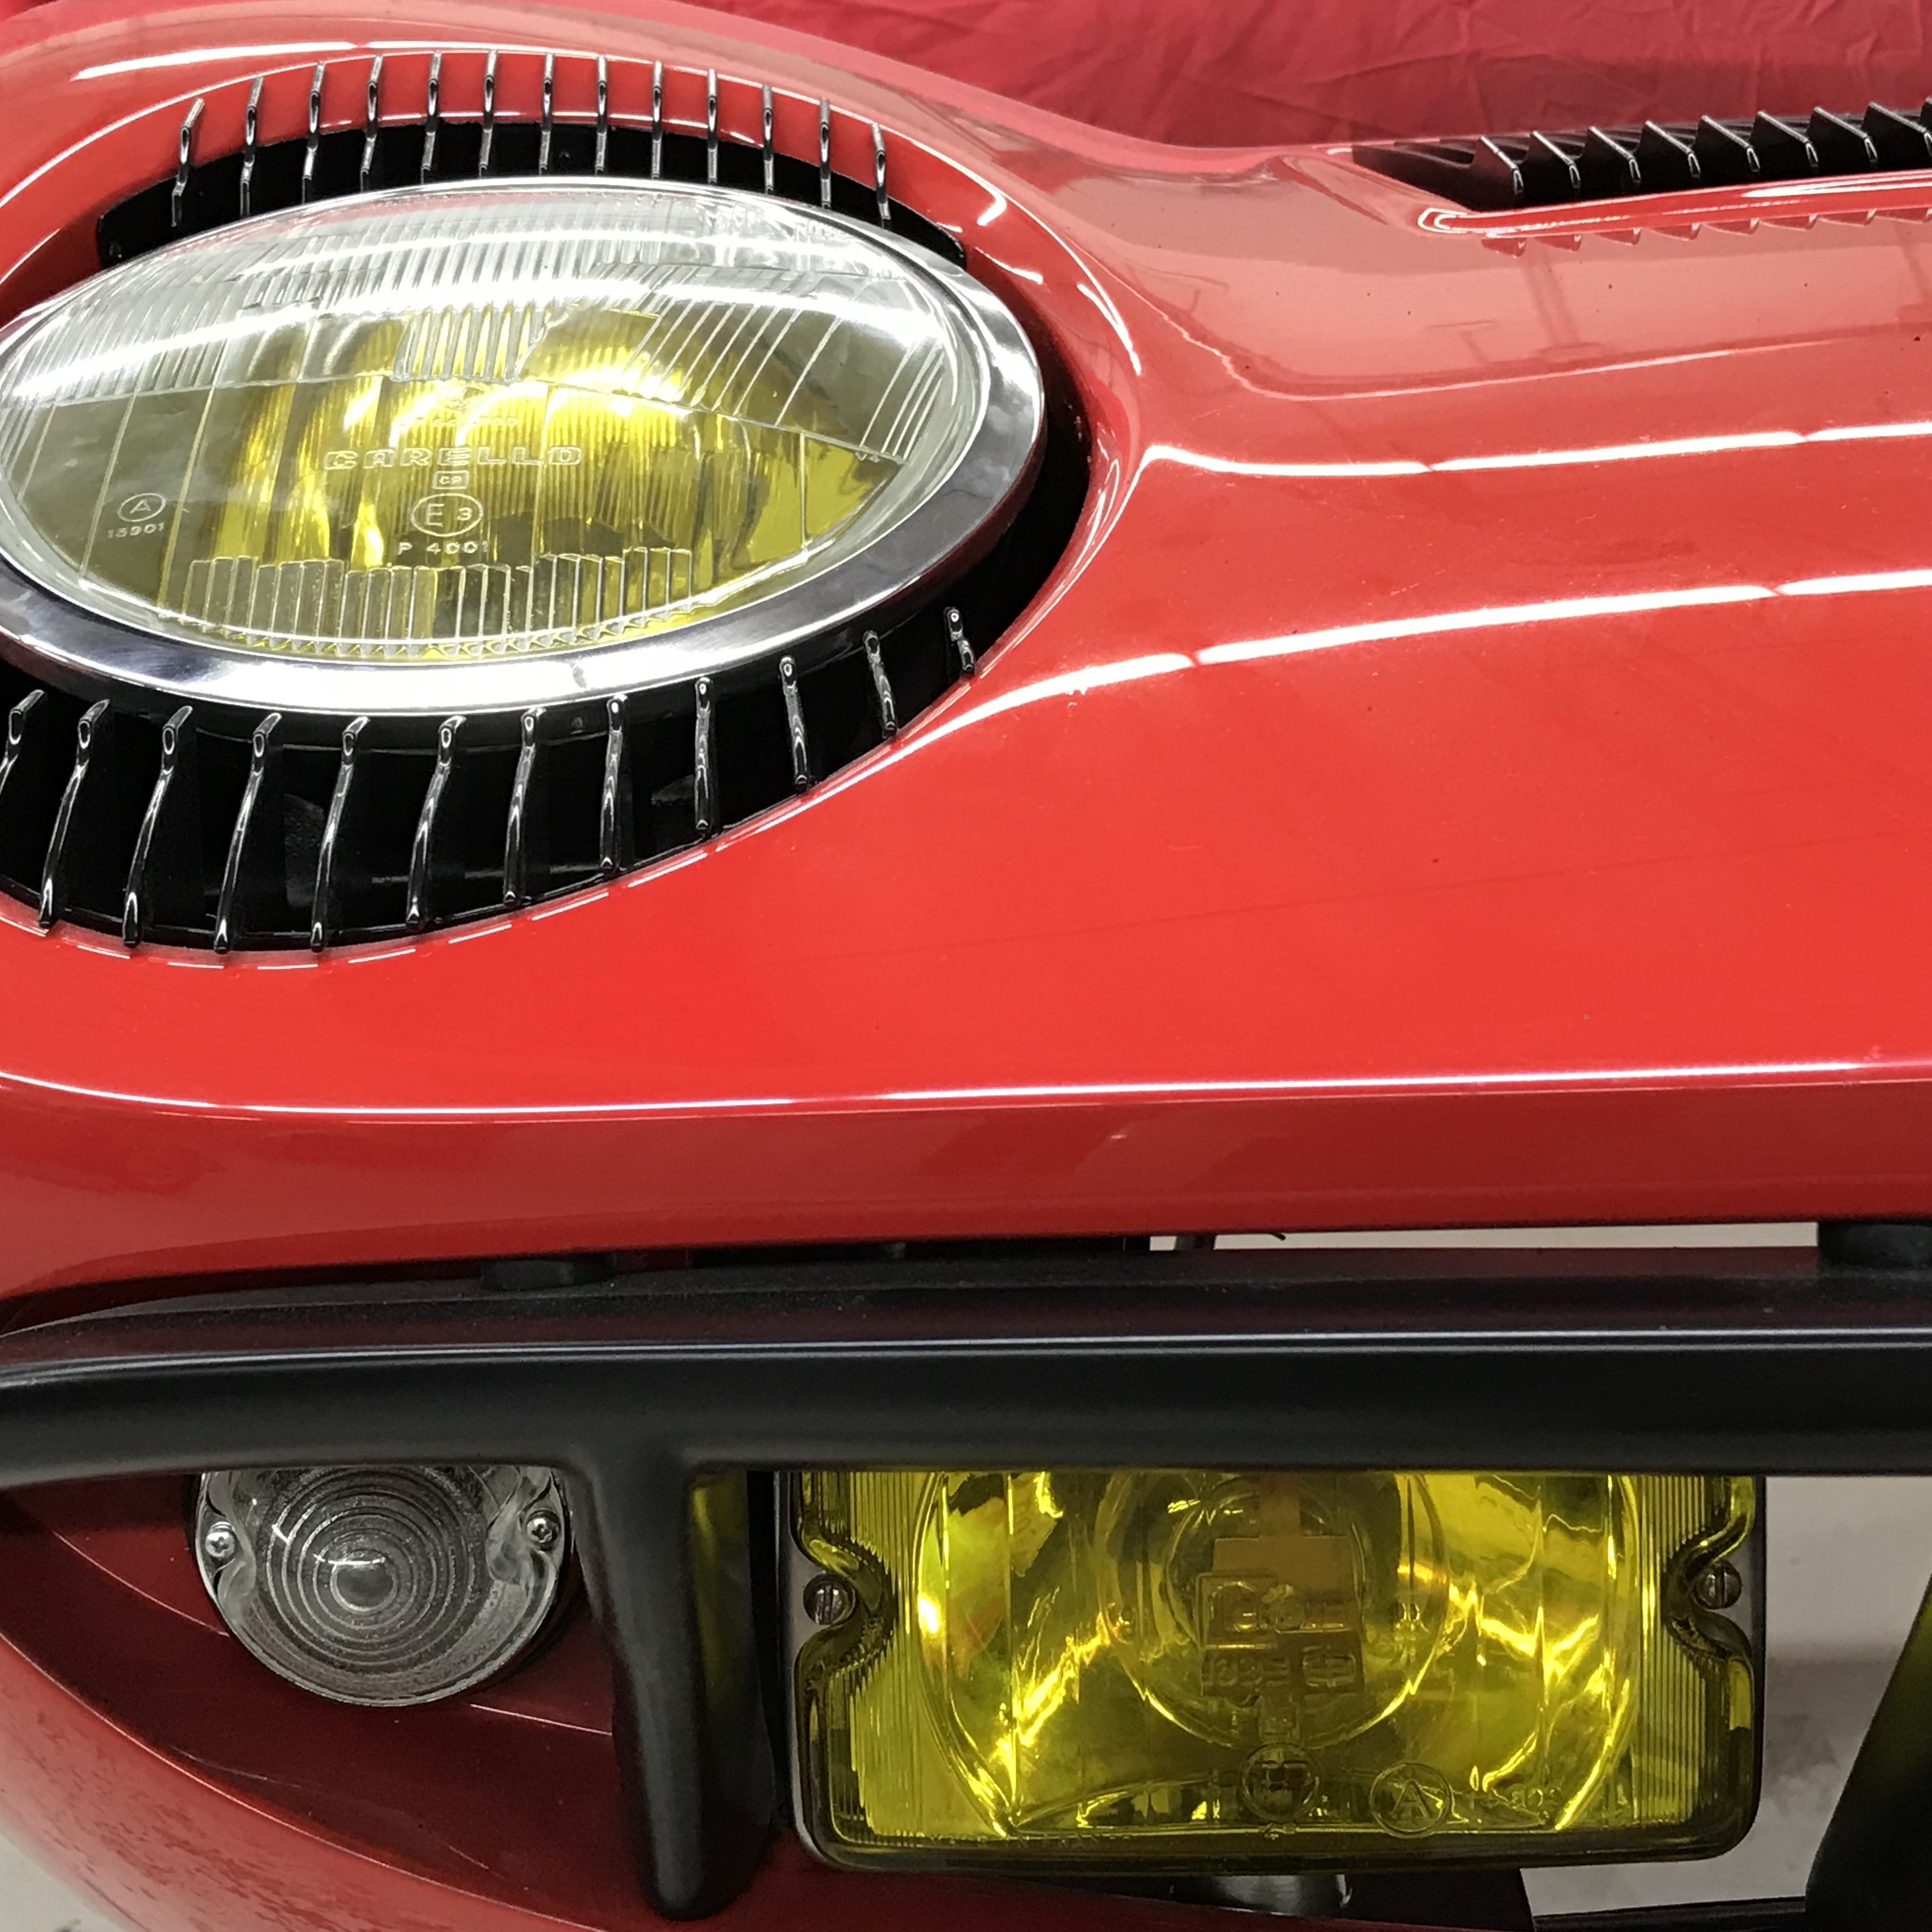
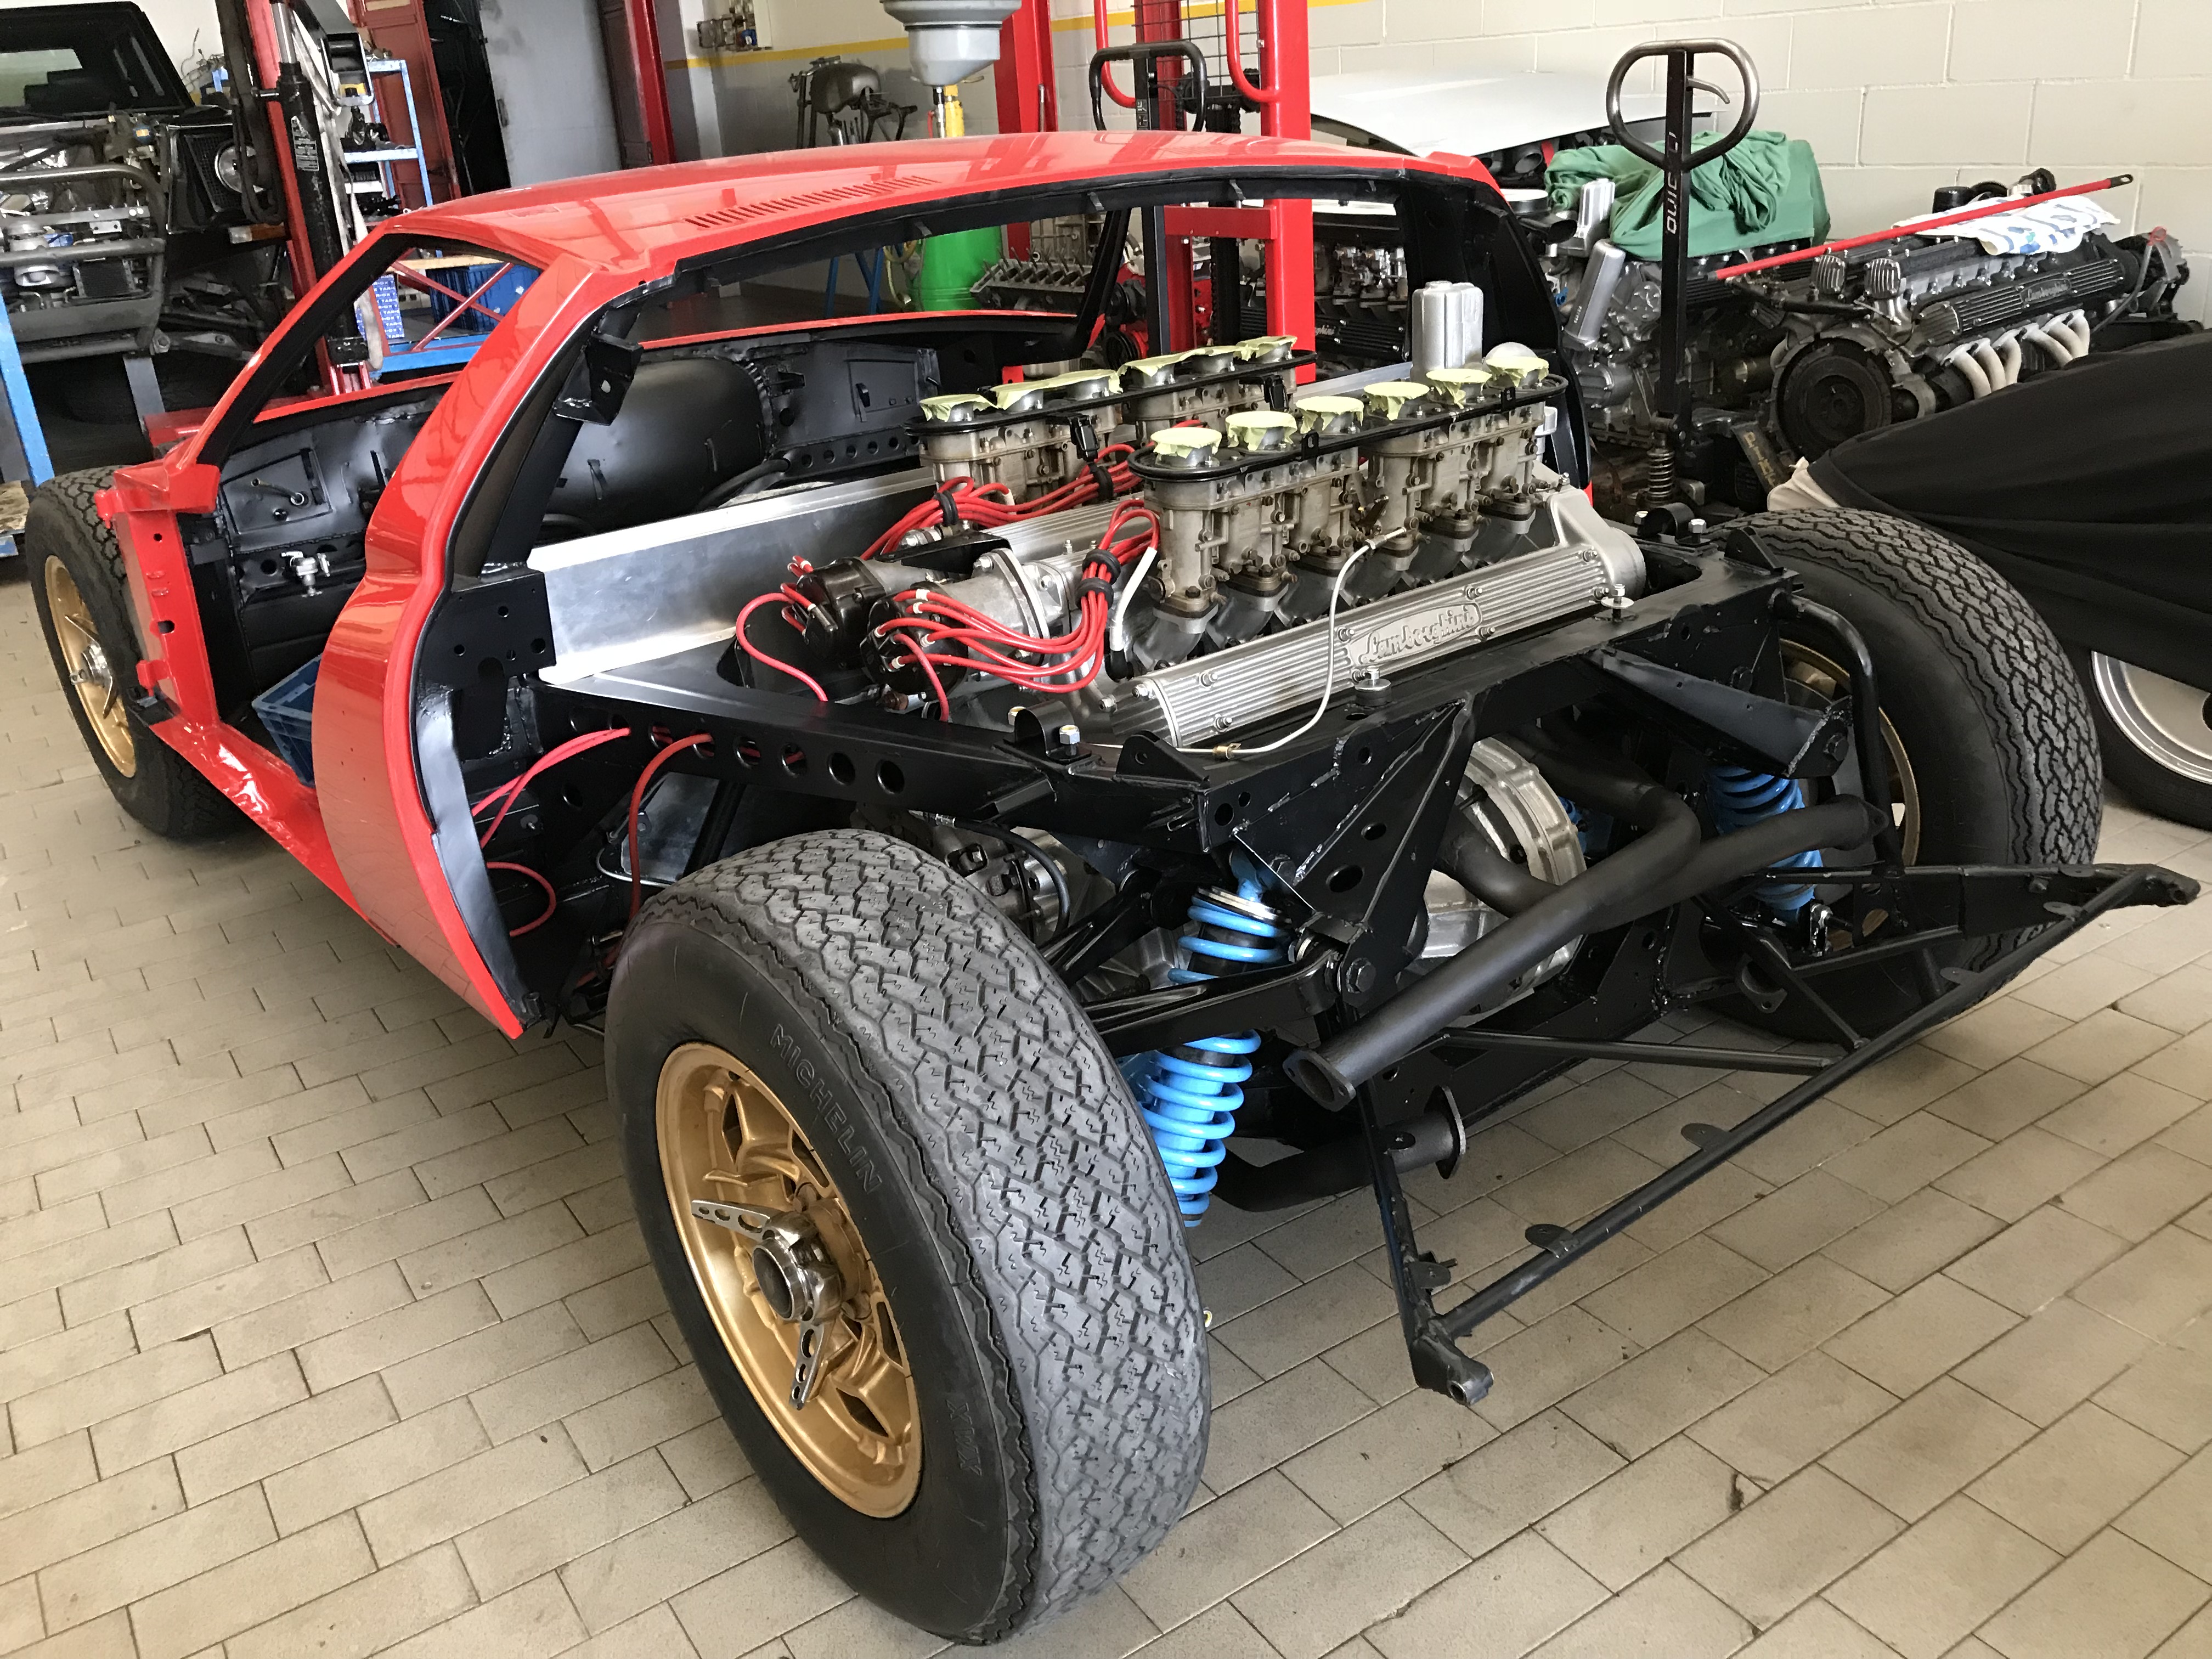
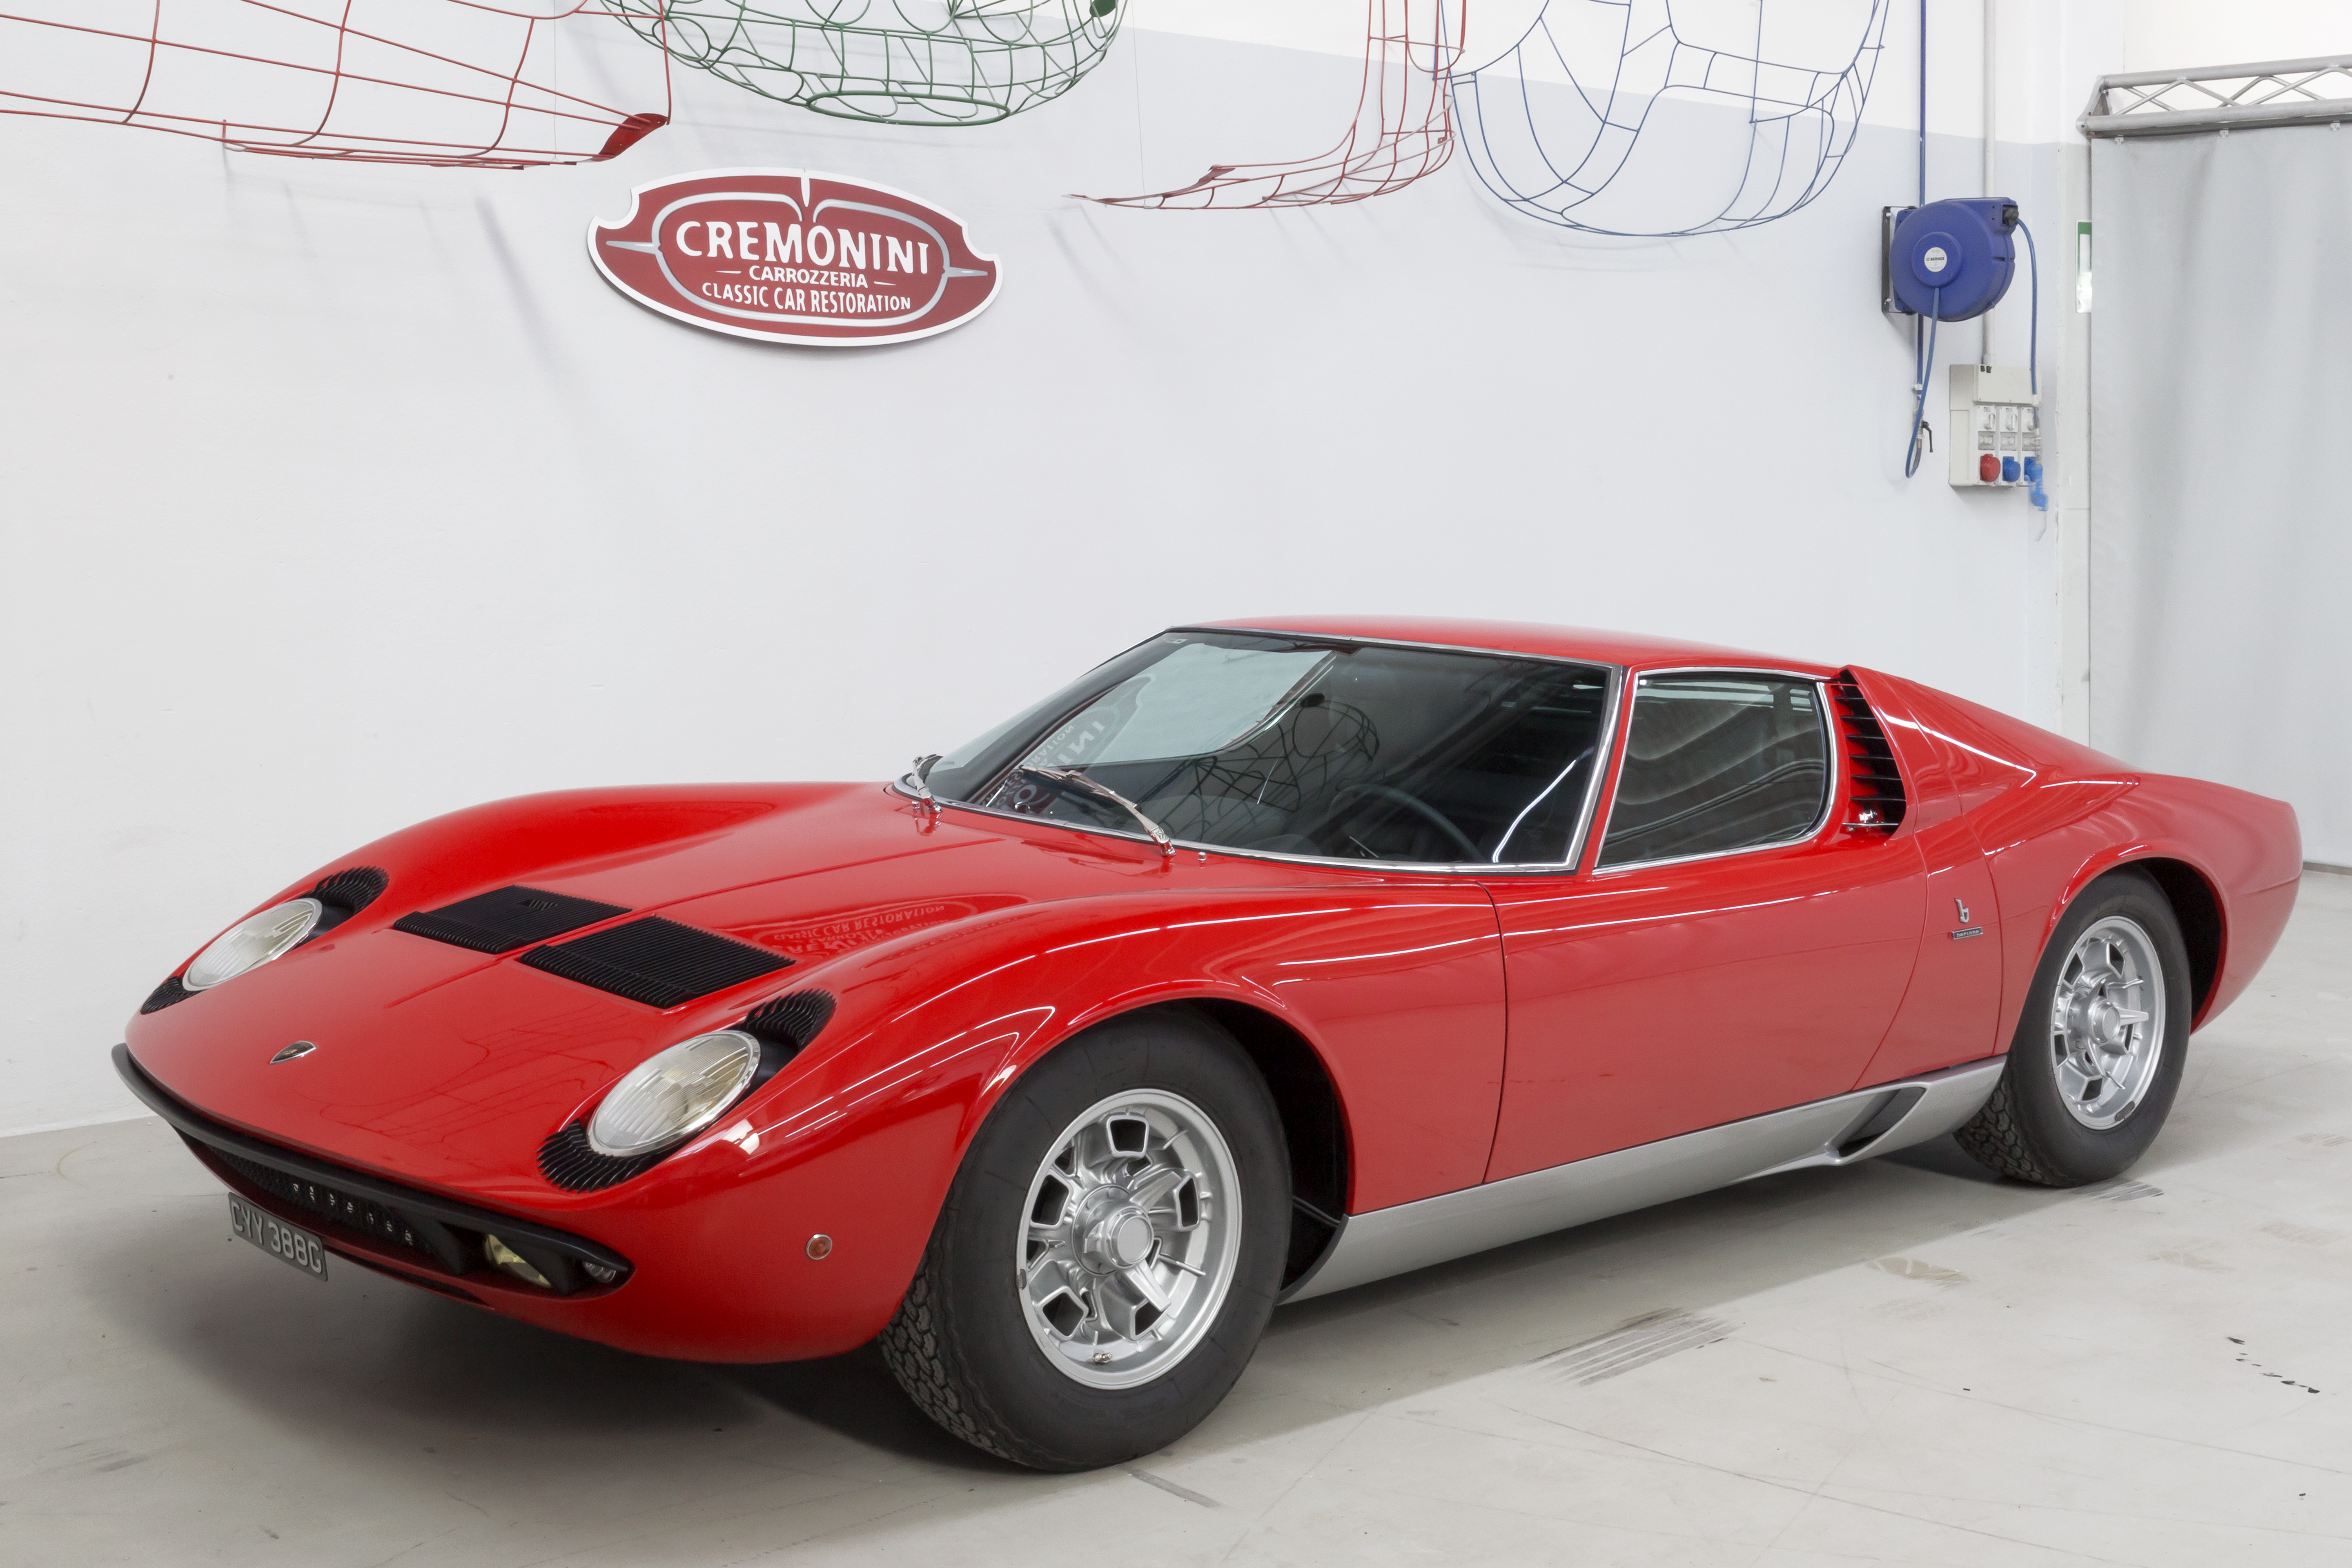
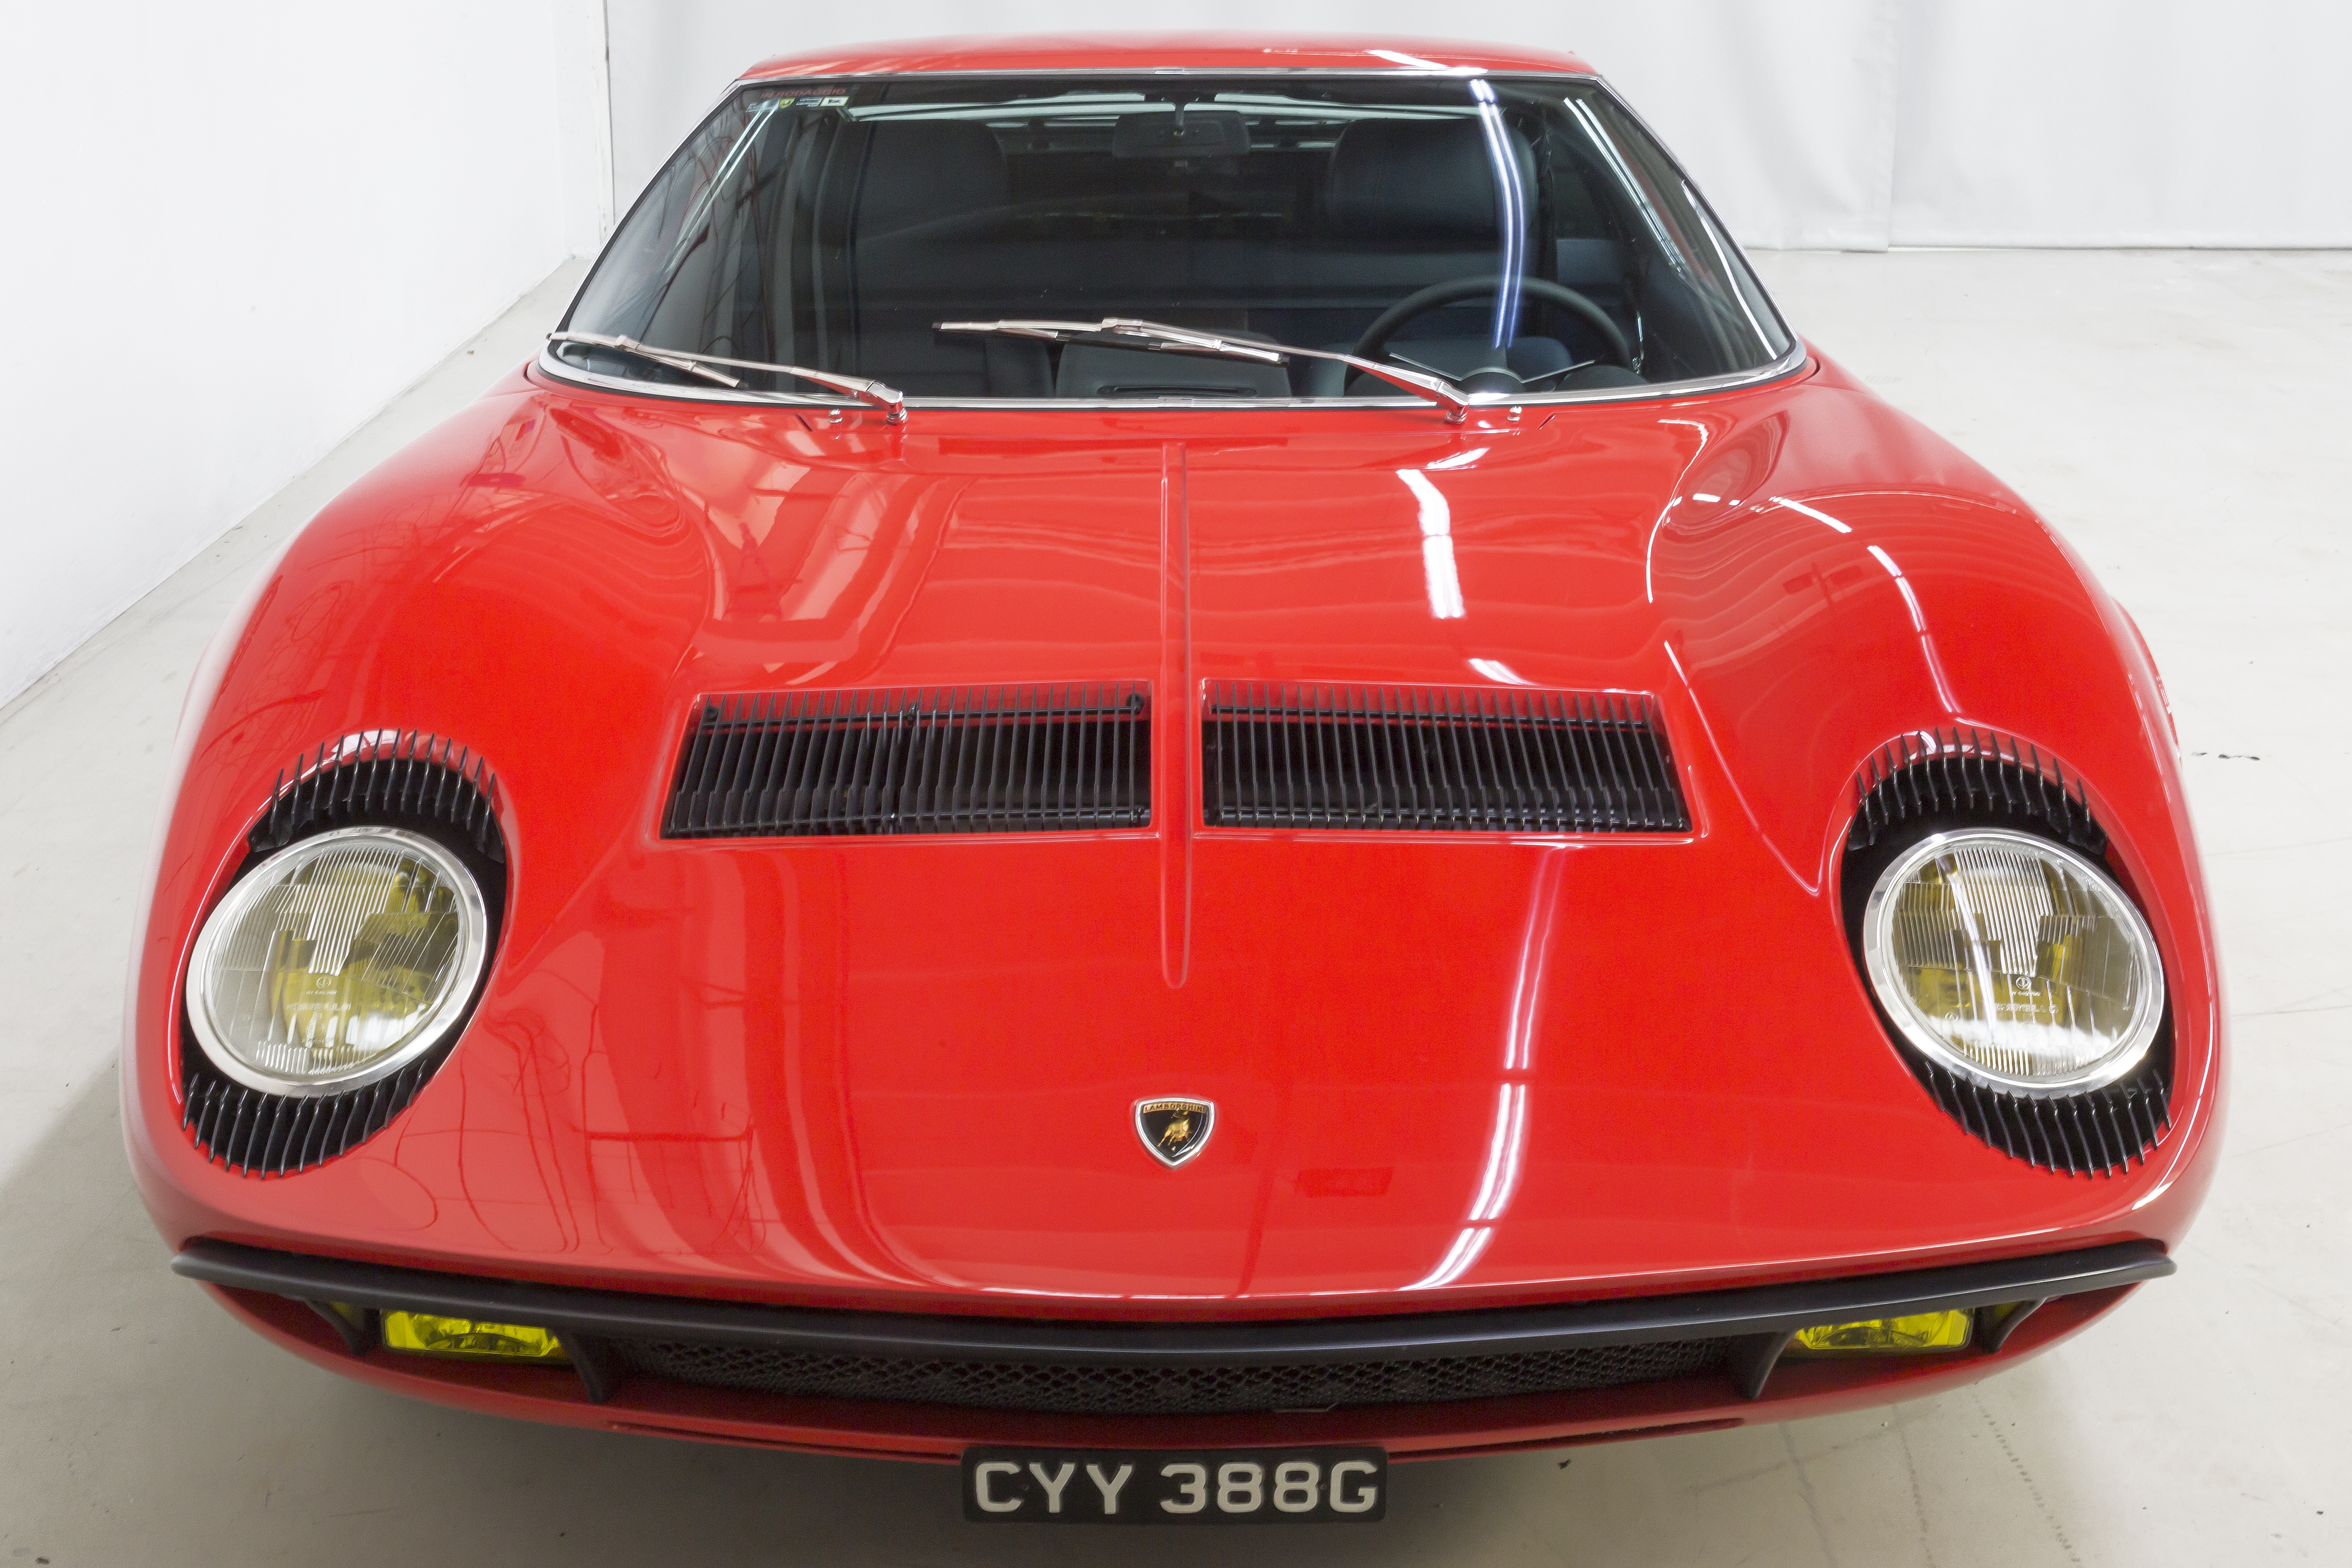
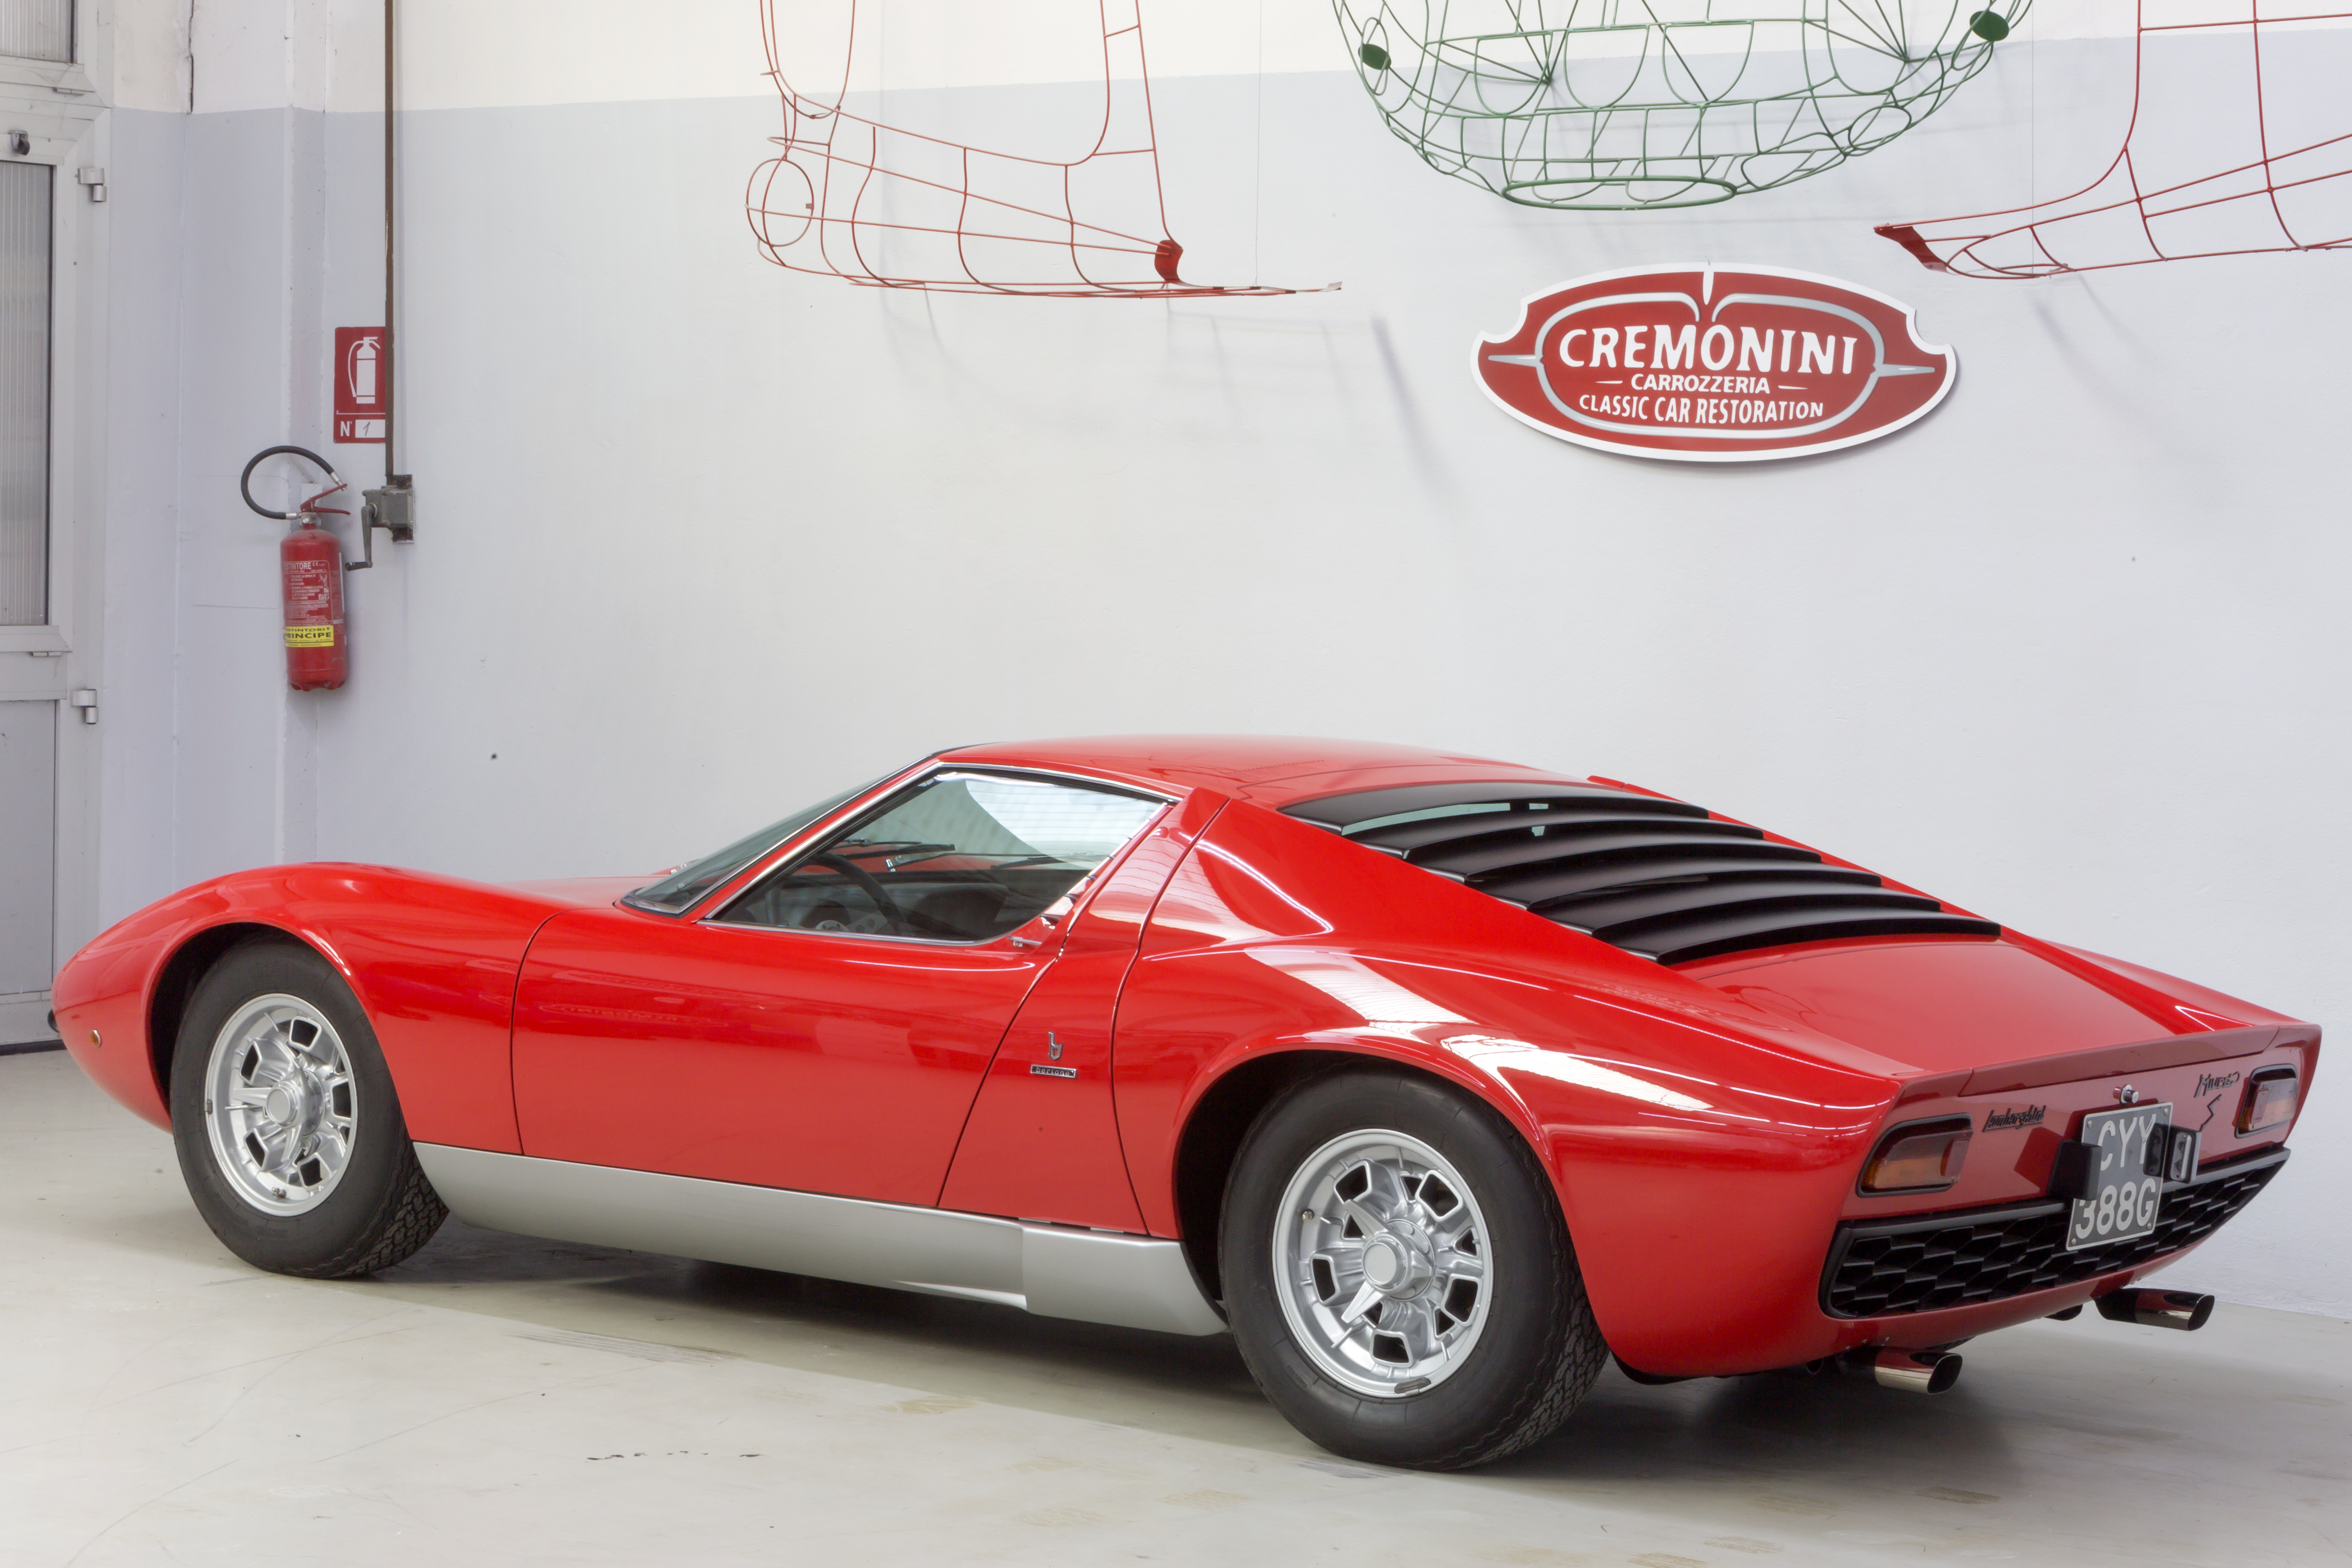
Lamborghini Miura: emotion captures the gaze
– The choice of the insulation is based on the type of varnishing:
Polyurethane base coat: if you opt for varnishing with the polyurethane varnish or for a matt and transparent coating. Acrylic base coat: if you proceed with acrylic varnish. In both cases, the base coat has the purpose of insulating the previous layers for a thickness of 30 microns dry. Curing at 60° for one hour.
Varnishing with the acrylic varnish requires punctual expertise and years of experience. Varnishing with the polyurethane varnish is a lot easier and cheaper. The charm of the acrylic is unparalleled; in my opinion, you cannot achieve the same result with any other varnish.
The acrylic varnish has the lowest dry residue (micron) overall and thus the lowest encumbrance, which helps a lot during the assembly phase. It’s easy to distinguish the two methods at a glance, by observing the brightness. The cars manufactured up to the eighties were born in acrylic and, if we want to talk about originality… of course though, if we want to talk about costs and resistance then I will put my hands up.
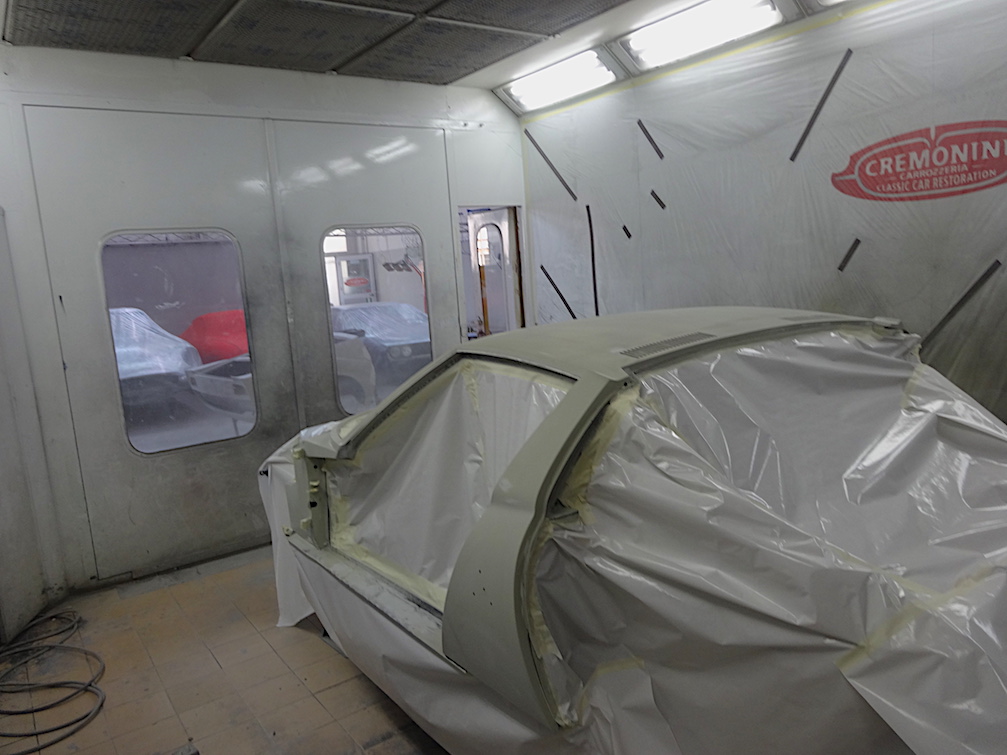
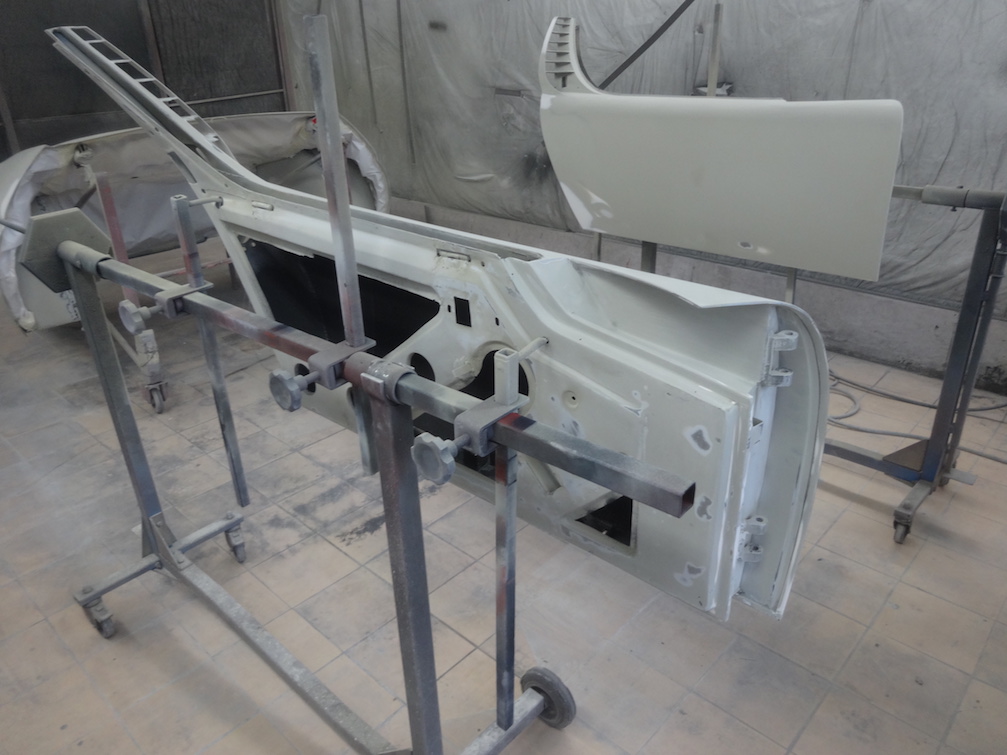

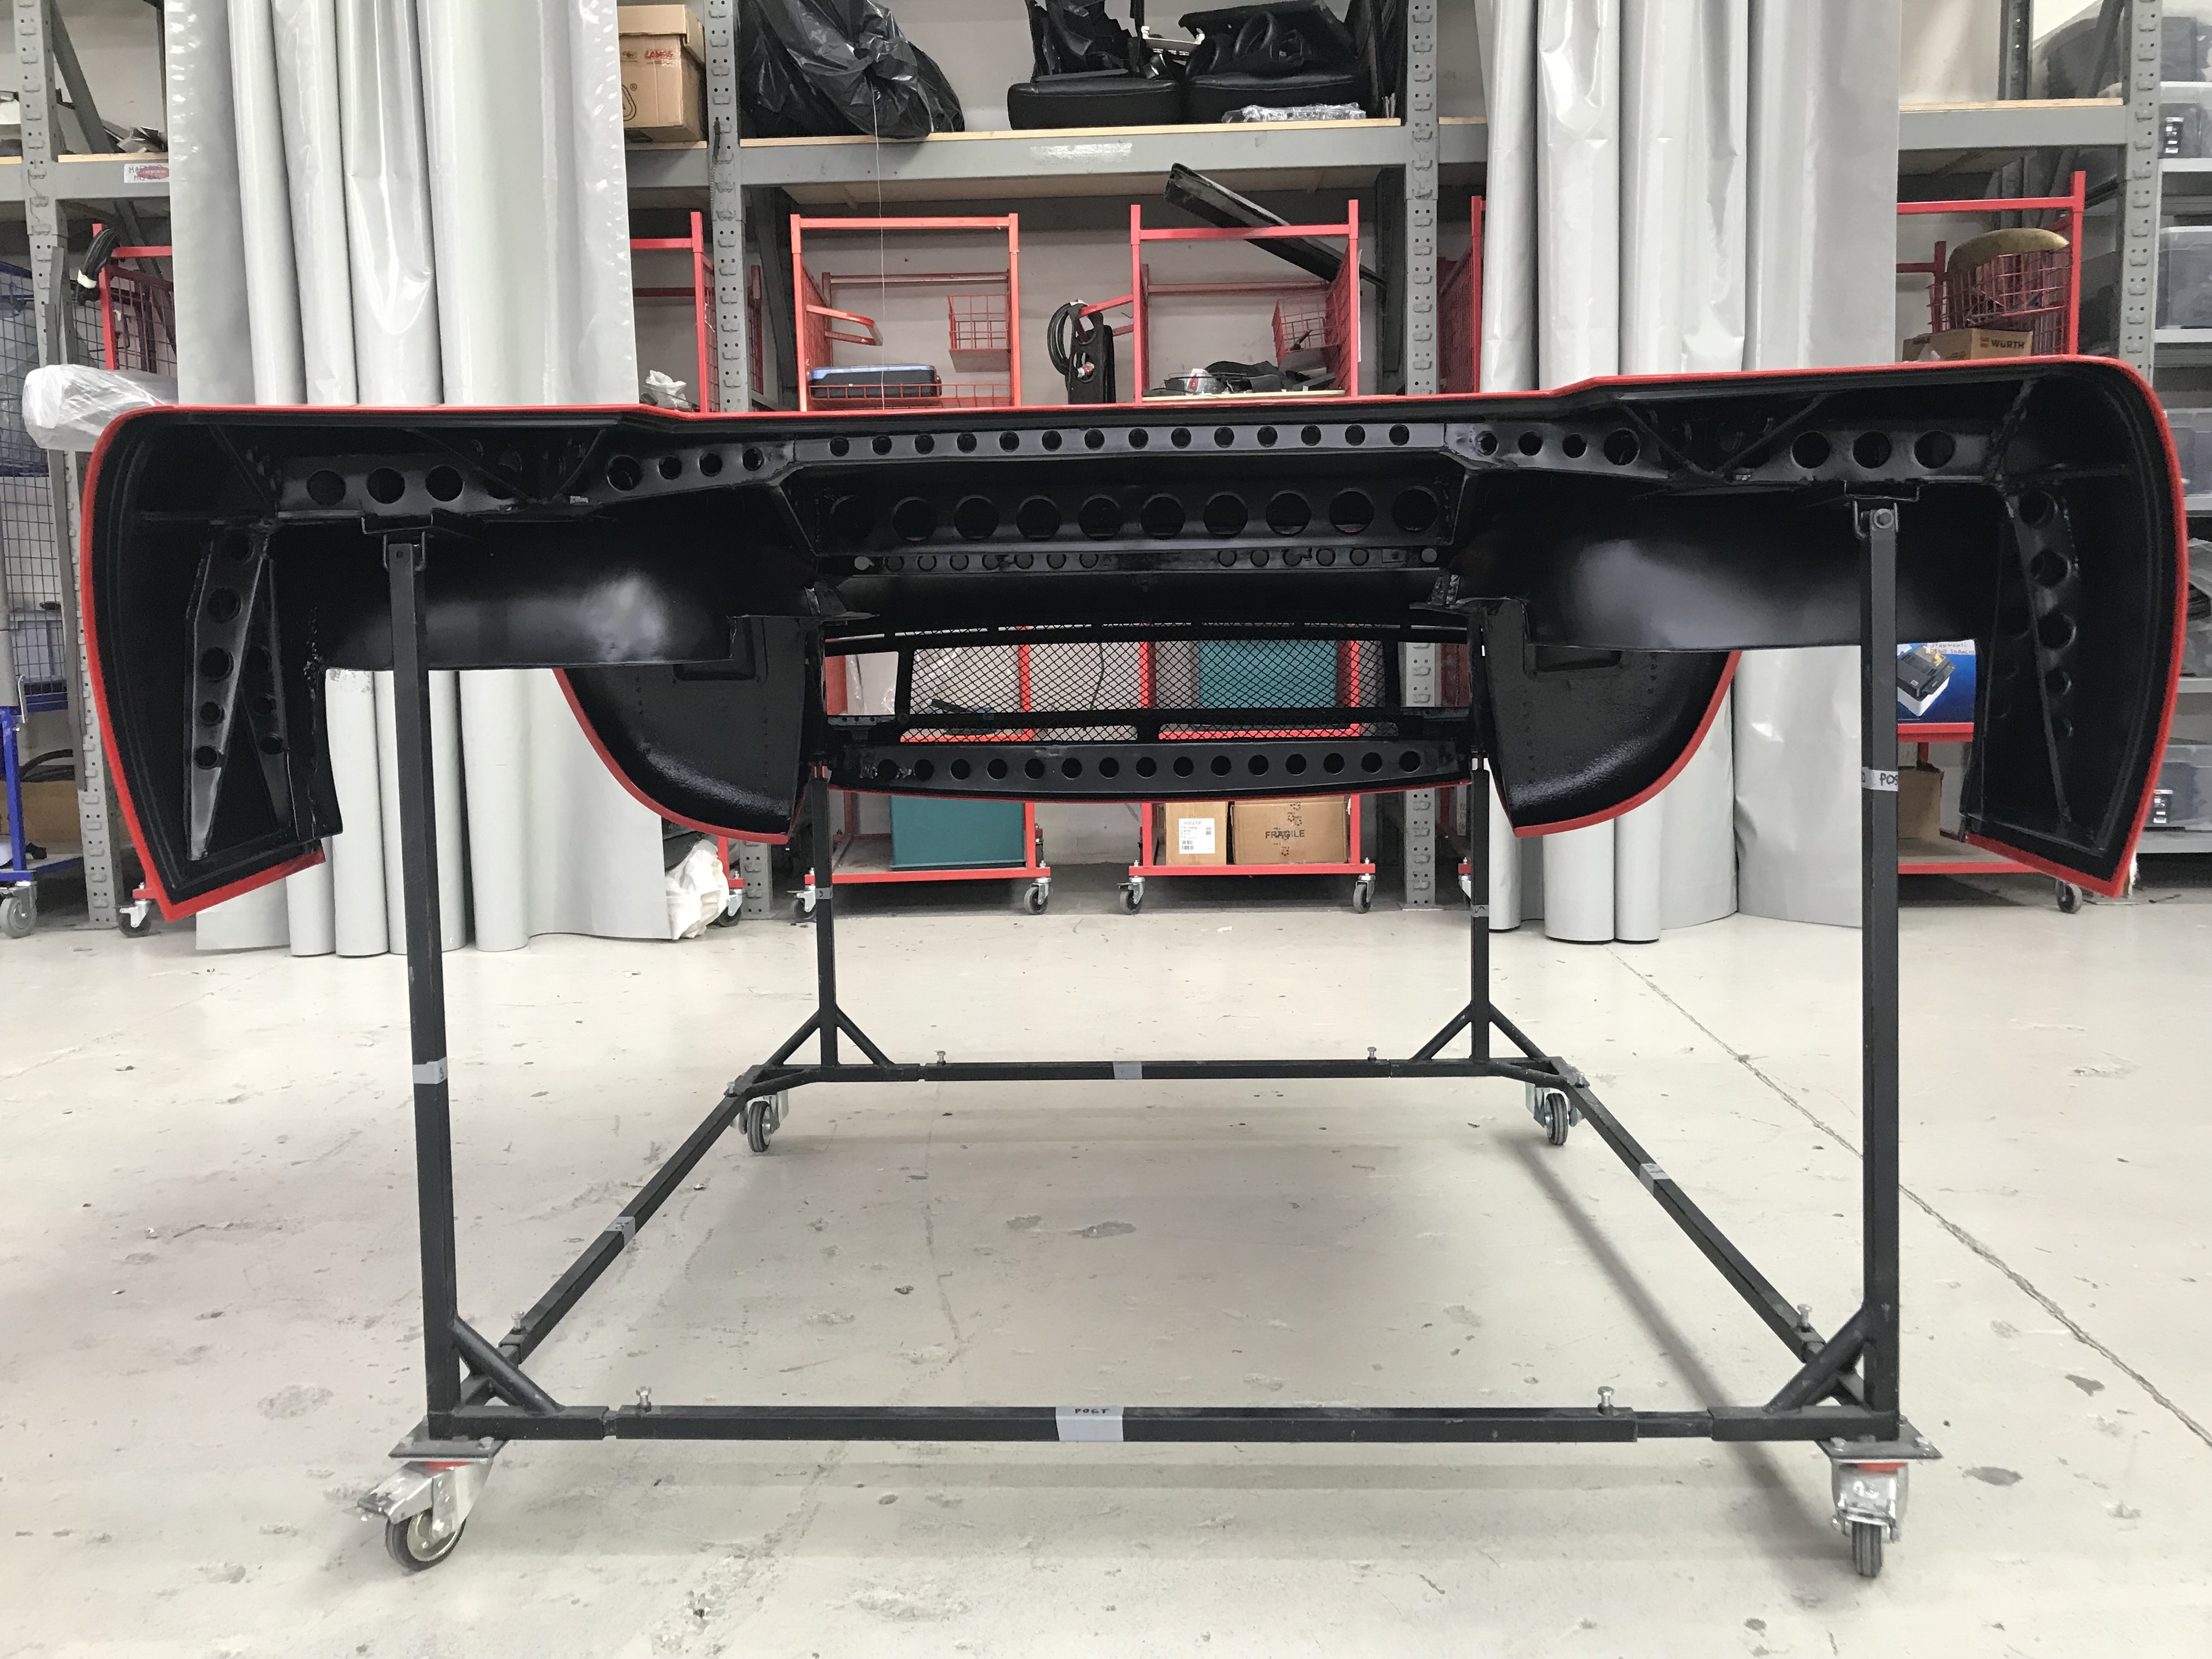
The car is assembled with its mobile parts and all of the details that we will see later, when the car will be varnished.
– This pre-assembly is the foretaste of the final assembly. Everything needs to be done with uttermost accuracy, because, since it has not yet been varnished, if anything needs to be corrected there is still a margin to do so. This is the moment for a few retouches: you mount the final chrome plated pieces, the frames and, if the chrome plater had eaten away a few corners, us varnishers adapt them.
Do all restorers follow the same process? No, each one has their own method and they don’t all go through two pre-assembly steps, due to a matter of work hours.

– Let me say this: there are some varnishers who make everything become uniform due to excessive paint, even the nicest corner, the perfectly done rounding, so you have thrown all of your work away. Being able to be light is a matter of experience and it makes a difference on the final result.
All of this, which may sound easy in words, is a very serious job and a mistake is costly. If you make a mistake with the varnishing, you need to deal with kilos of varnish thrown away, hours of work, the cost to re-do everything… Mauro adds: And what about bad impression? That is yours too, and it’s difficult to swallow.
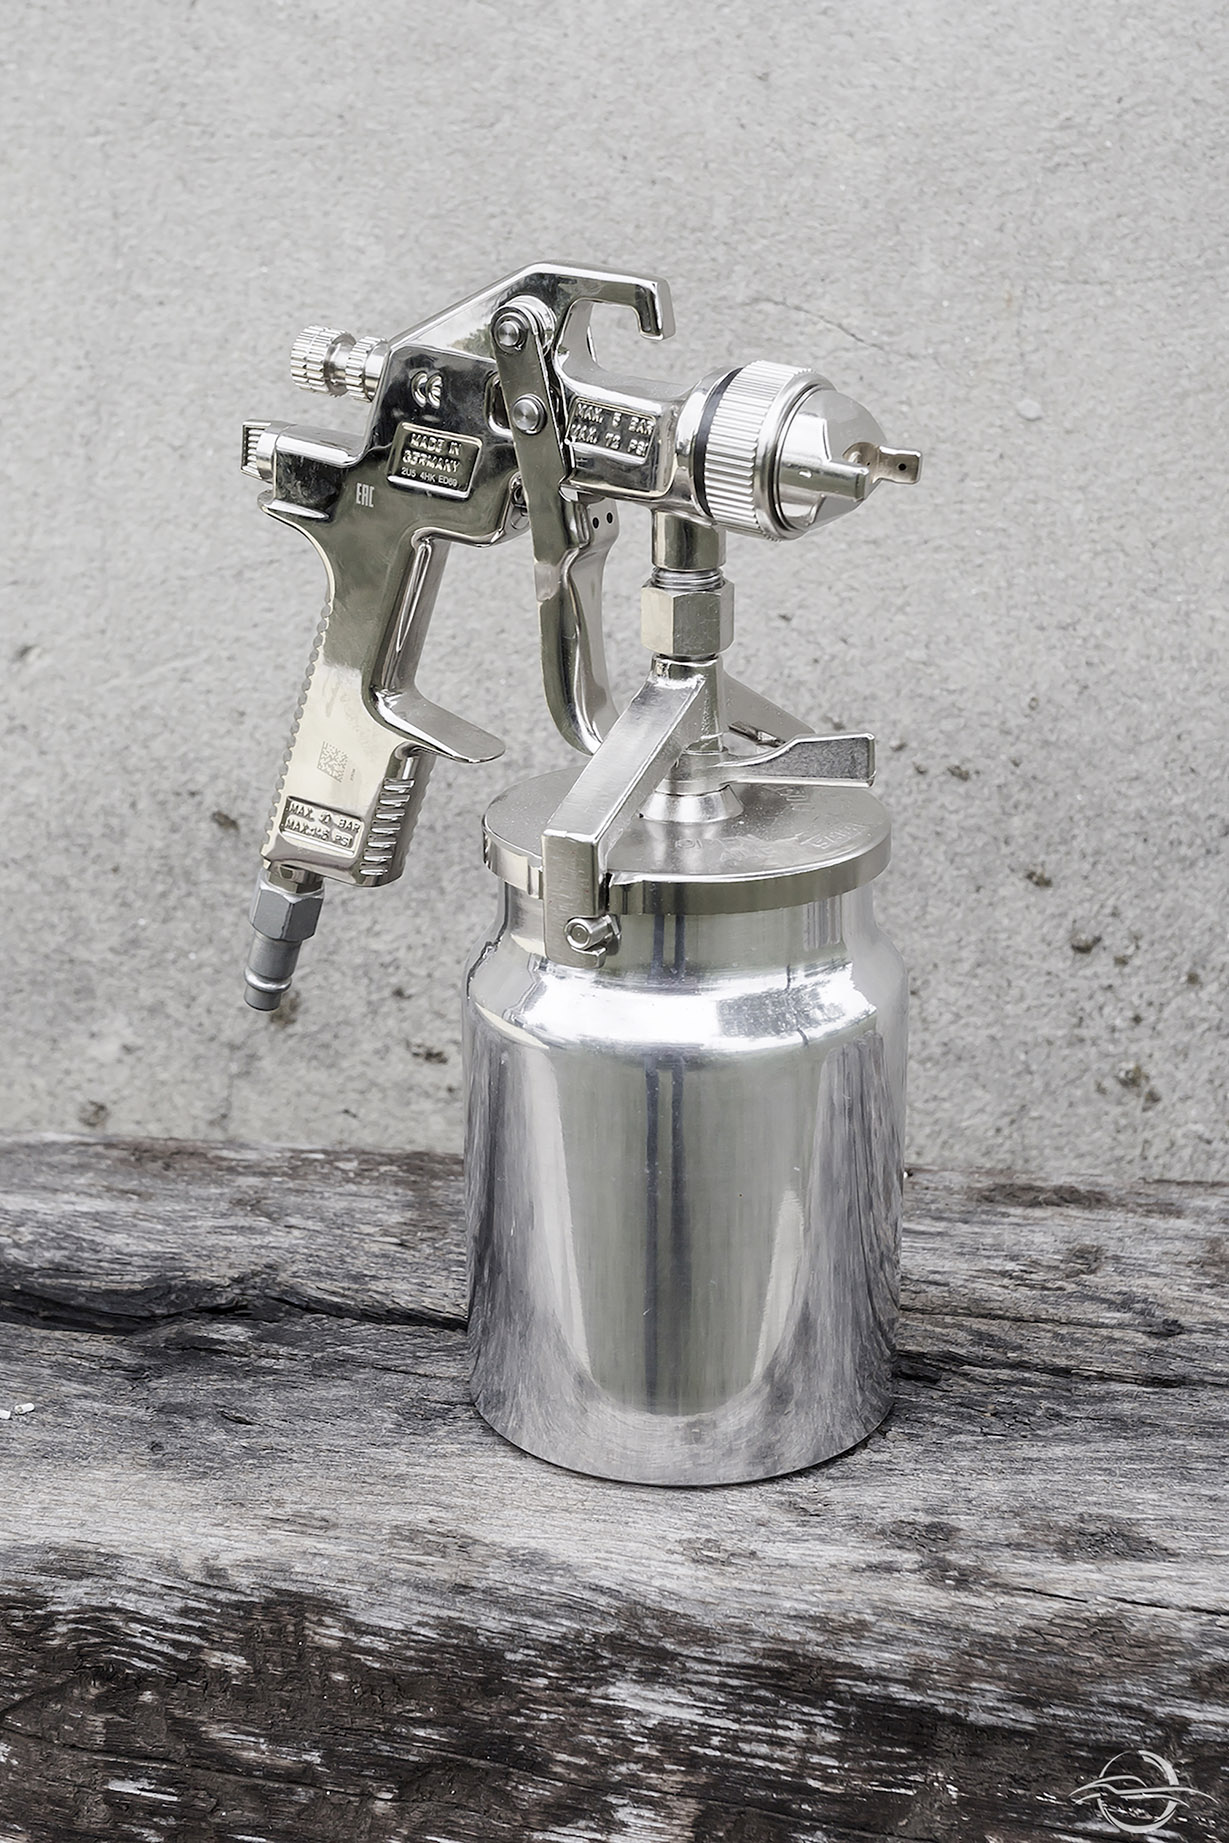
– What about the varnish coating method?
– I would suggest to cross the coats, without creating cordons in the edges, as they’re unsightly. Personally, I work focused on the end result. My basic rule is: everything which comes out nice underneath the gun, facilitates me and it makes me gain time for the final polishing steps!
It’s a matter of sensitivity, and if you think that we’re exaggerating, these observations will change your mind.
– You may use a slow paint thinner, which gives more space in distension, as long as you’re quick in the application. Whereas, if your hand is slow, that means applying more paint, but there is a problem: if the acrylic remained too humid, it would hardly dry in depth, because as the coats applied increase, the slower the evaporation process is. Whereas, due to its own nature, acrylic varnish is a sponge which holds in the solvent and only the varnisher can understand during the job which breaks to take while applying the coat the application of coats, which are no more than four or five. That is applicable to pastel shades, while for metal shades, the process is the same, but the final part is different. You use a slow paint thinner once again, but not too slow, because if the acrylic varnish is too wet, the surface stains in metal shades. You understand all of these assessments when you have the gun in hand: dilution which went well with 36° or 37° C cannot work out when there are 22°C. The operator needs to know what is happening while varnishing, as well as what to do in the different settings. It is easy in winter, you can decide which temperature to work with using the oven, but in summer, with 37°C, you need to work it out differently and find solutions. The monocomponent decides when to dry out and it’s not down to opinions or points of view, that is a matter of fact.
– Each varnisher has their own gun. I used Devilbliss guns, but I think that my Sata Jet-H is better, due to the manual skill, that handle makes everything easier for me. With an identical gun I worked on some cars which filled me with pride, such as Tom’s Ferrari 275 in acrylic varnish.
I’m fond of my memories, so I got it for myself as a gift. Many will think that it is a mental obsession, I don’t care! The gun is brand new, I have never used it before, I like it so, I know that I have one.
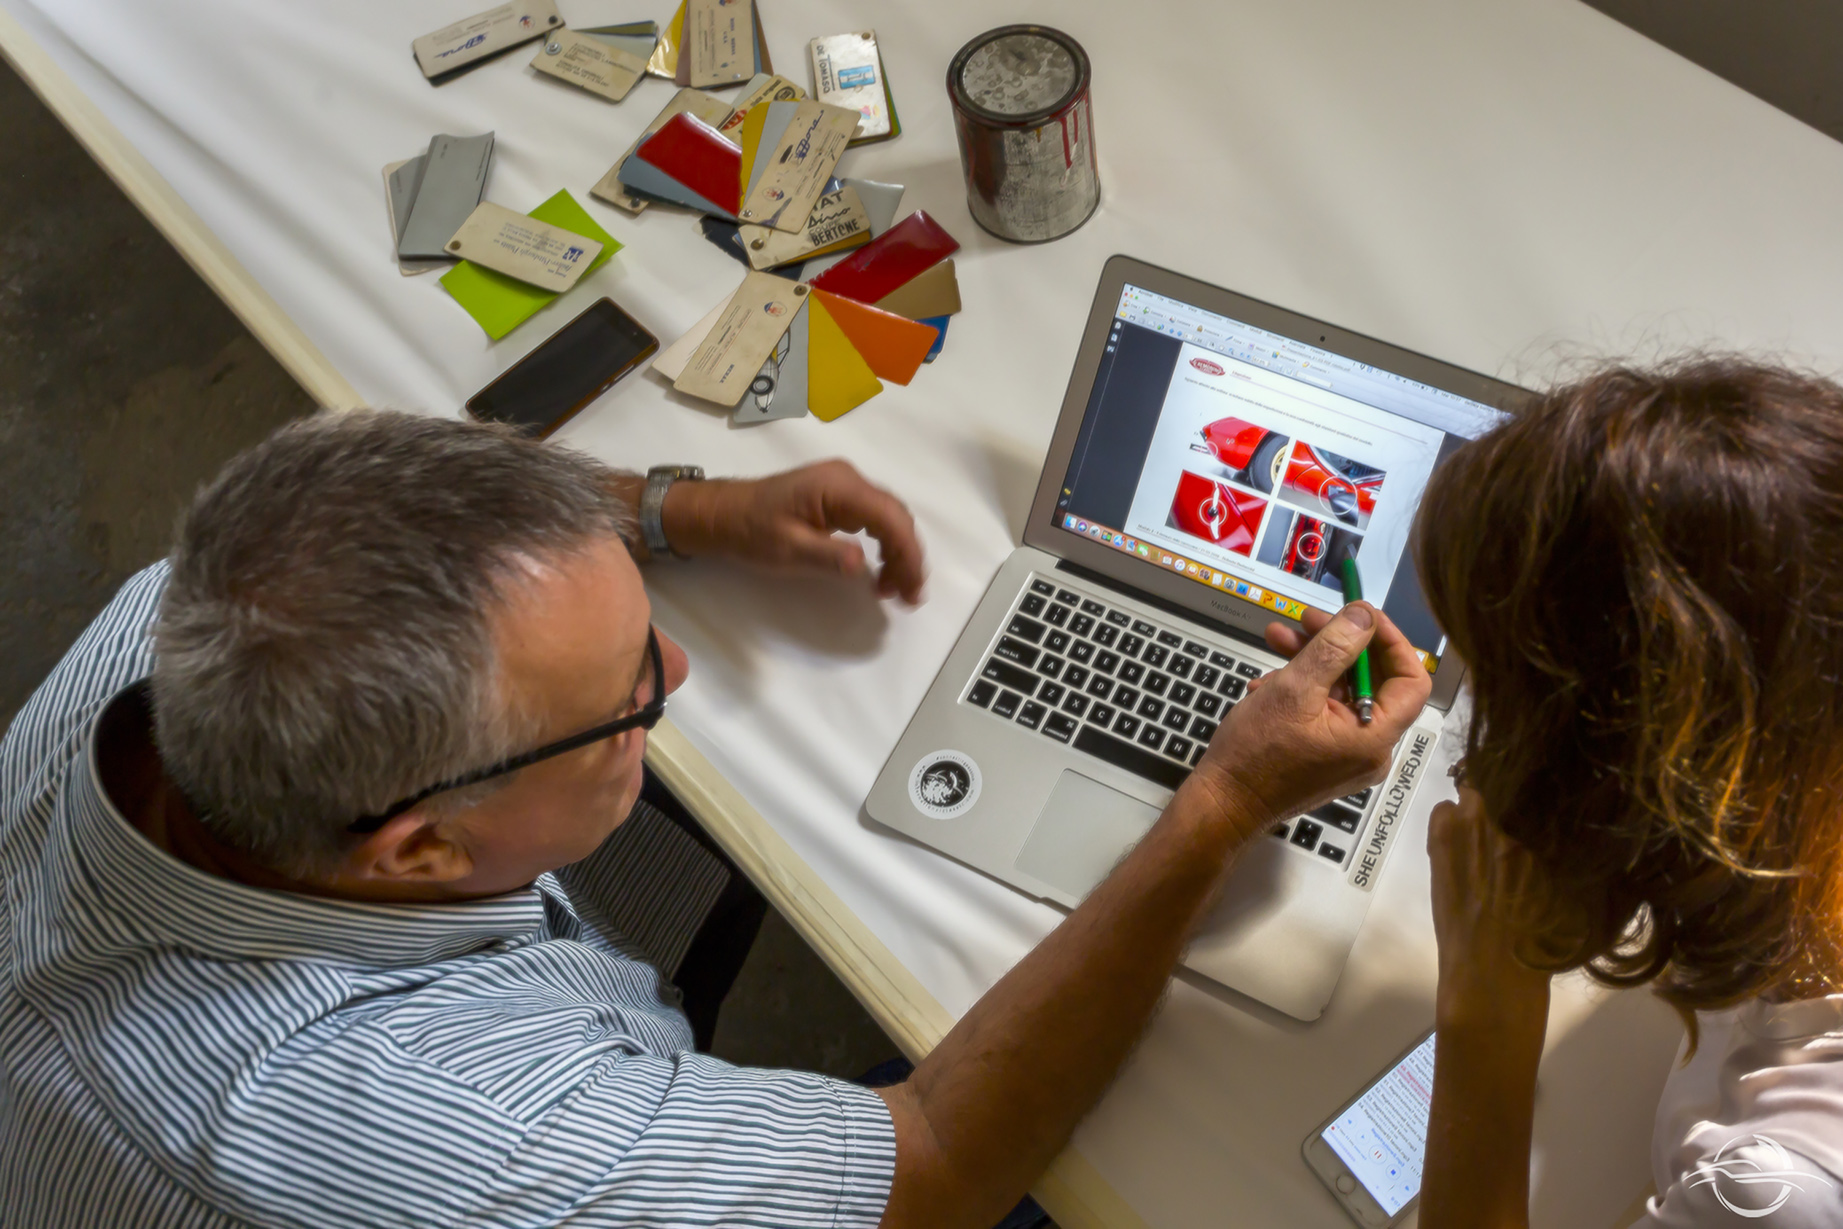
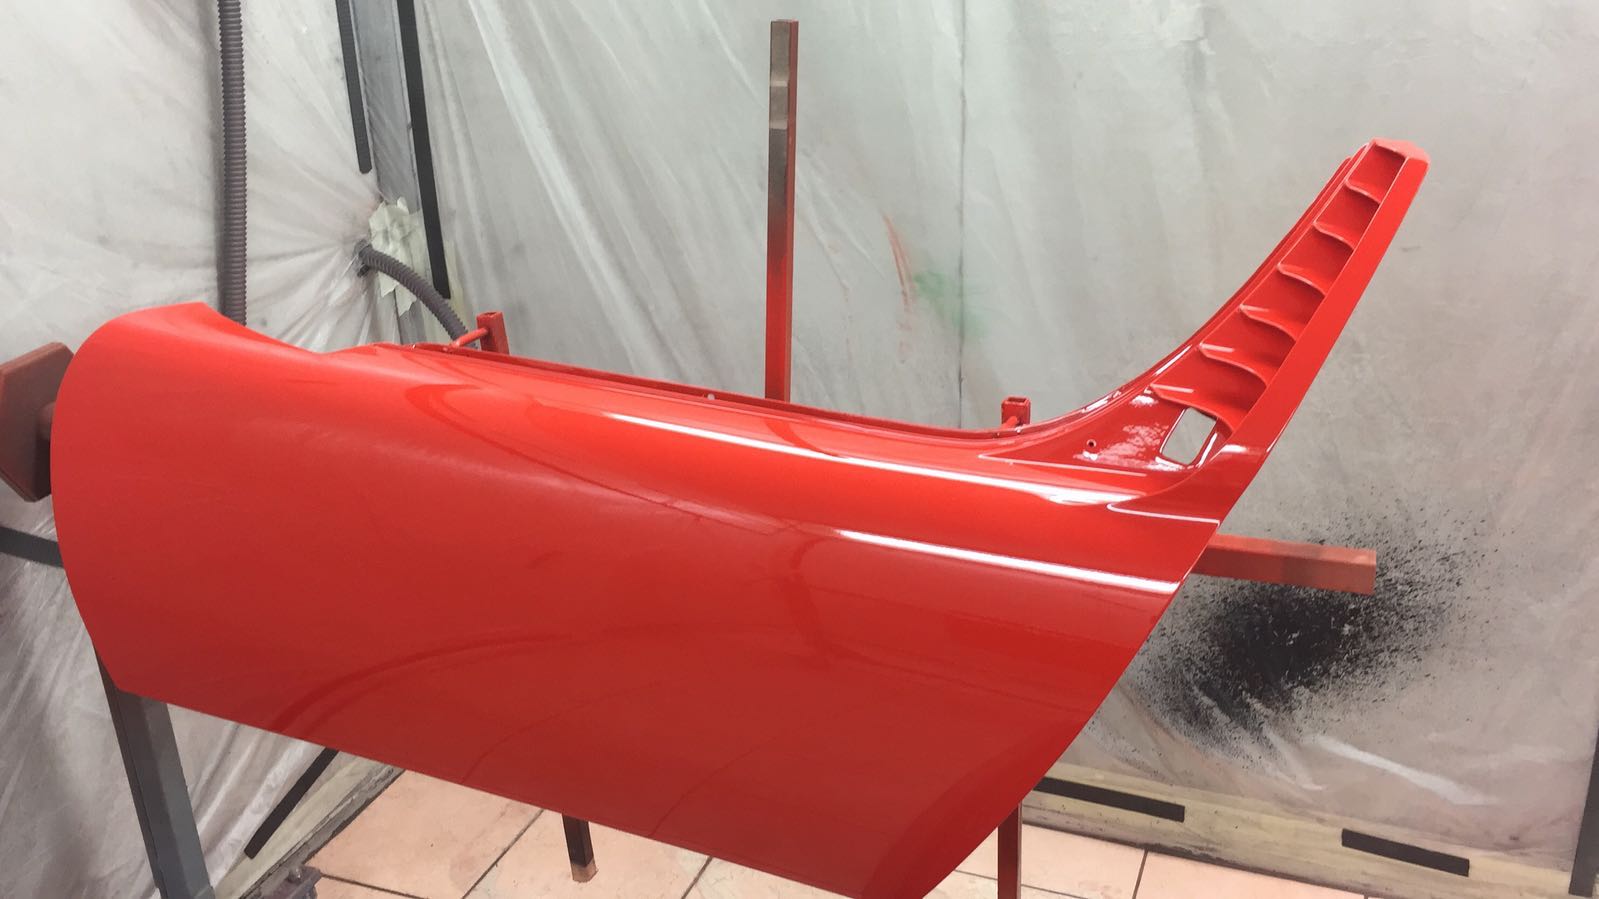
-In my opinion, the shade needs to be as faithful as possible to the swatch book, which is our guidance. In the past you could deviate from the original, it happened that the client wanted a customised colour, while today that rarely happens.
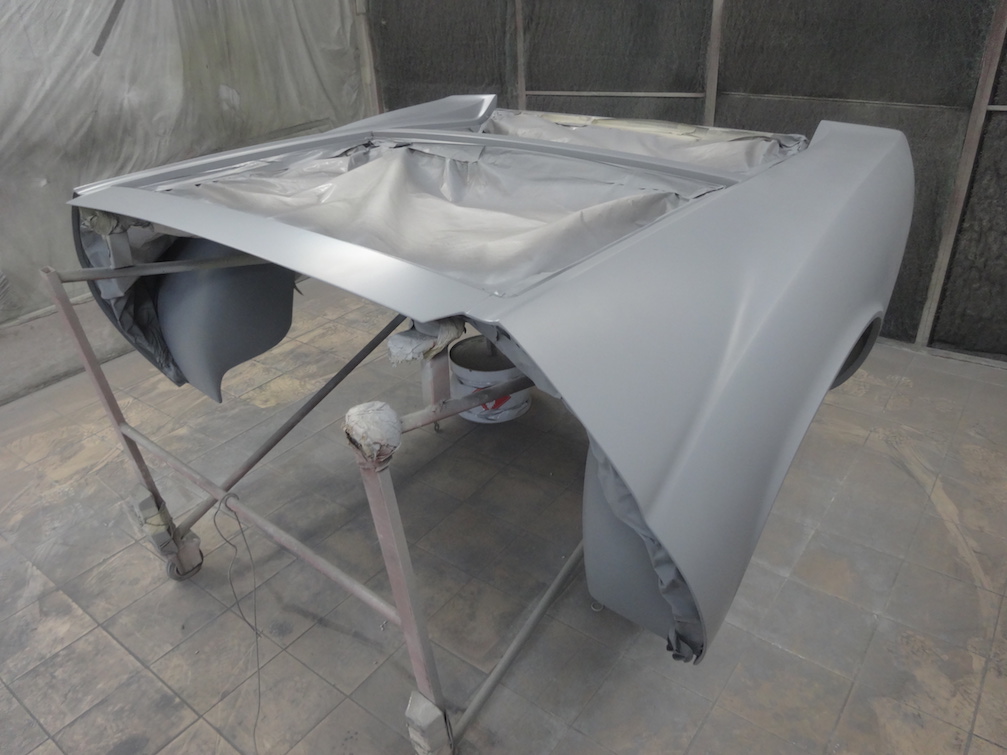
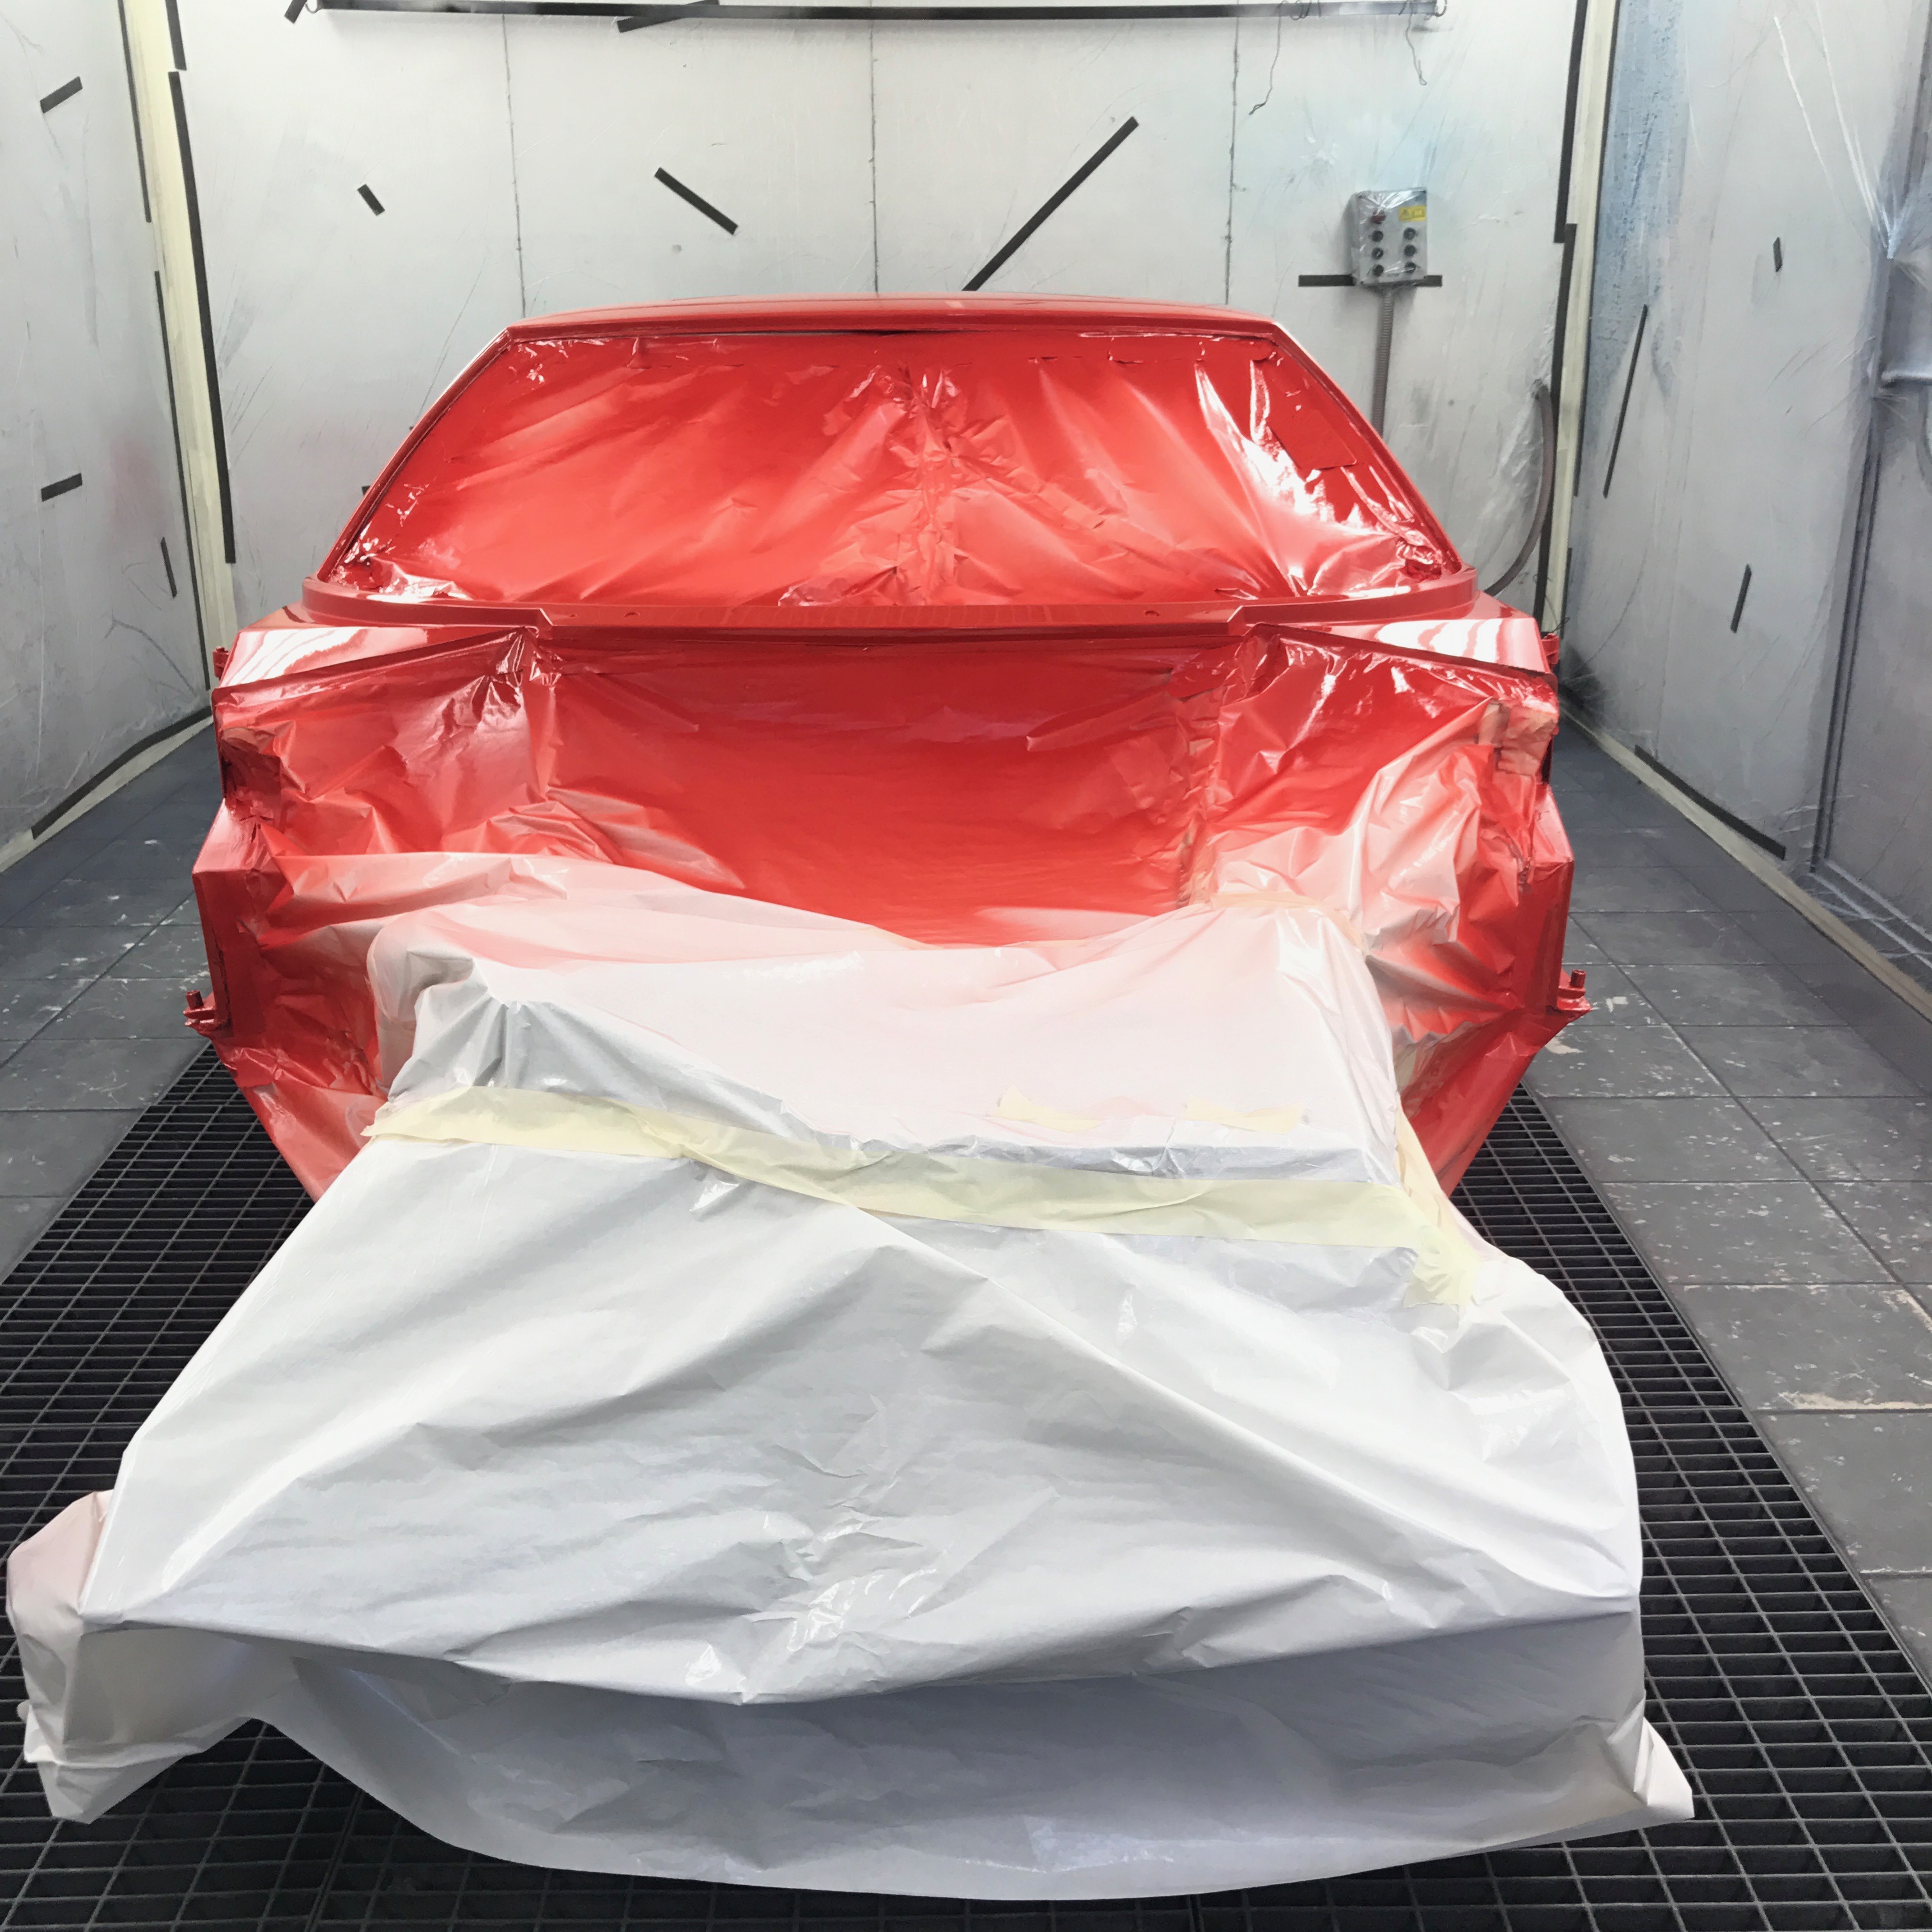
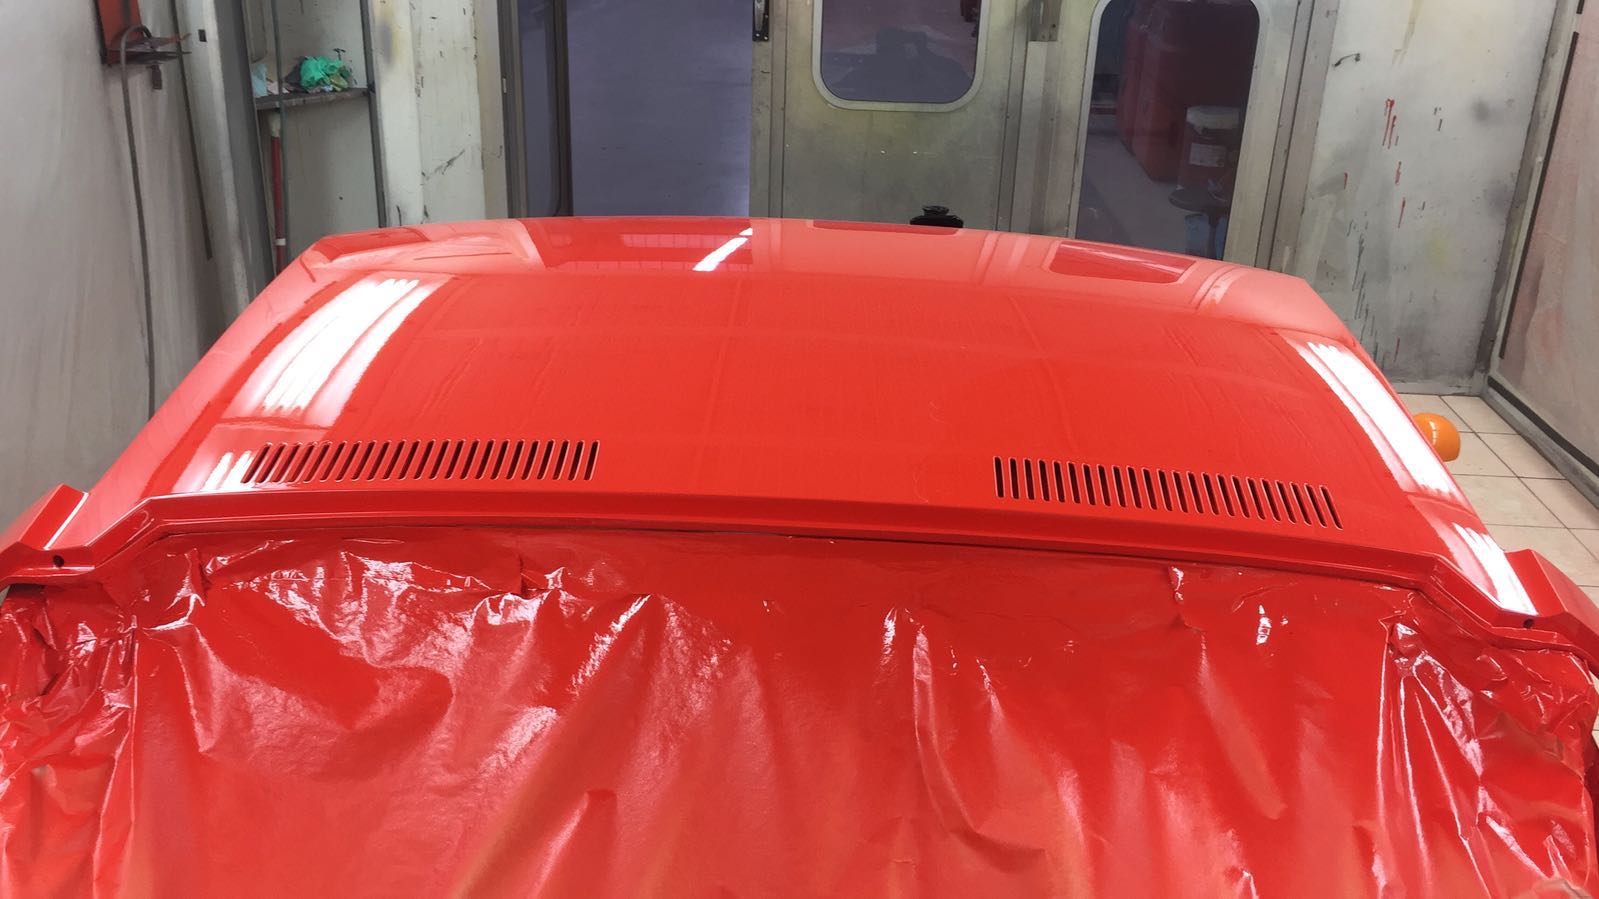
In the photograph, the car has been varnished with a matt transparent varnish, like the one that is used for modern cars. Based on the colours used, you need to give several coats to achieve a full coverage. For example: with red, which struggles to cover, it takes four or five coats. For transparent varnish, you usually only give one coat. If you want to increase the brightness you can give two coats.
– What would have been the process if we had an acrylic varnish, instead of the transparent matt varnish?
– Everything is identical up to the prepping. Whereas, the acrylic varnish is made up of resin and pigment. We dilute the pigment into the resin. Then, we proceed with dilution, there are fixed scales that are also stated on the jars – we read: thermoplastic acrylic body varnish, quick drying, excellent resistance to atmospheric agents. Application viscosity 12-13 seconds, Ford 4 – four is the hole underneath Ford’s sump, the one which, in technical jargon, is called viscosimeter. You decide on the type of paint thinner, there’s a code indicating if it’s slow or normal, in relation to the temperature of exercise.
– What matters is viscosity: how long the varnish takes to go through the viscosimeter. Everything depends on the operator’s manual skills and the temperature of exercise. So: I take the varnish jar, I dilute it with the paint thinner and I prepare my pigment according to the swatch book. You have everything you need to start, you give the first coat, the second, the third and the fourth. I need to be careful not to create “dust” between the coats. If that should happen, I need to stop and get rid of it through sanding.
– What does the “dust” depend on?
– On the distance of the gun, which is too close or too far. It may also depend on the speed of application, if you’re too slow or too fast; as well as the temperature of exercise. There are different causes and the operator needs to know and decide on what to do.
– Is mixing paint thinner a scandal? It may be so for many, but playing the chemist has always paid off for me.
– My varnishing rule is simple: four coats, which are always to be crossed. Do you know what I mean by crossed? From right to left, from top to bottom… so that you optimise the laying technique and, at the same time, stains and rings are evened out.
You stop after you gave four coats: the first sanding is done with abrasive paper with an 800 grain, the second with a 1000 grain, the third with a 1200 grain… the final phase is done with a 2000 grain, it’s the sanding for the gloss. The sanding paper needs to be wet and you need to sand as much as you need… this reminds me of the “just enough” mentioned by chefs.
– How many coats do you do and how many times do you repeat the process?
– Ideally, they should be 4: 4 coats repeated 4 times, for a total of 16 coats, which means sanding it down four times. I specified “ideally”, so you may even give more or less. I’m referring to how I work: four crossed coats of mine, which may correspond to nearly eight coats for someone else.
Mauro has a flawless curriculum, to stay on the topic. Each car varnished has been a bet against himself, always looking for consistent improvement.
– How many cars have you varnished in your forty years of work?
– They’re like the hair on my head, I don’t know. I started working as a varnisher in June 1975. The first car that I varnished was a metal brown Opel Kadett. When I came back from my military service, I went to Campana’s and I stayed there for nineteen years. I worked for nine years for Franchini’s and then I had my beautiful experience with Cremonini’s. I remember a number precisely: I varnished 87 Jalpa Lamborghini’s. How could I forget them? They have been my gym with the acrylic varnish. Every car an improvement. One thing is working to get to the evening, another is working because you care.
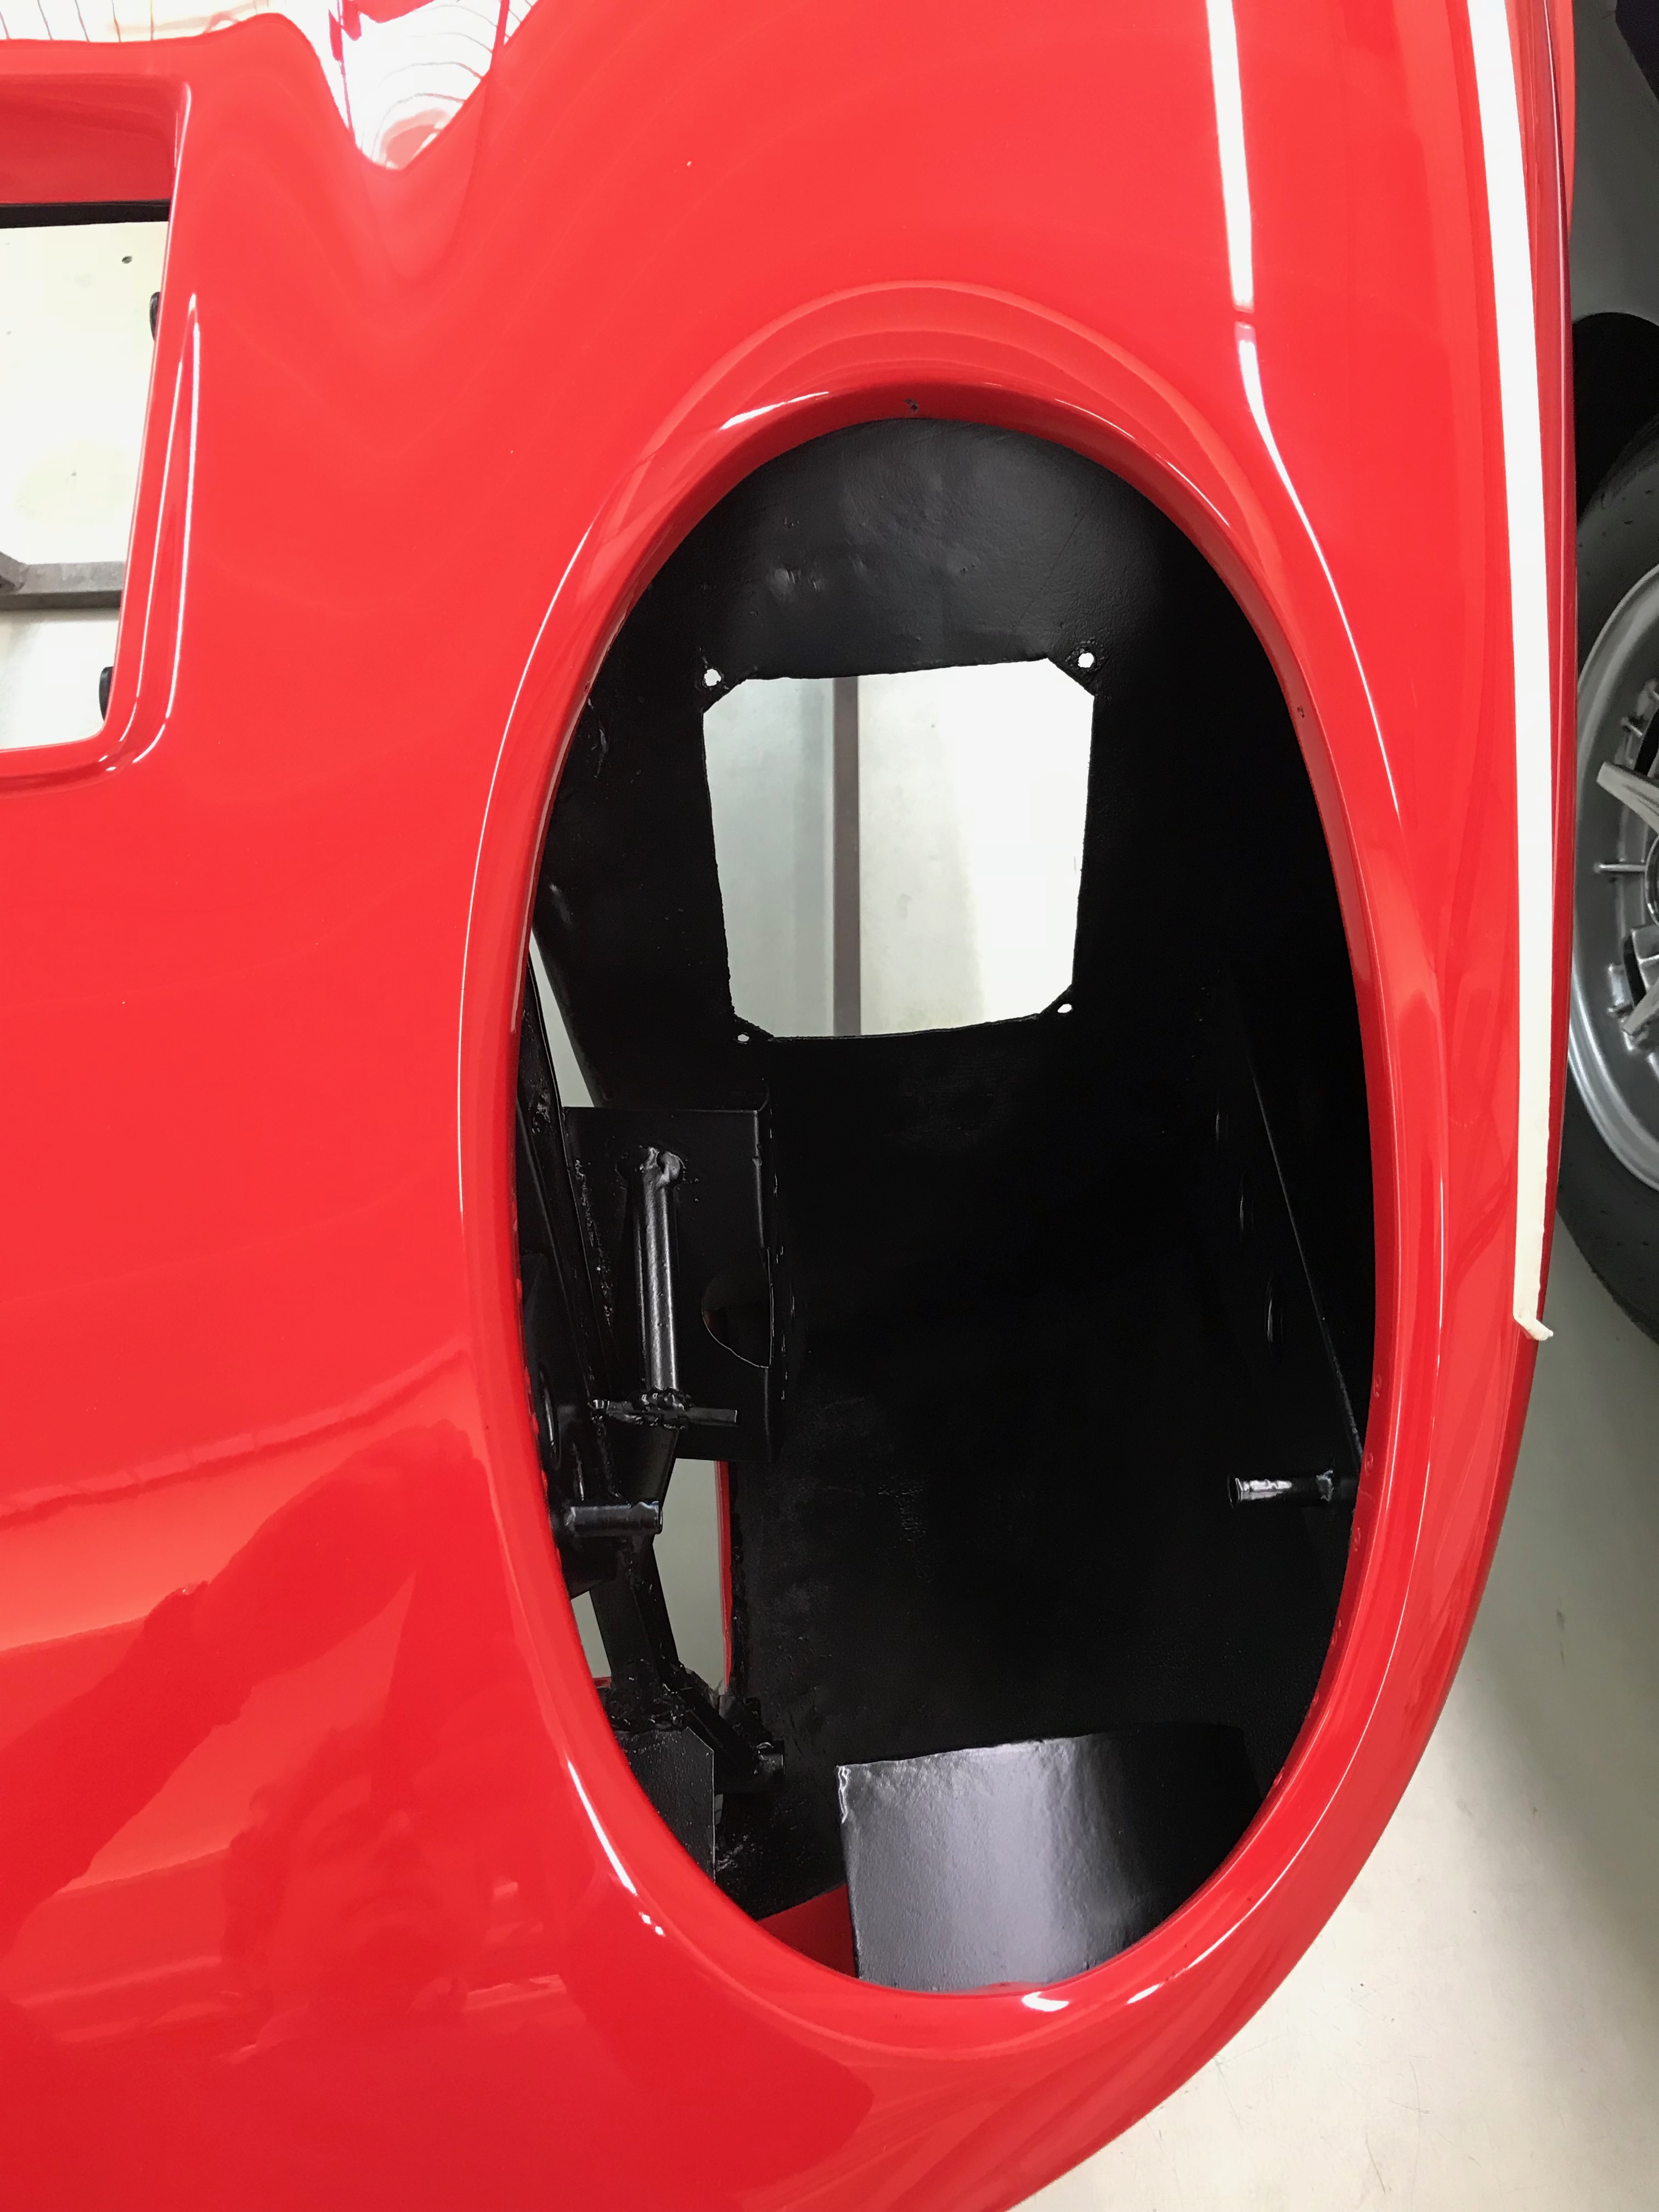
When the polishing is complete, you need to protect the whole of the body and you proceed with varnishing all of the parts which need to be black.
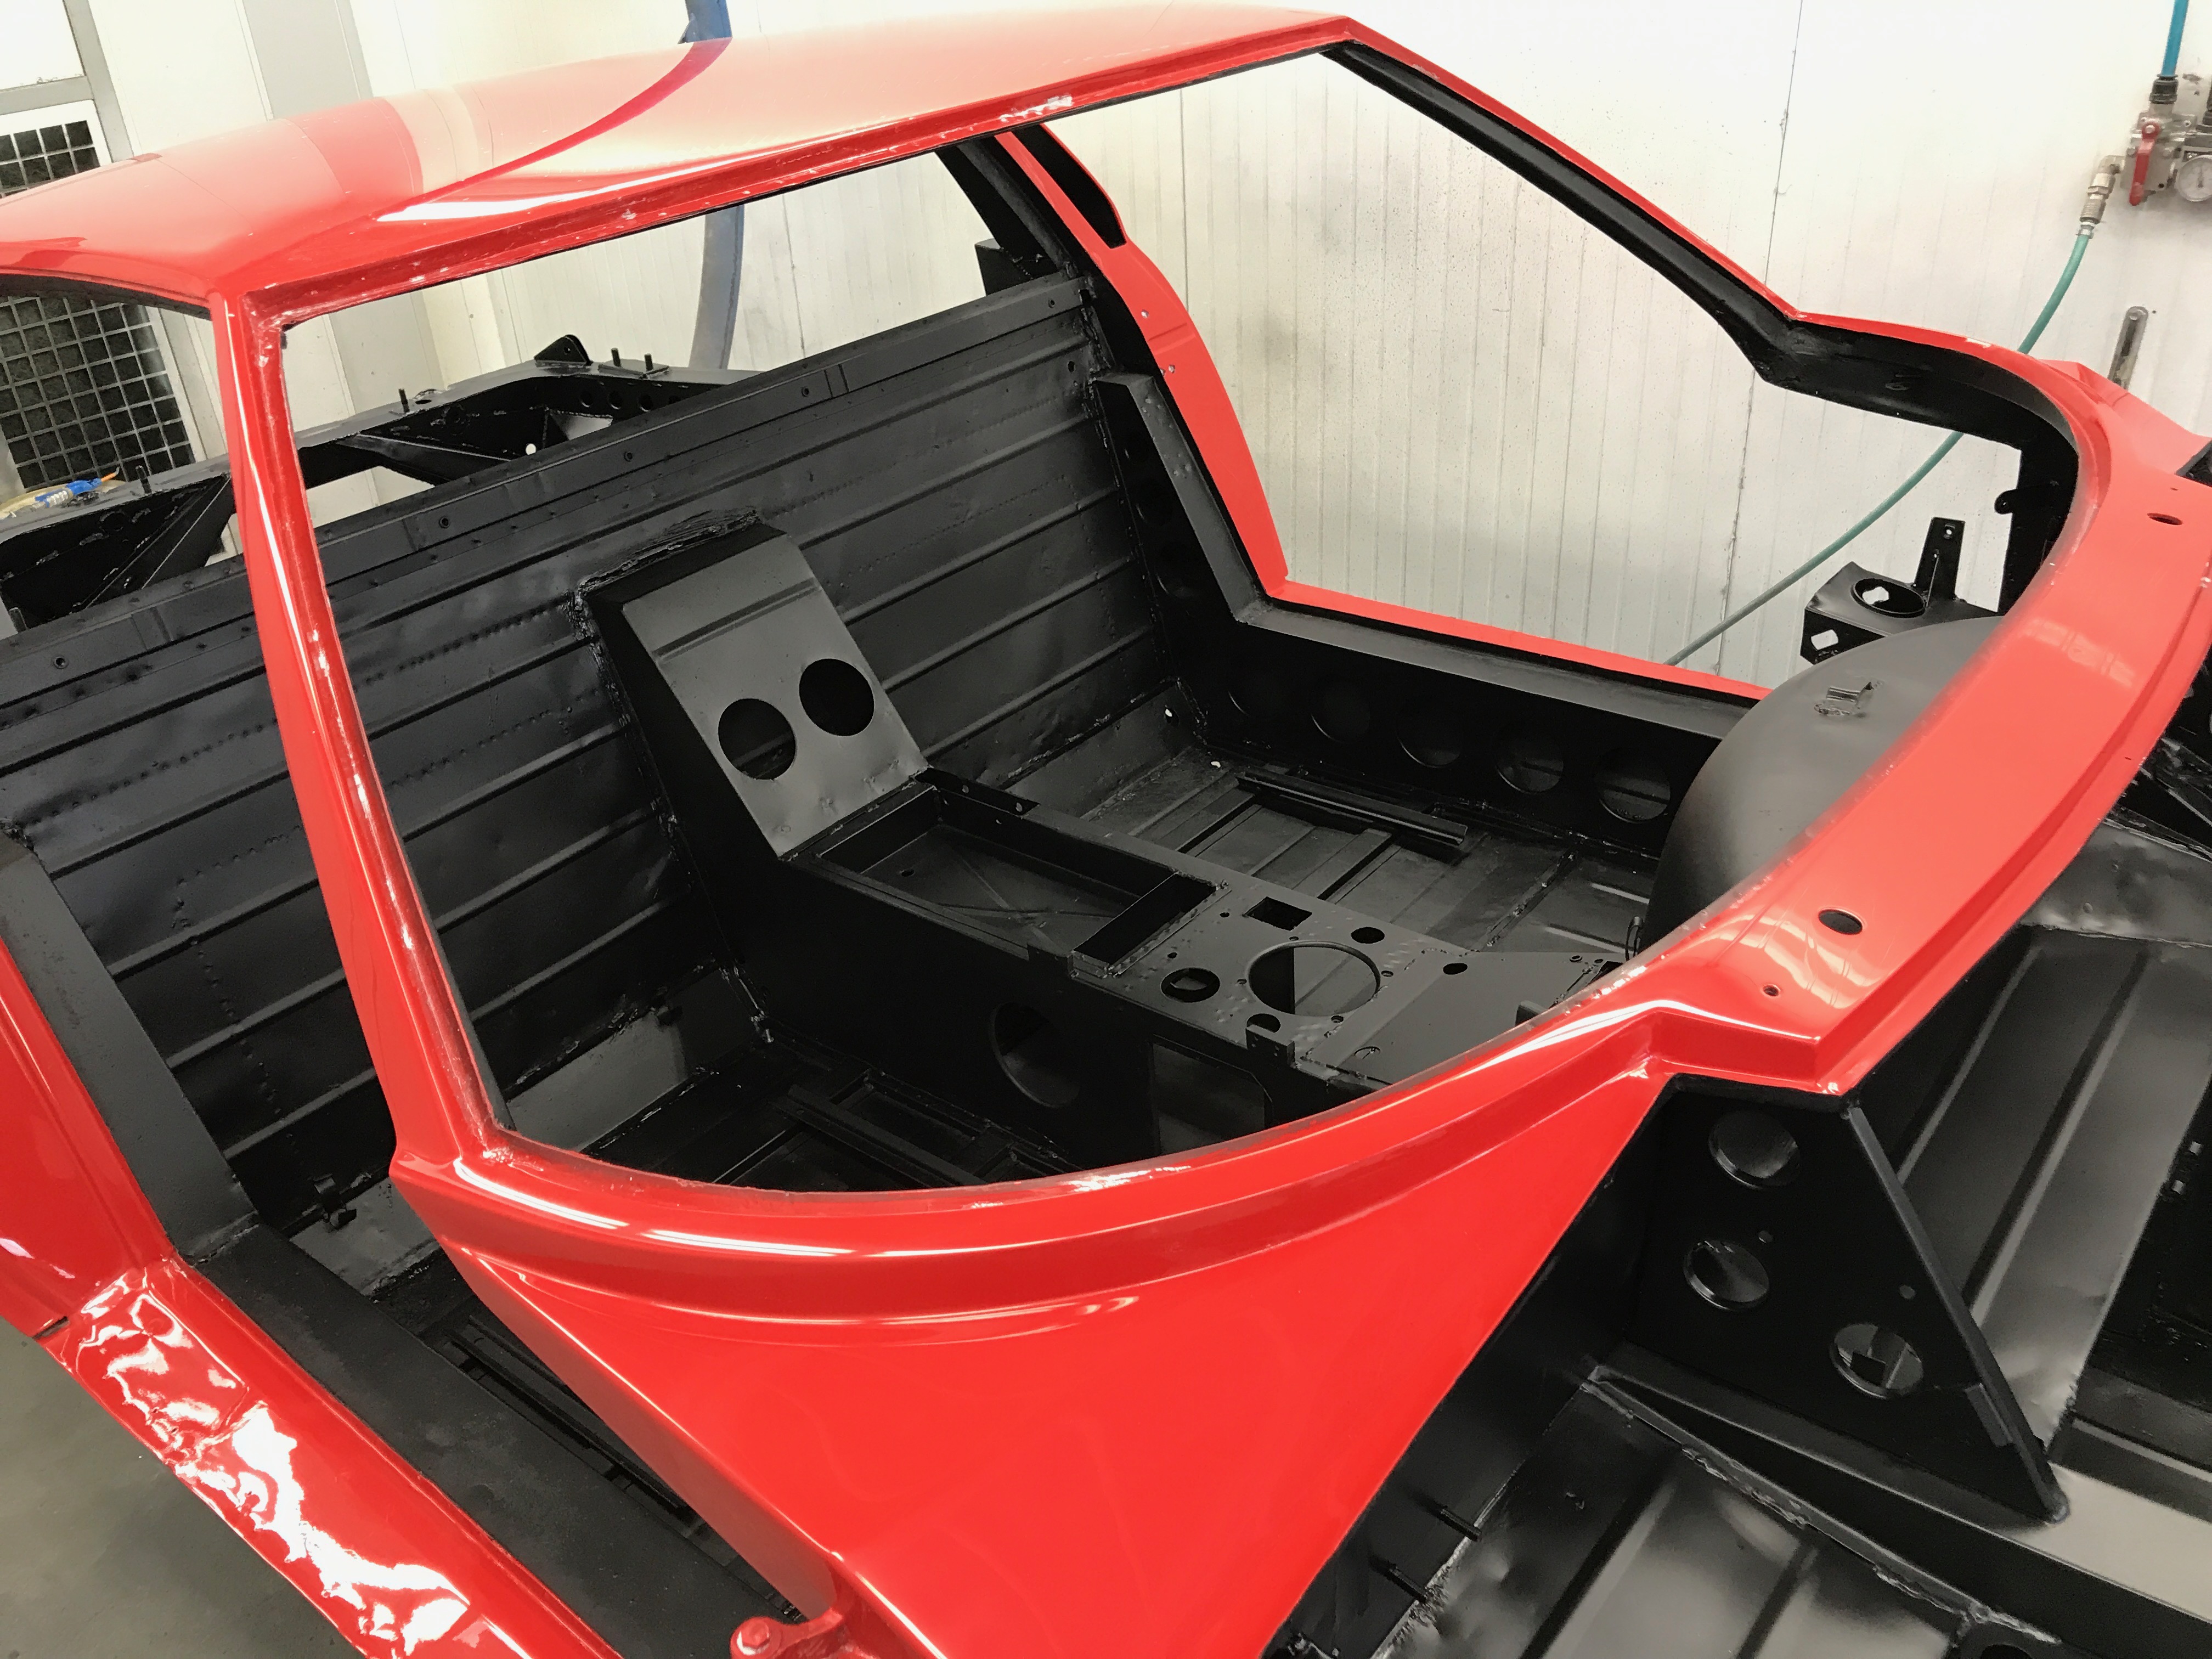
– There must be no surprises after two pre-assembly: the perfection of the final assembly is the result of the attention curve paid to details during the previous stages. The clock ticks… the first pre-assembly was performed with the bare metal sheet, you have no references to compare it with. The second one is very close to the final result, the third is what completes the car.
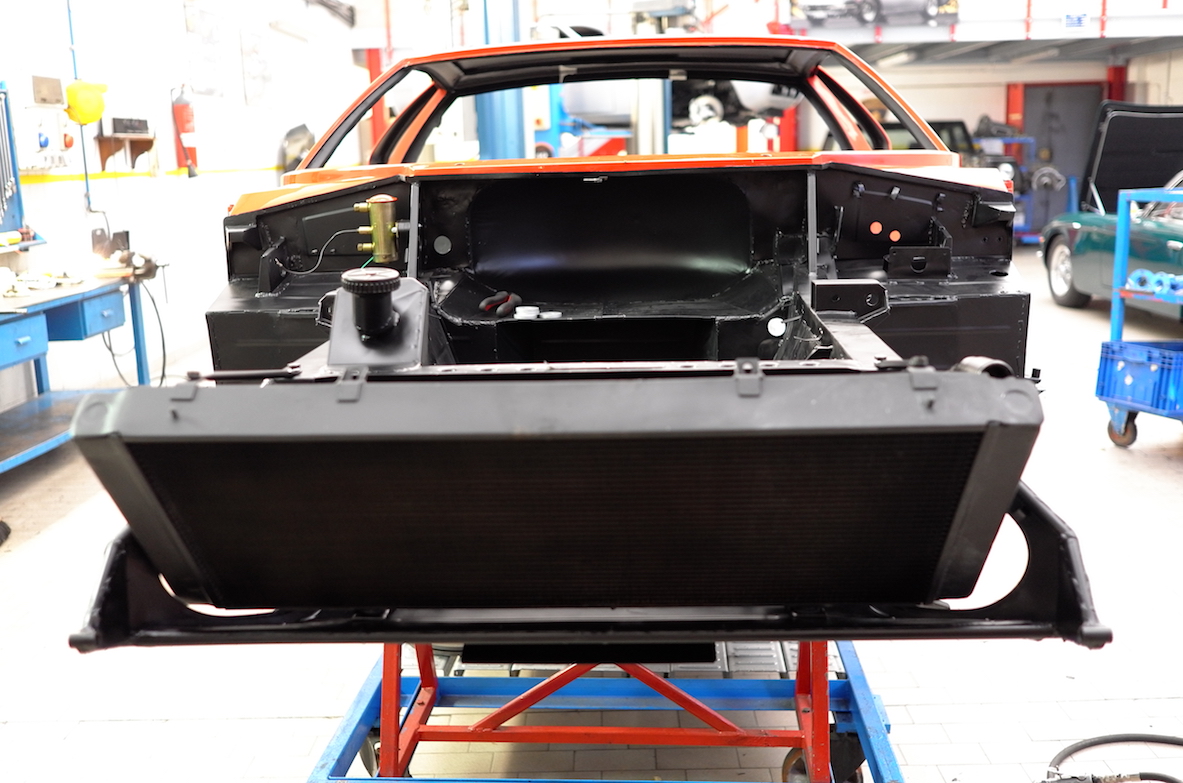
The assembly phase is very satisfactory, because you see that the car starts taking shape. The car is ready to receive the mechanical parts.

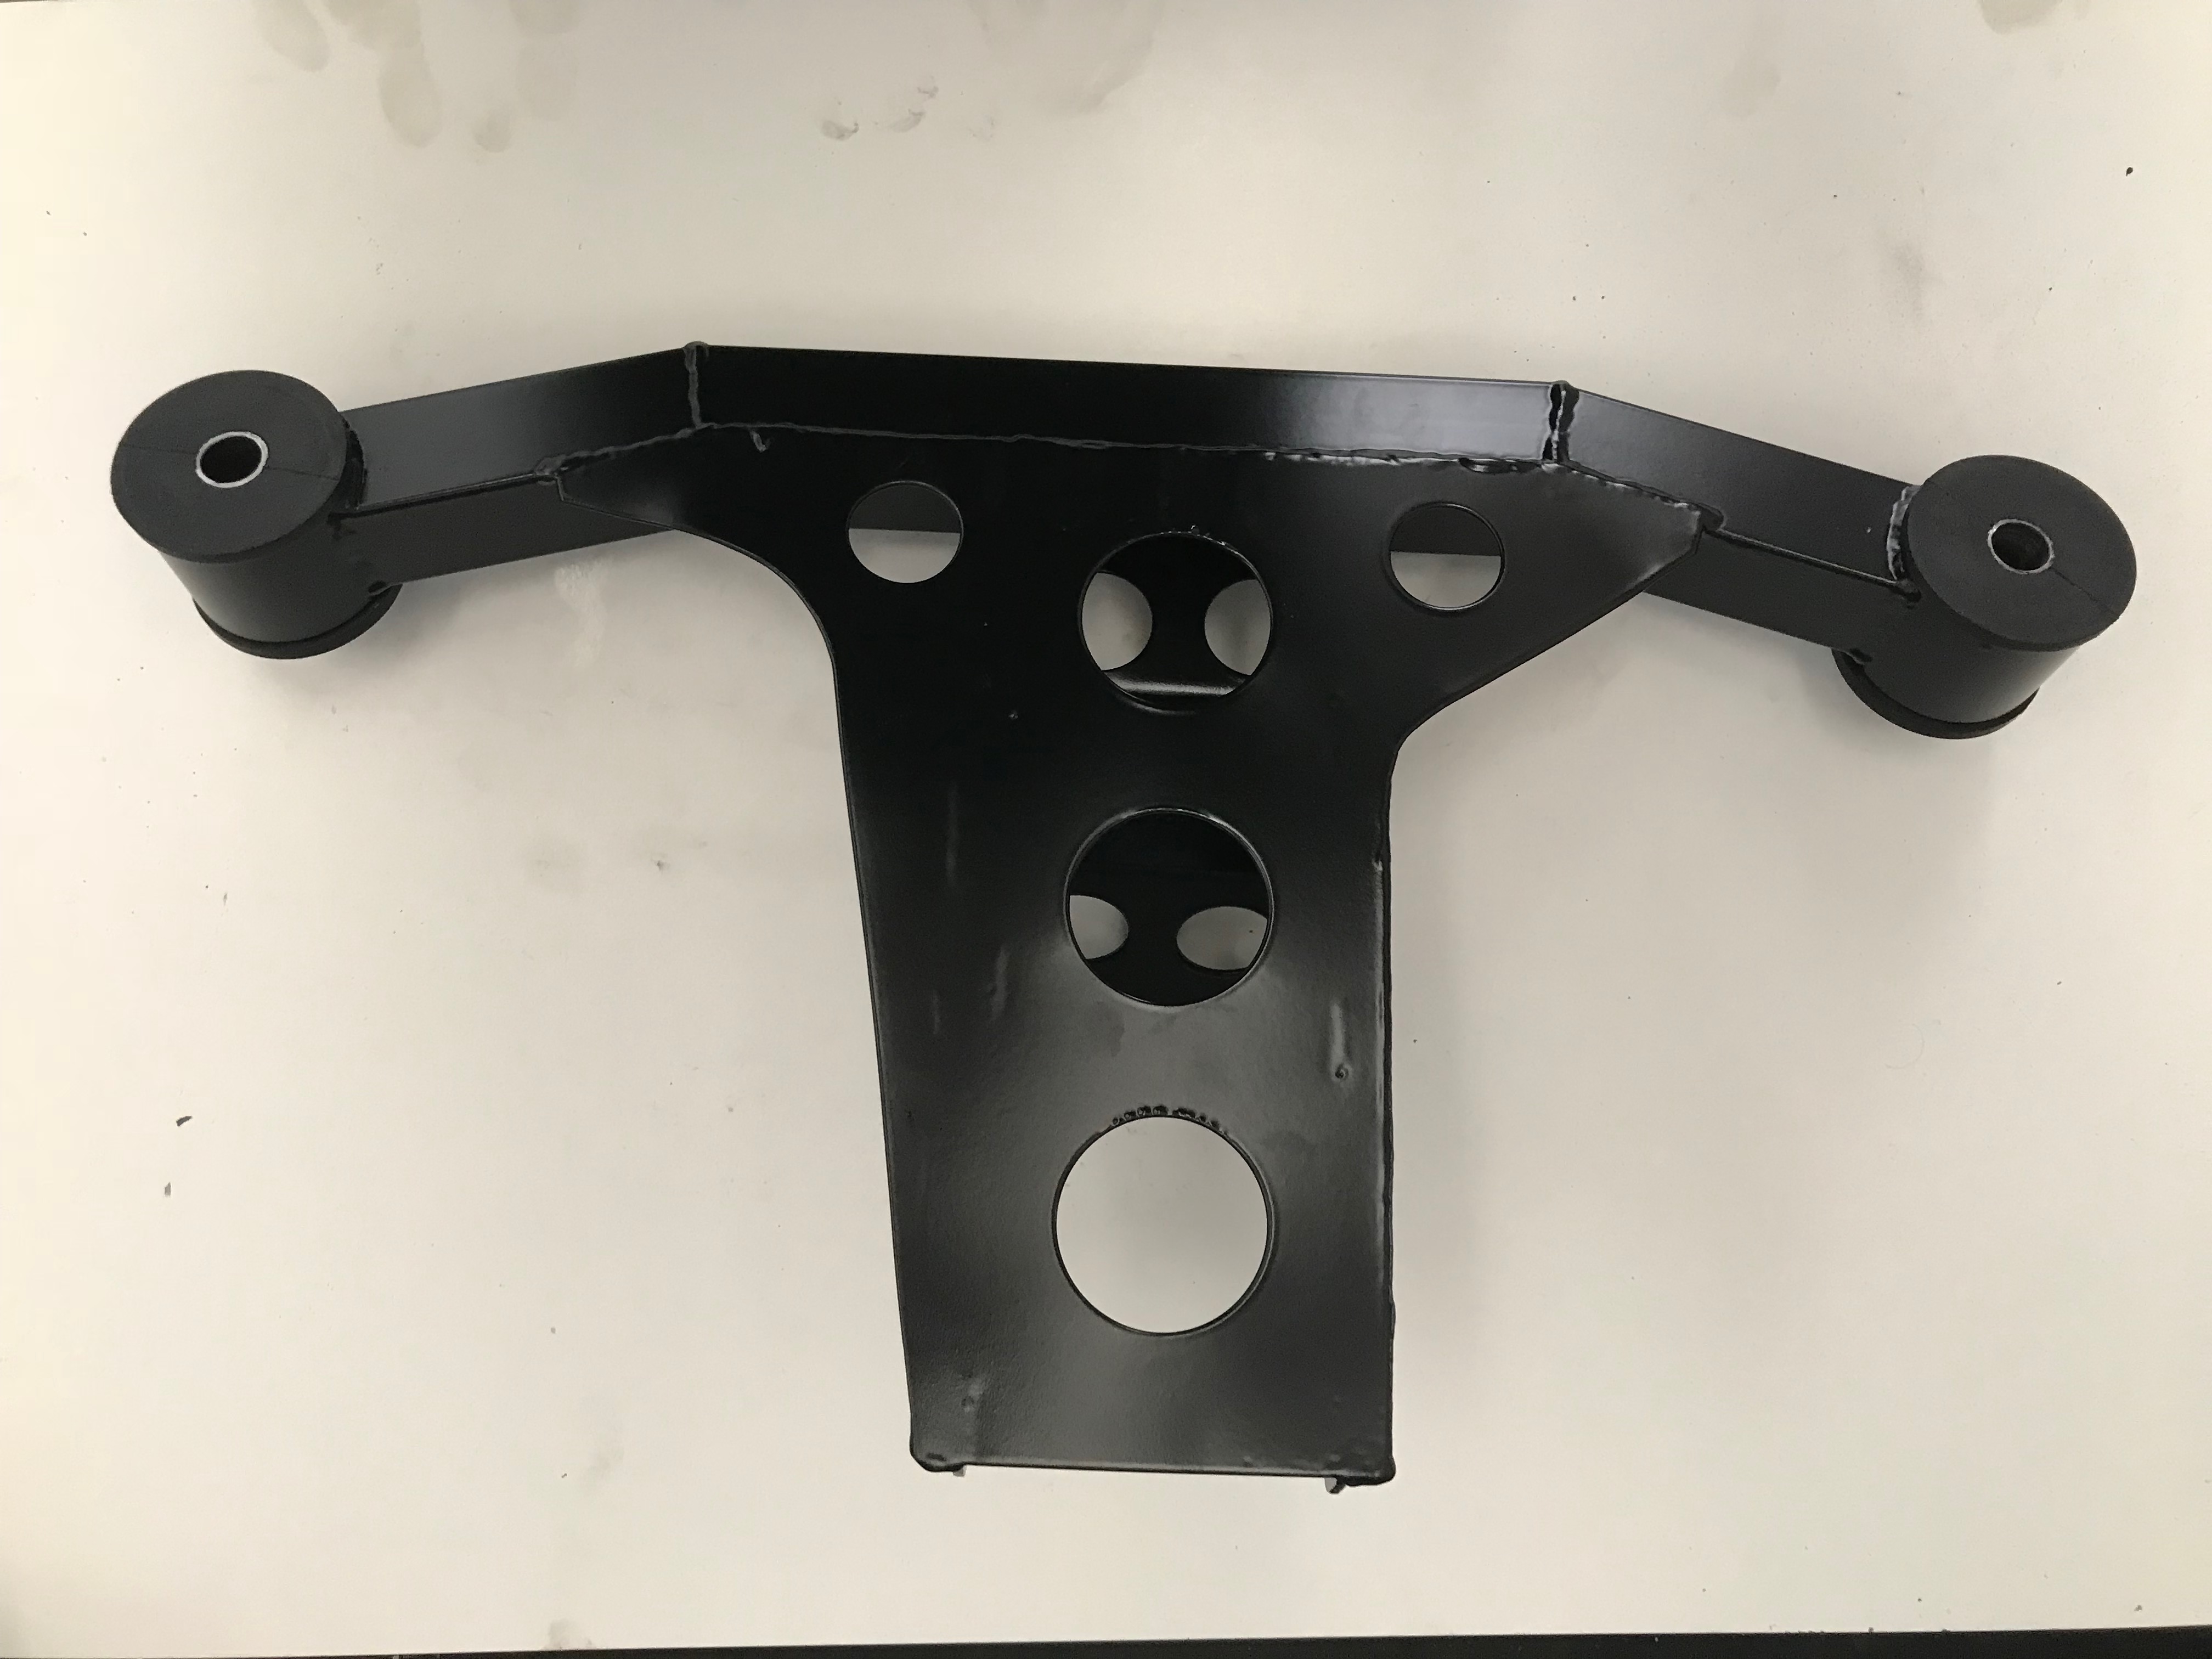
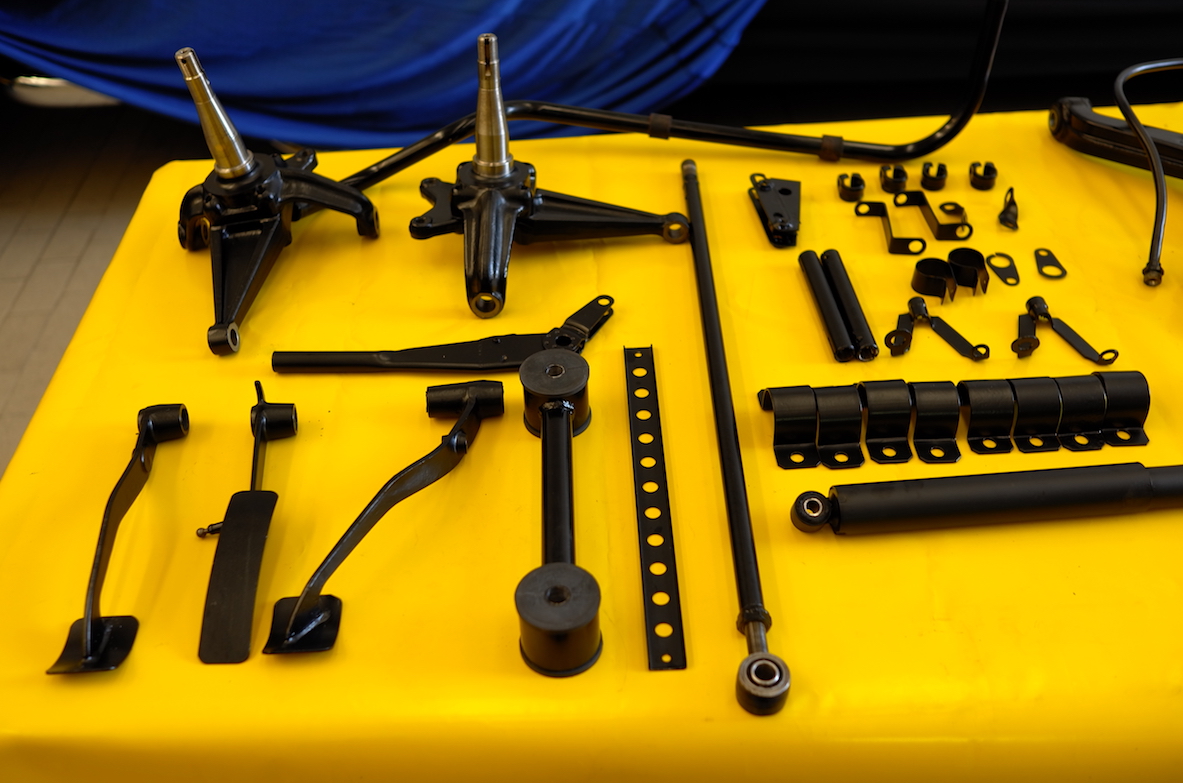
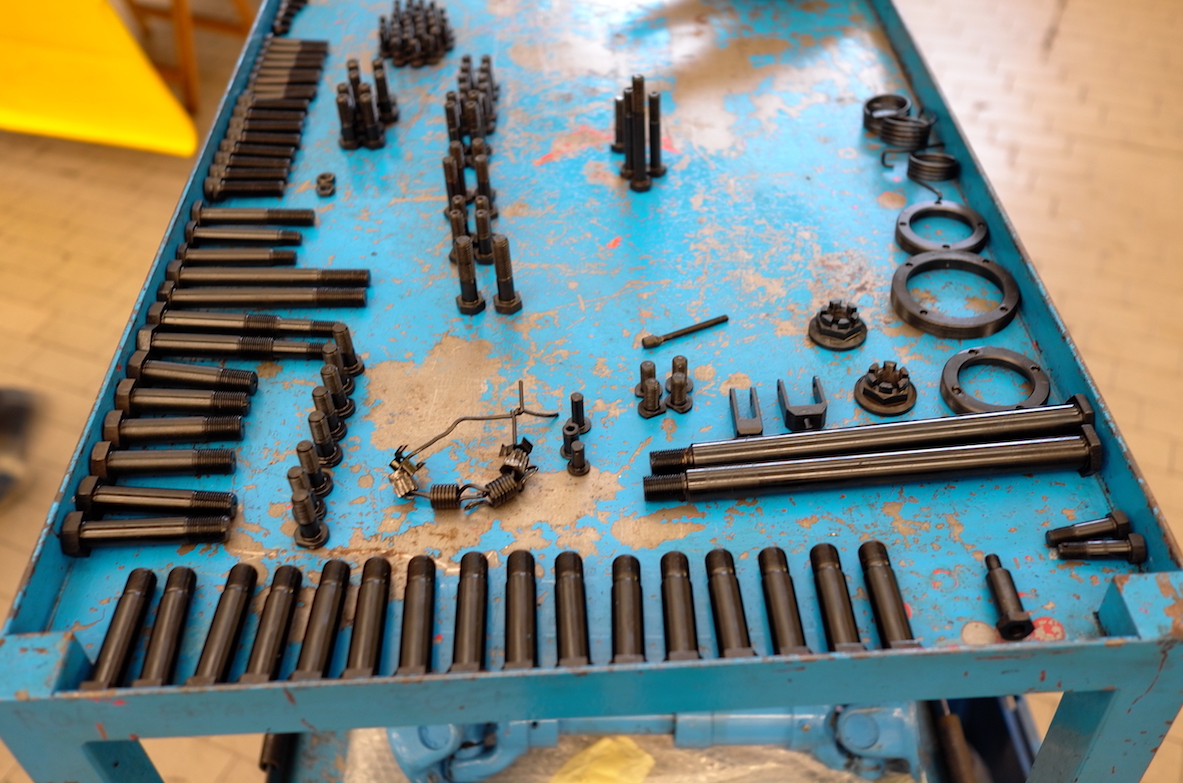
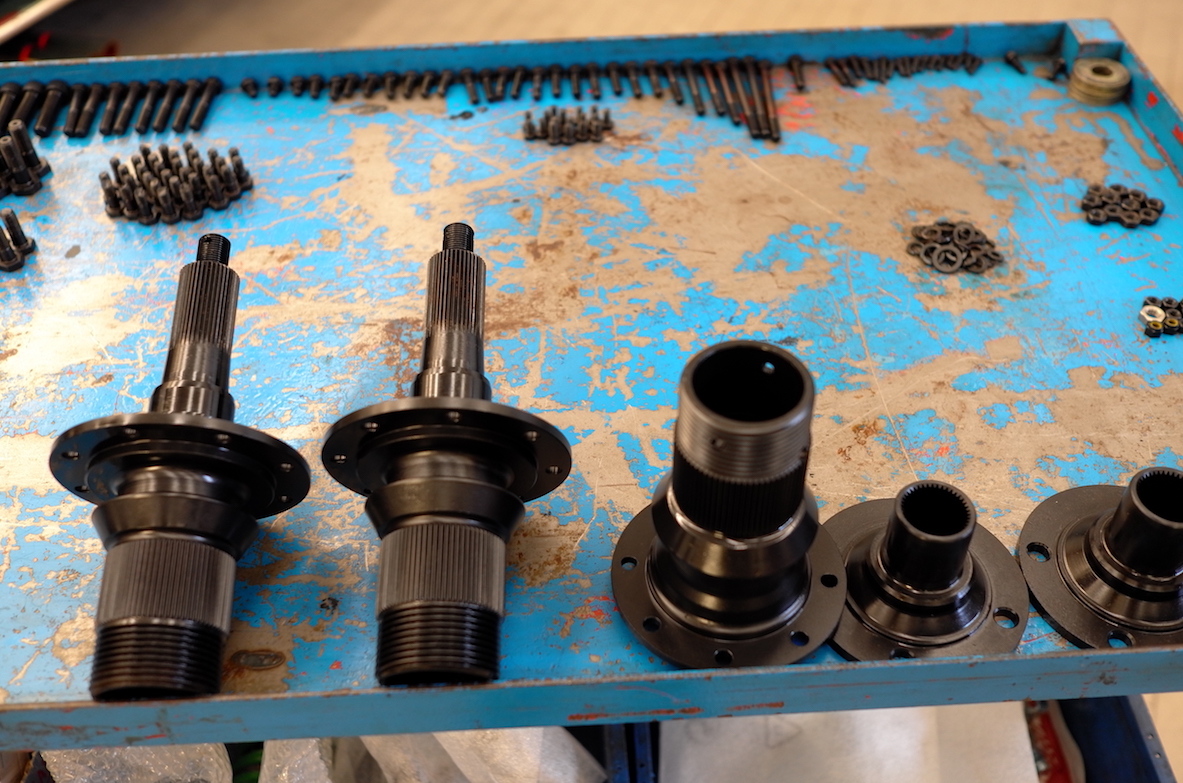
All of the parts have been reviewed, treated, zinc-coated and they’re now ready to be assembled. In this restoration job, the assembly of mechanics was performed by L. Salvioli from Top Motors.
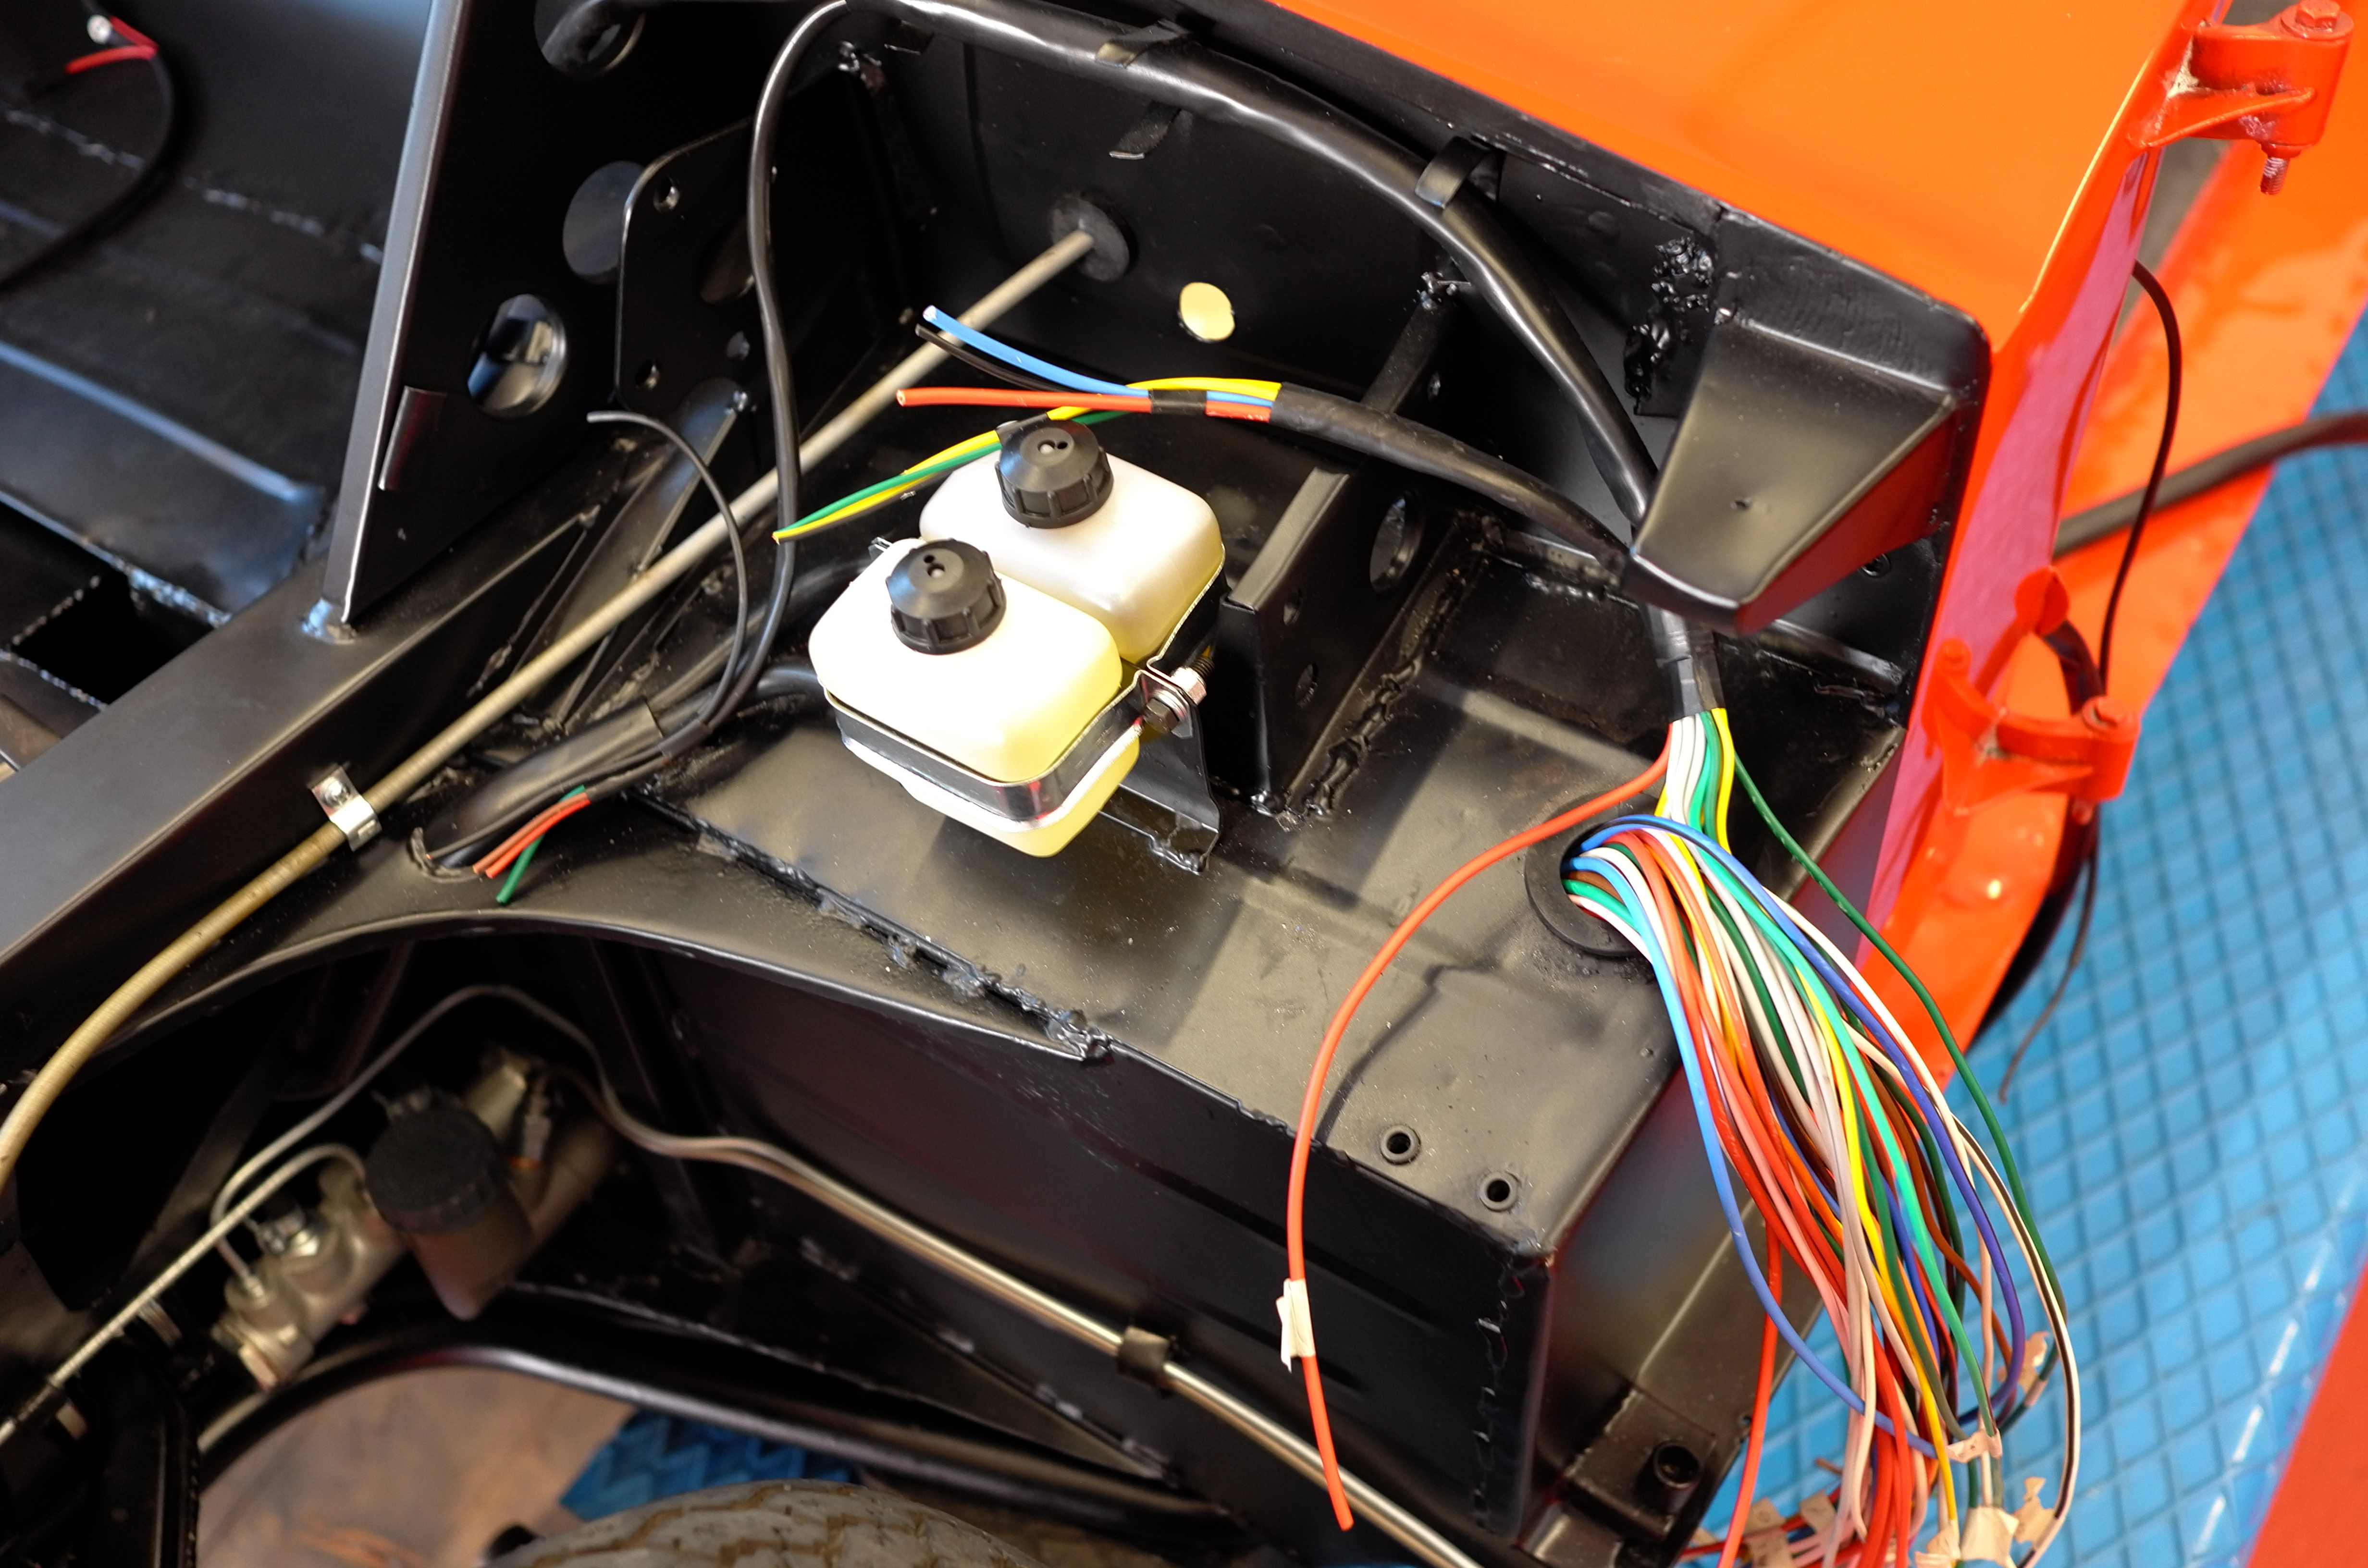
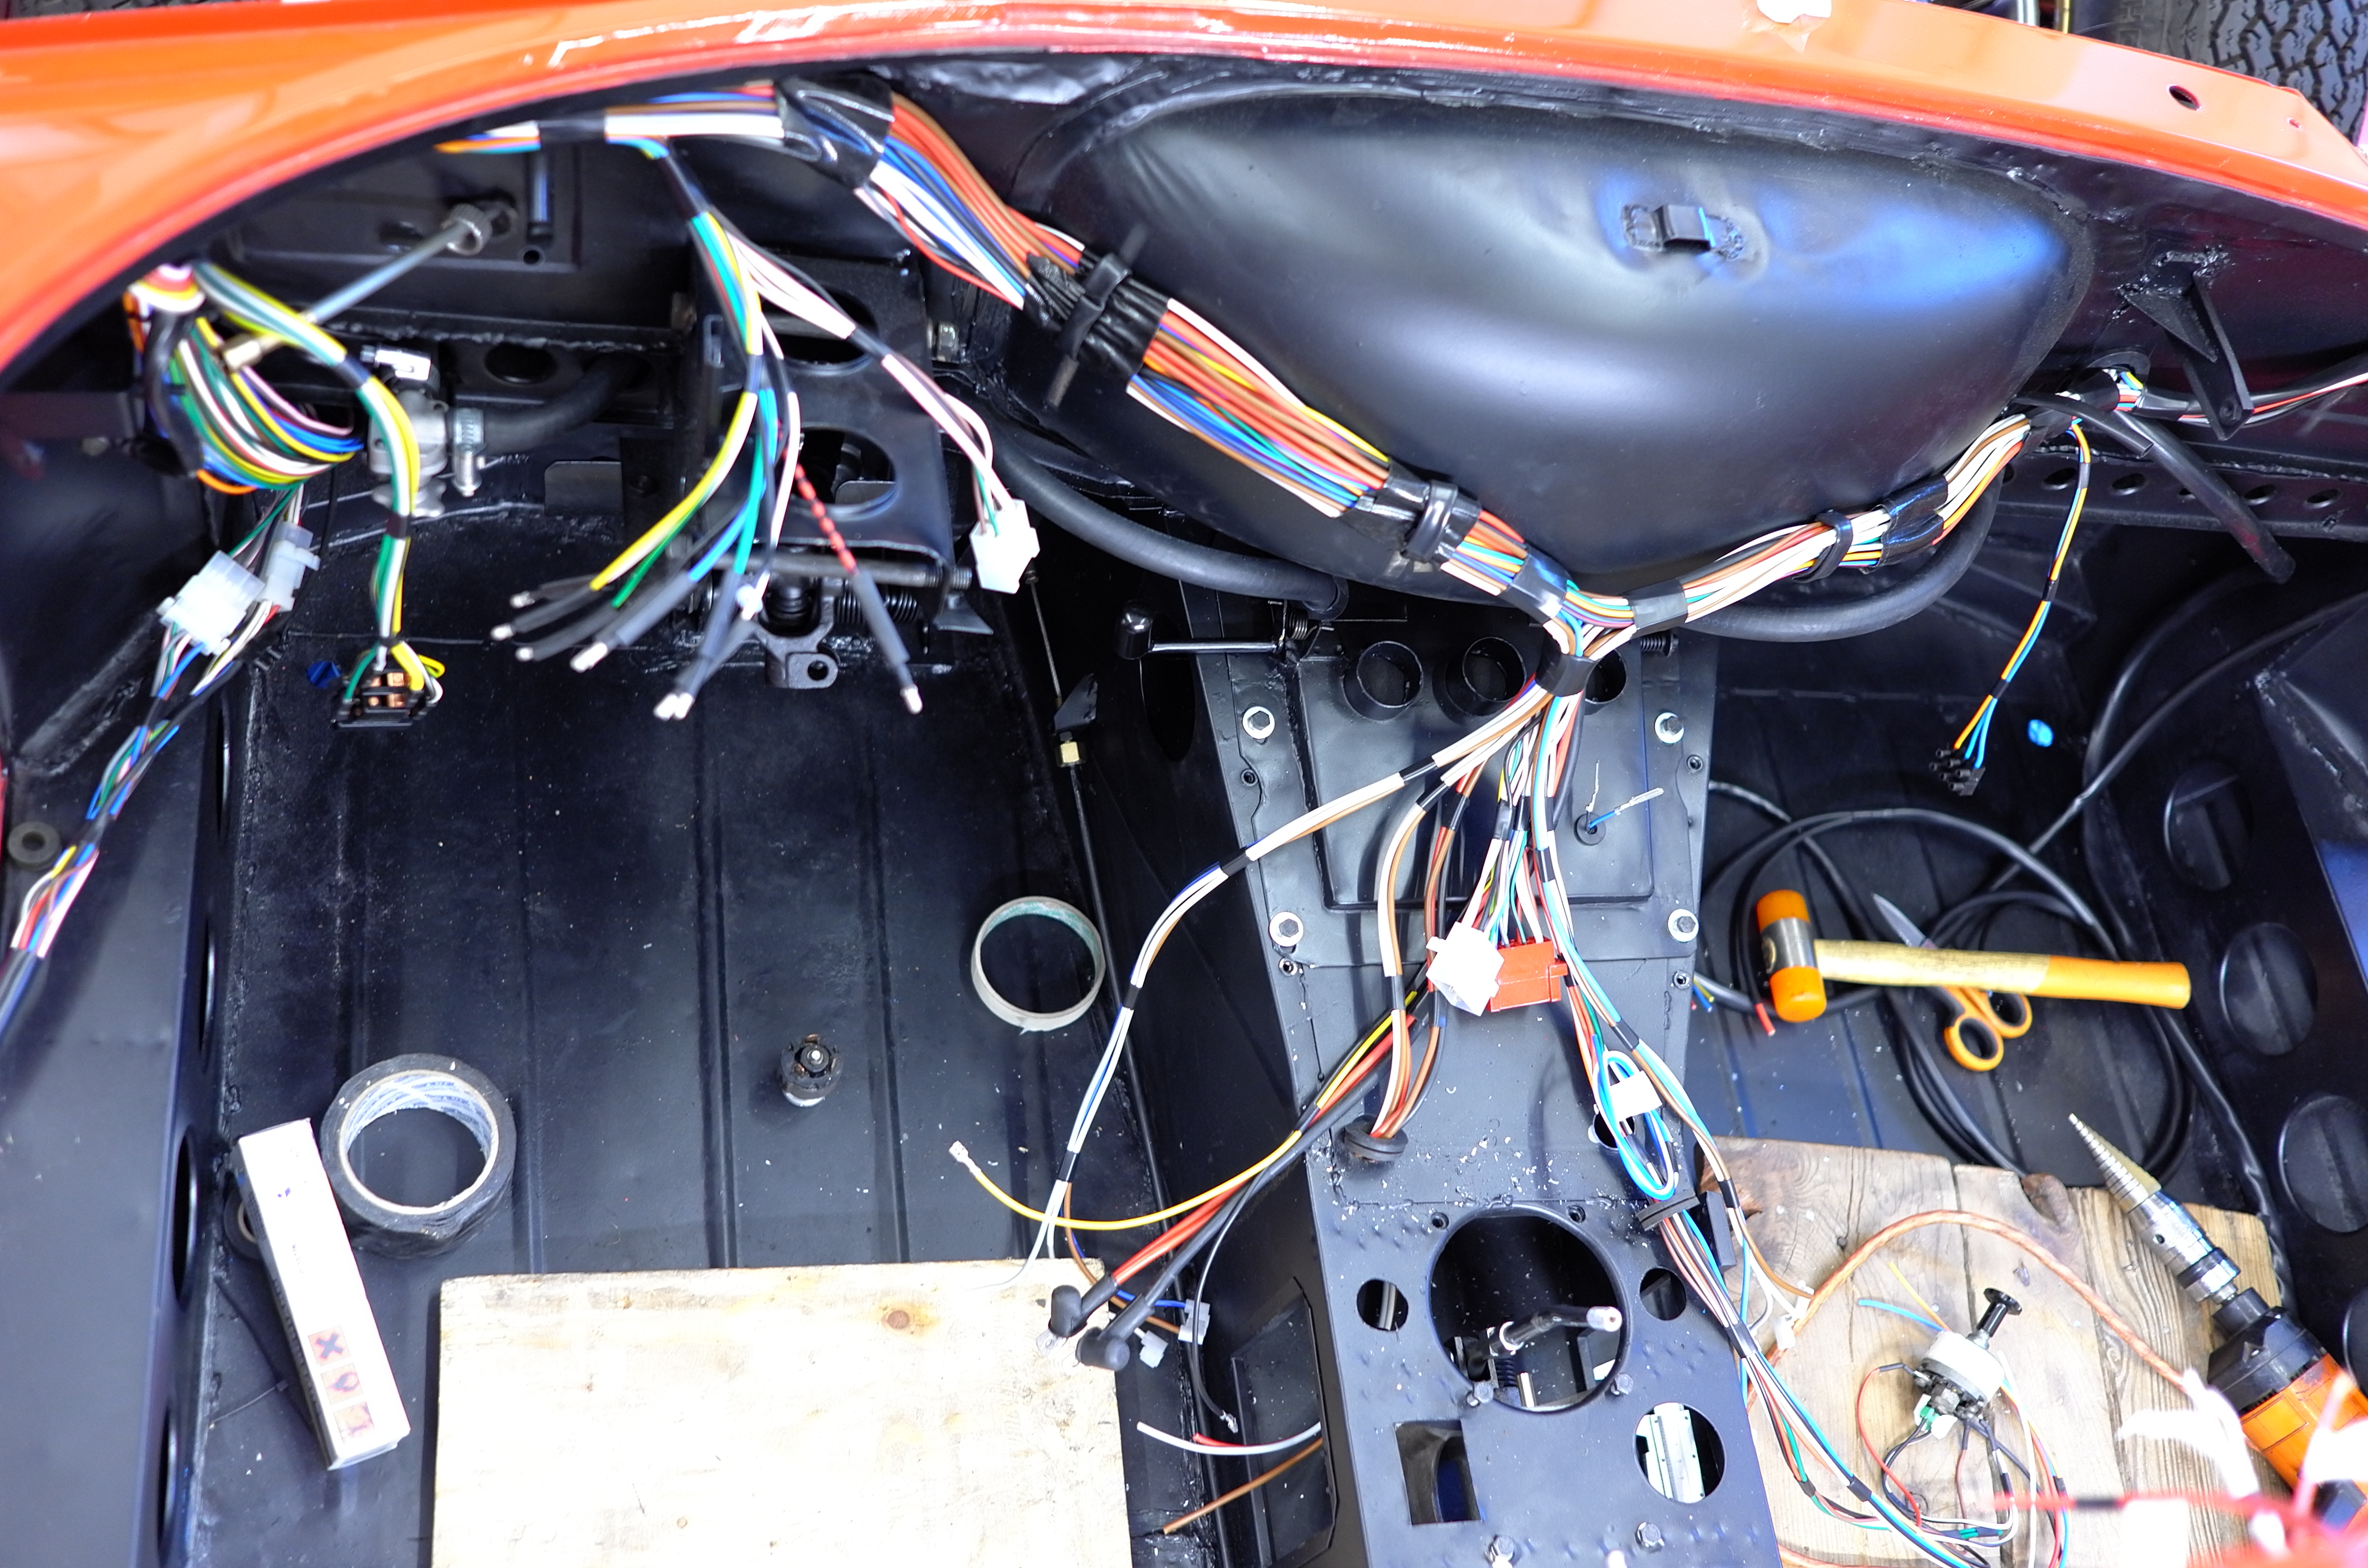
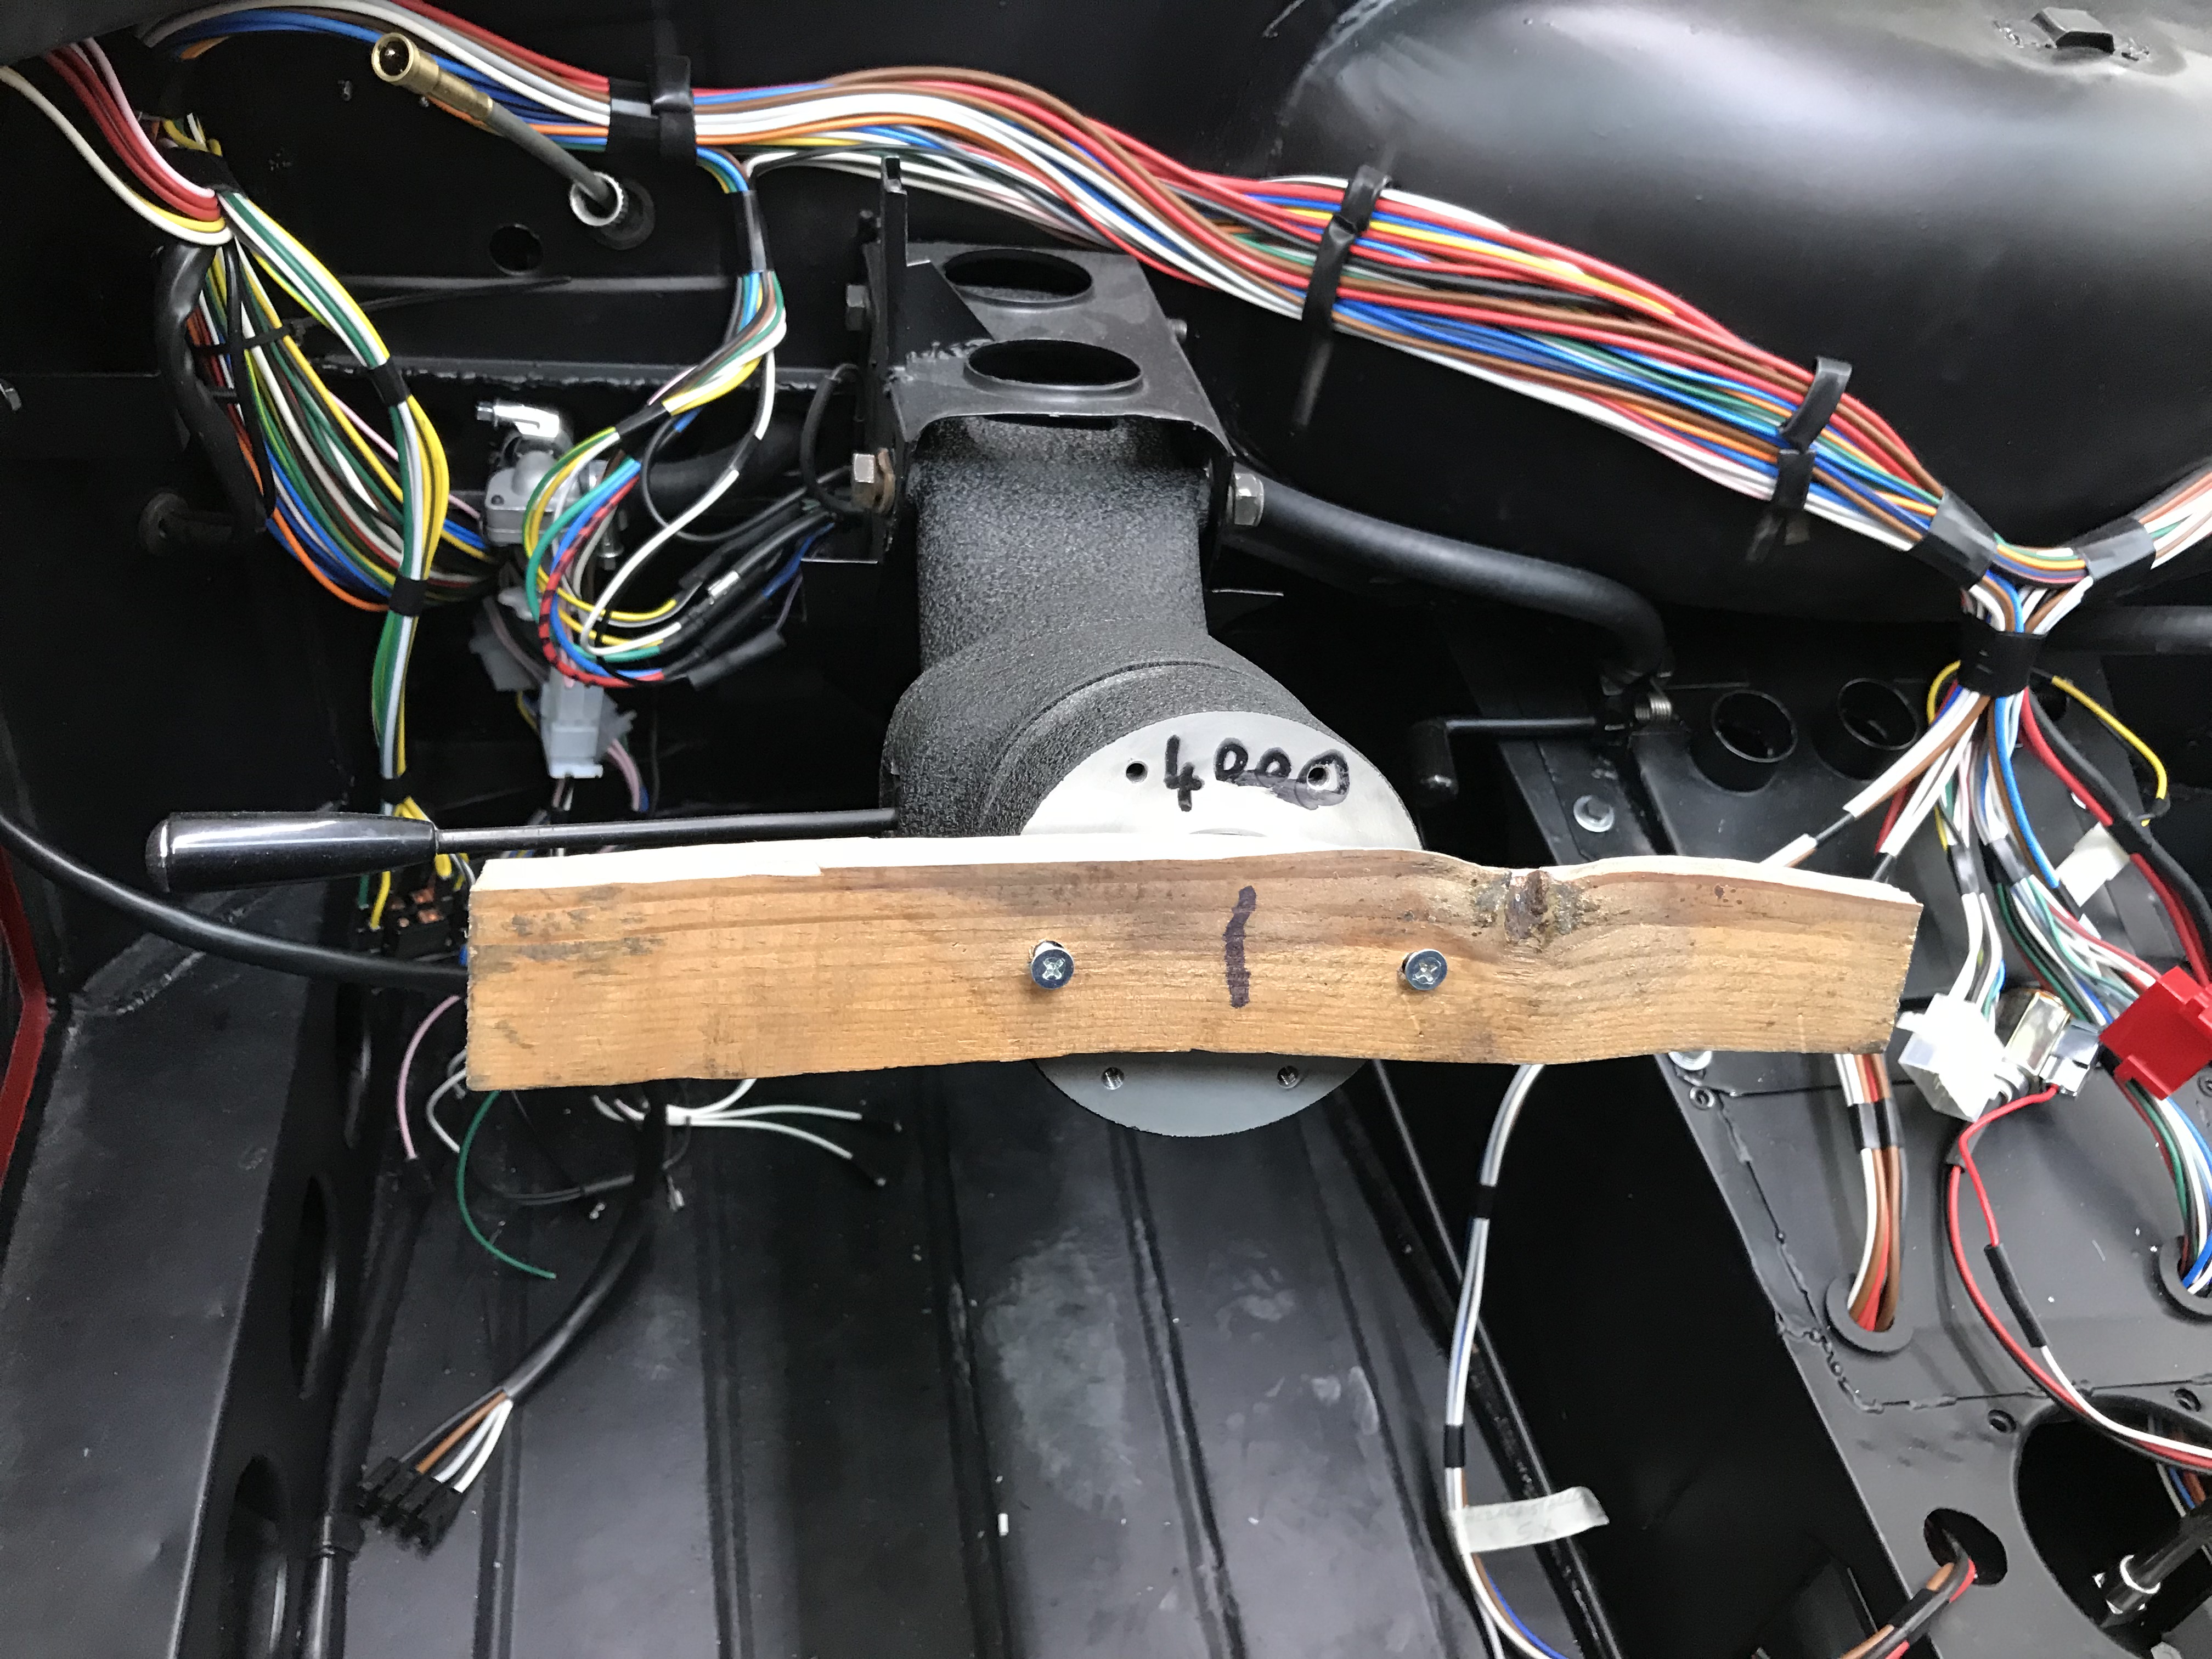
The electrical system is fully reconstructed and all of the recoverable parts are restored. The job was performed by Gatti William Elettrauto.
After 14 months of work, the restoration is complete and the car is ready to be delivered to the owner.
– At Carrozzeria Cremonini Classic, which operates in this prestigious industry since 1986, we work maniacally. In the past, the method was completely different. The market asked for something else. You only need to think that it took 180/200 hours, while now we use beyond 750/850 hours, with a Ferrari 275 we reached 1000 hours. If we compared our hours to those of the manufacturer, we would be 1 out of 5, we restore one, they manufactured 5.
You have certainly found the sentence that summarises all of these years of work, dedicated to varnishing and restoration.
– Many years of work are now a memory, which needs to be brought forward with the knowledge of those who will come after me. Knowledge evolves, mine cannot linger on forever, I’m only a pawn. Products change, as well as regulations and you need to adjust. Over our twelve years of collaboration, Cremonini Classic has given me the chance to grow and to perfect my expertise. We created a close working team, that gained the experience to become an important point of reference in this industry.
– Which is the exemplary car for a perfect restoration?
– My satisfaction of these years of work is fully expressed in the result and Tom Hartley’s Ferrari 275 is the apex of the restoration’s meticulosity. I started off with an original iron grey Salchi jar and I developed, on my own, the necessary quantity to complete the varnishing… reaching the final result was a pleasure. This Ferrari has a very high quality standard and I’m very proud of that. I’d like to take this chance to thank my colleague Davide, who helped me with achieving that excellent result.

– Some steps that I previously described in words may be seen in the video by Mr Tom Hartley Jnr, for the restoration of the marvellous Ferrari 275. Can you spare 58 seconds of your time!? Do you have an Instagram account? Here it is… enjoy! If you have longer, I would recommend you watch the full video that can be found on Mr Tom Hartley Jnr.’s YouTube profile.
Mr Mauro is curious and he would like to extend the confides of his expertise. He would like to talk with foreign restorers, who have different working methods, in order to observe, know, teach… “I am open to confronting anybody. I say that with the confidence of someone who is able to do his own job, not with the presumption of feeling like the best, because I may even be the worse”.
For now, he’s a varnishing teacher in the technical college for the “vintage car restorer” course, promoted by the Modena, Reggio Emilia and Ferrara Department of Studies and advocated by the Automotoclub Storico Italiano.
In our opinion, there are many aspects which link the art of restoration to the art of Chinese calligraphy. We’re not referring to common calligraphy, but to the one which the Japanese call shodō, the “way of writing”. The one which, according to Confucian ethics, is an art tool for moral education. The calligrapher handles the brush dipped in ink, they need to be aware of the elements available and they must “observe” themselves. They need to know the technique, the structure of the characters, but they also need to be able to catch the impulse. The practice of this art requires ongoing commitment and through technical development, it may also acquire the characteristics of a pathway which leads you to refine your own sensitivity and development. It’s a discipline.
Thanks to Mr Mauro Barbieri for his lesson, Carrozzeria Cremonini Classic for their availability in providing us with the images’ archive and the photographer Angelo Rosa for the photographic contribution.
By International Classic
Read also:
Wise hands and restoration – Chapter 1
Wise hands and restoration – Chapter 2