
Lamborghini Miura: emotion captures the gaze
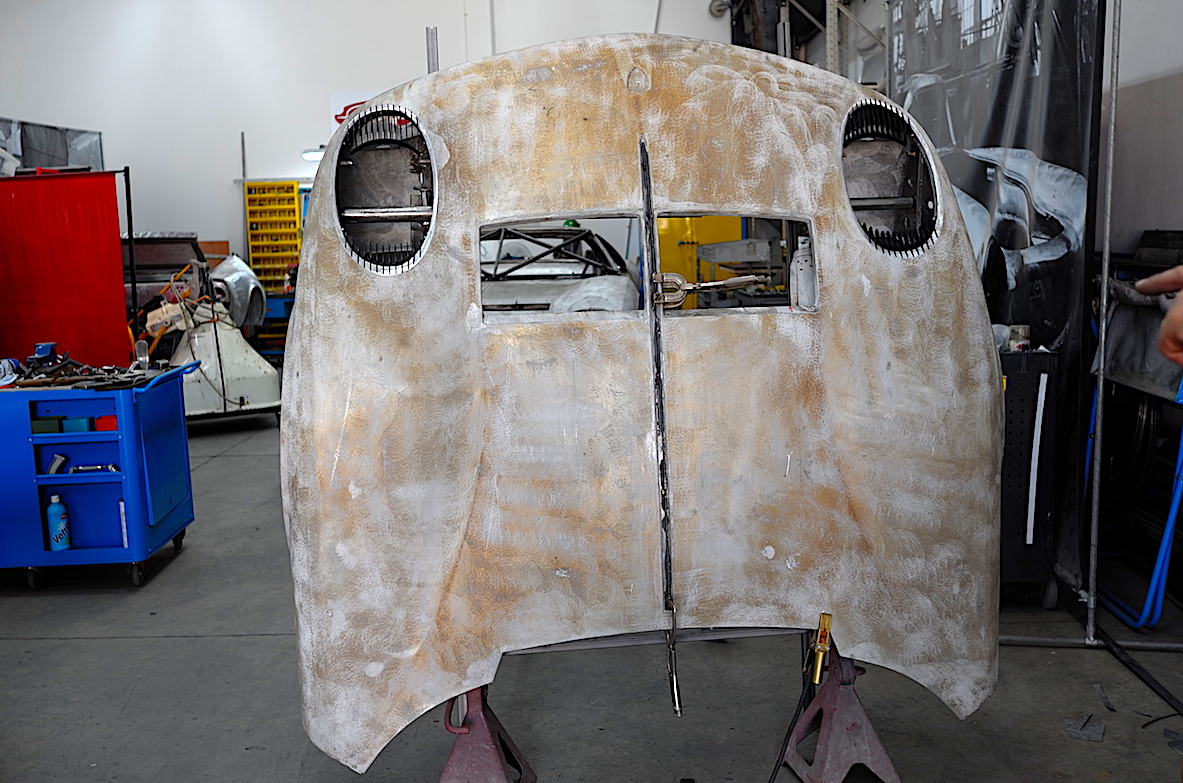
– Now the paint has been stripped, as well as the sealant and the acoustic insulator foam and now that we have the clean, smooth and bare metal we may read the car’s history… some have lived through such storms!
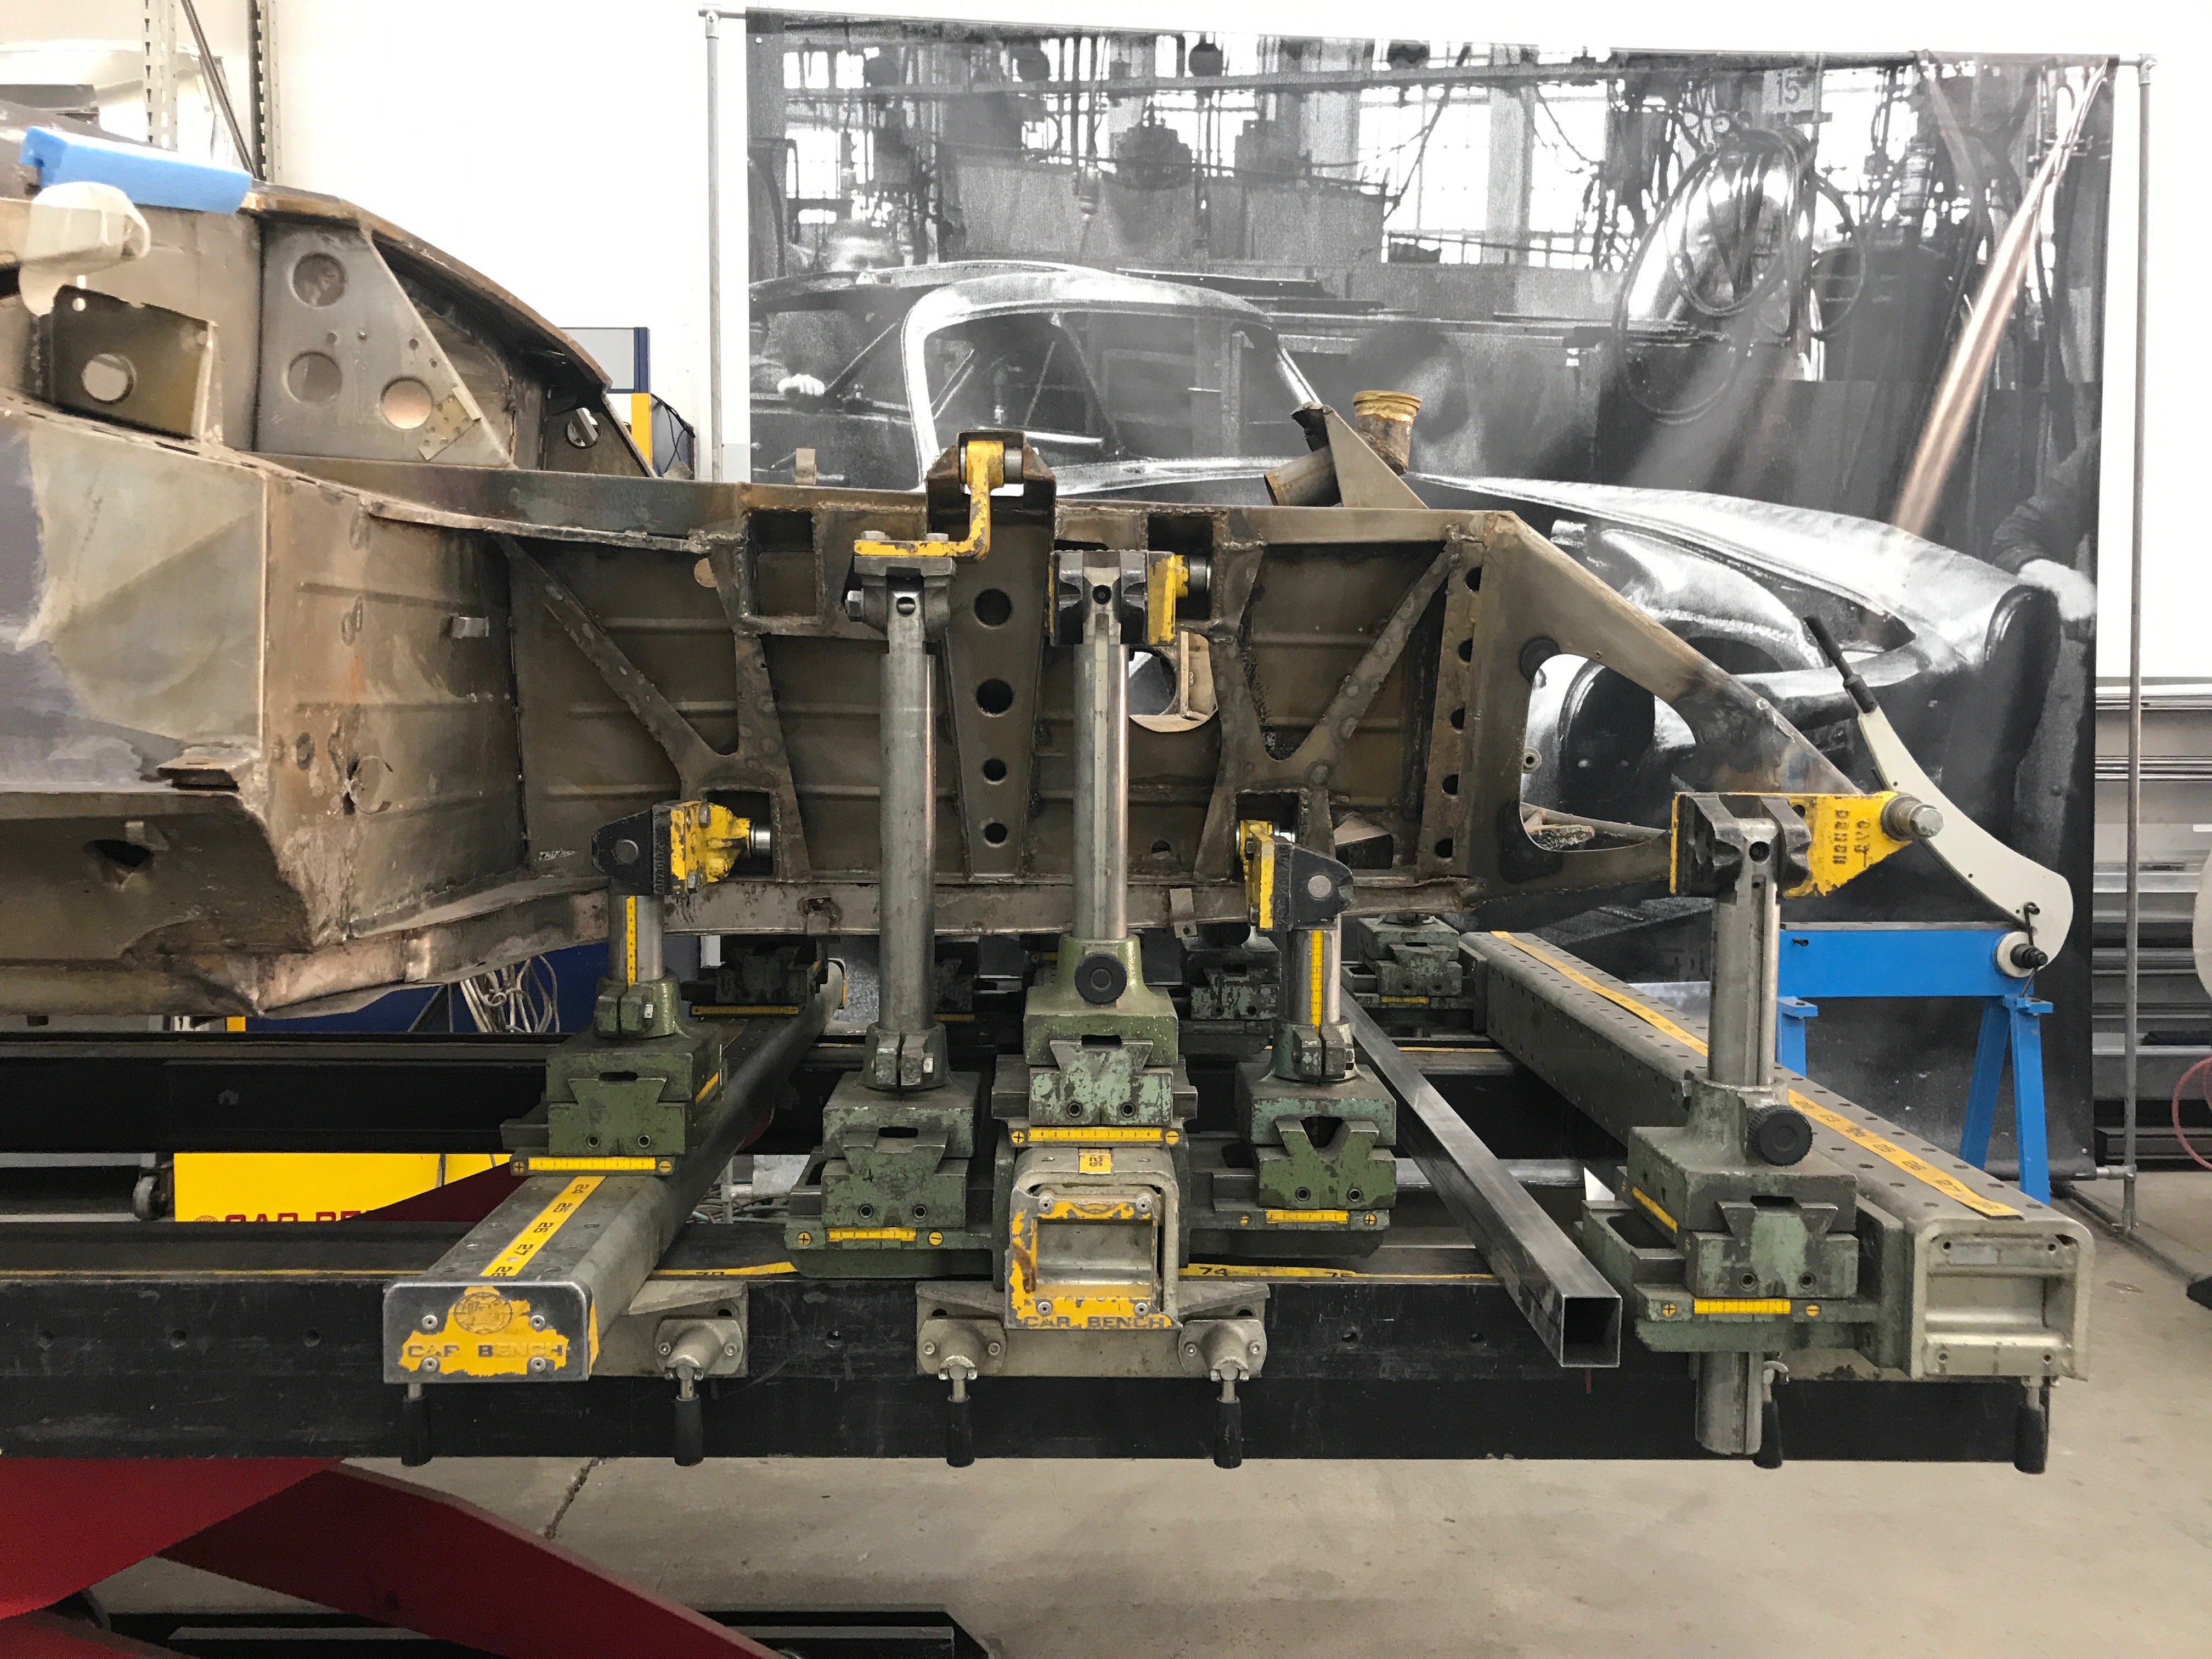
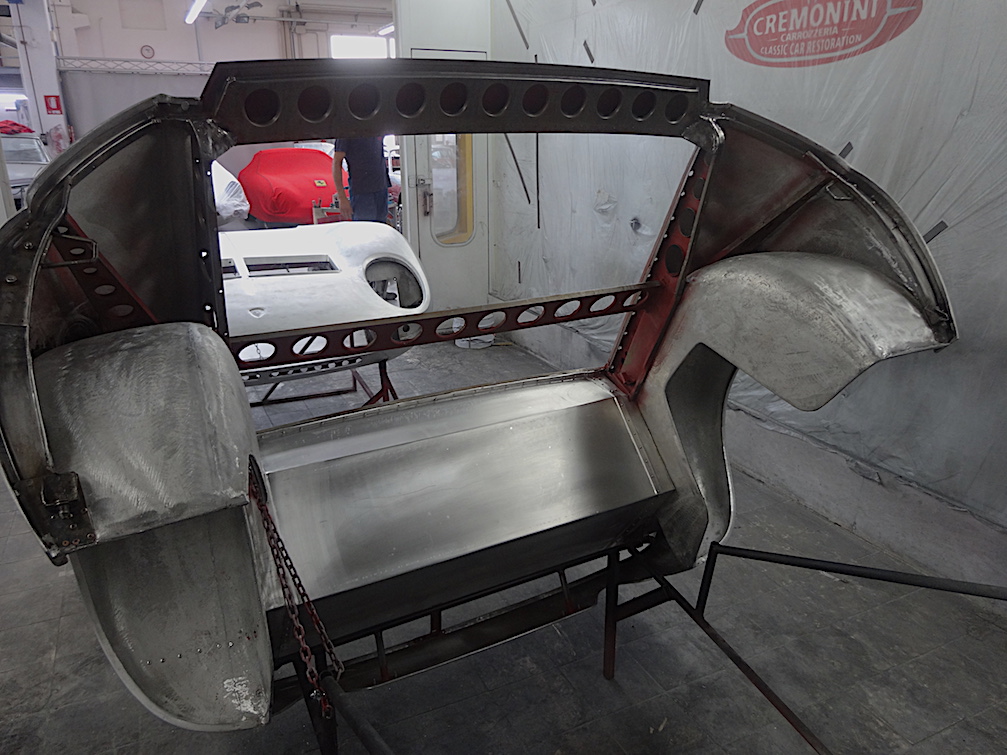
The car goes back to the body shop for the inspection of the metal sheet: the diagnosis of the chassis needs to go through the dime bench. We check that it didn’t have any accidents, because the shell needs to be aligned. Once the correspondence of all of the measurements has been checked, we may proceed with the different processes. This is the phase when we consider the rotation of the encumbrance of doors and boots. We calculate tolerances which enable the varnisher to do the shutlines, the flat panels and so on. During this phase you have no points of reference, because the car is disassembled. Potentially, while you’re working, it may seem that everything is right but… it won’t all go smoothly. Final corrections will be implemented by the varnisher, during the prepping and plastering phase.
This intermediate step is very important, you work by reasoning in perspective for the process that will following. This is the only way which enables us to achieve the perfection that we guarantee at Cremonini Classic.
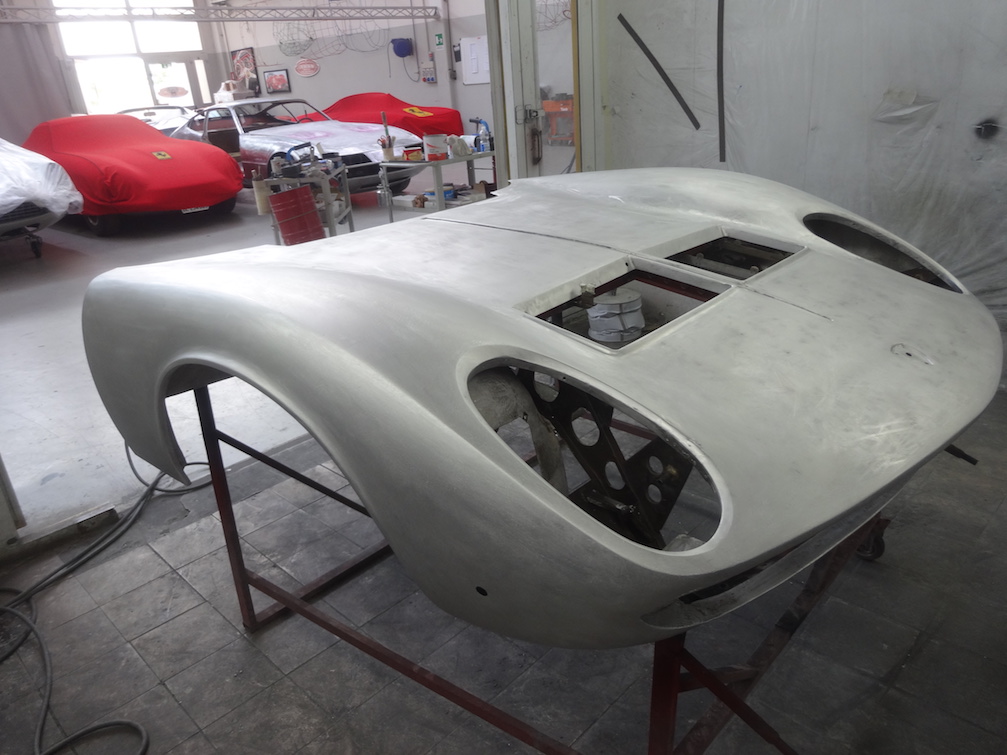
– We work to bring everything back to what it was like originally, therefore, if there was any wear, the metal sheets will be replaced. Lamborghini used thin 10/10 metal sheets, sometimes we use 12/12 ones, for example in bonnets. This enables us to have a larger margin when we need to sand it down.
– Are the past’s alloys the same as today?
– The raw material used is the very same, yesterday just like today. Our purpose is preserving as much as we can of the original car. In my opinion, when possible, we need to restrict the replacement of parts to 40%, to fit within the originality parameters. We’re talking about cars that are forty or fifty years old, so something will be unavoidably deteriorated. Being able to save or even restore what was born back then always depends on the degree of wear. If the aluminium or metal sheet are corroded and there are weaknesses, there is no point in being stubborn, it will need to be replaced.
– Are we all able to bring a classic car back to what it was like originally? – Mauro asks us this question. We’ll let him answer it – Restoring is a choral job, a single part of it being successful isn’t enough, it’s a whole that needs to be coordinated and this makes it even more difficult. No, in my opinion, we’re not all capable of doing that.
There are restorers who are specialised on one brand, even just on some models and if the first restoration could be an experience – the first is always the first – sooner or later you will become a “master”.
– Are today’s restoration standards different to ten years ago?
– The evolution that has taken place over the last two or three years has changed the cards: everything is exasperated today. Cars which were restored ten years ago wouldn’t be fit for purpose today, the research for utmost perfection is mainly due to the clients’ requests.
The different Concours d’elegance are in open conflict with conservative restoration. In some cases, qualitative evaluations in those areas aren’t always compatible with a hand-made car.
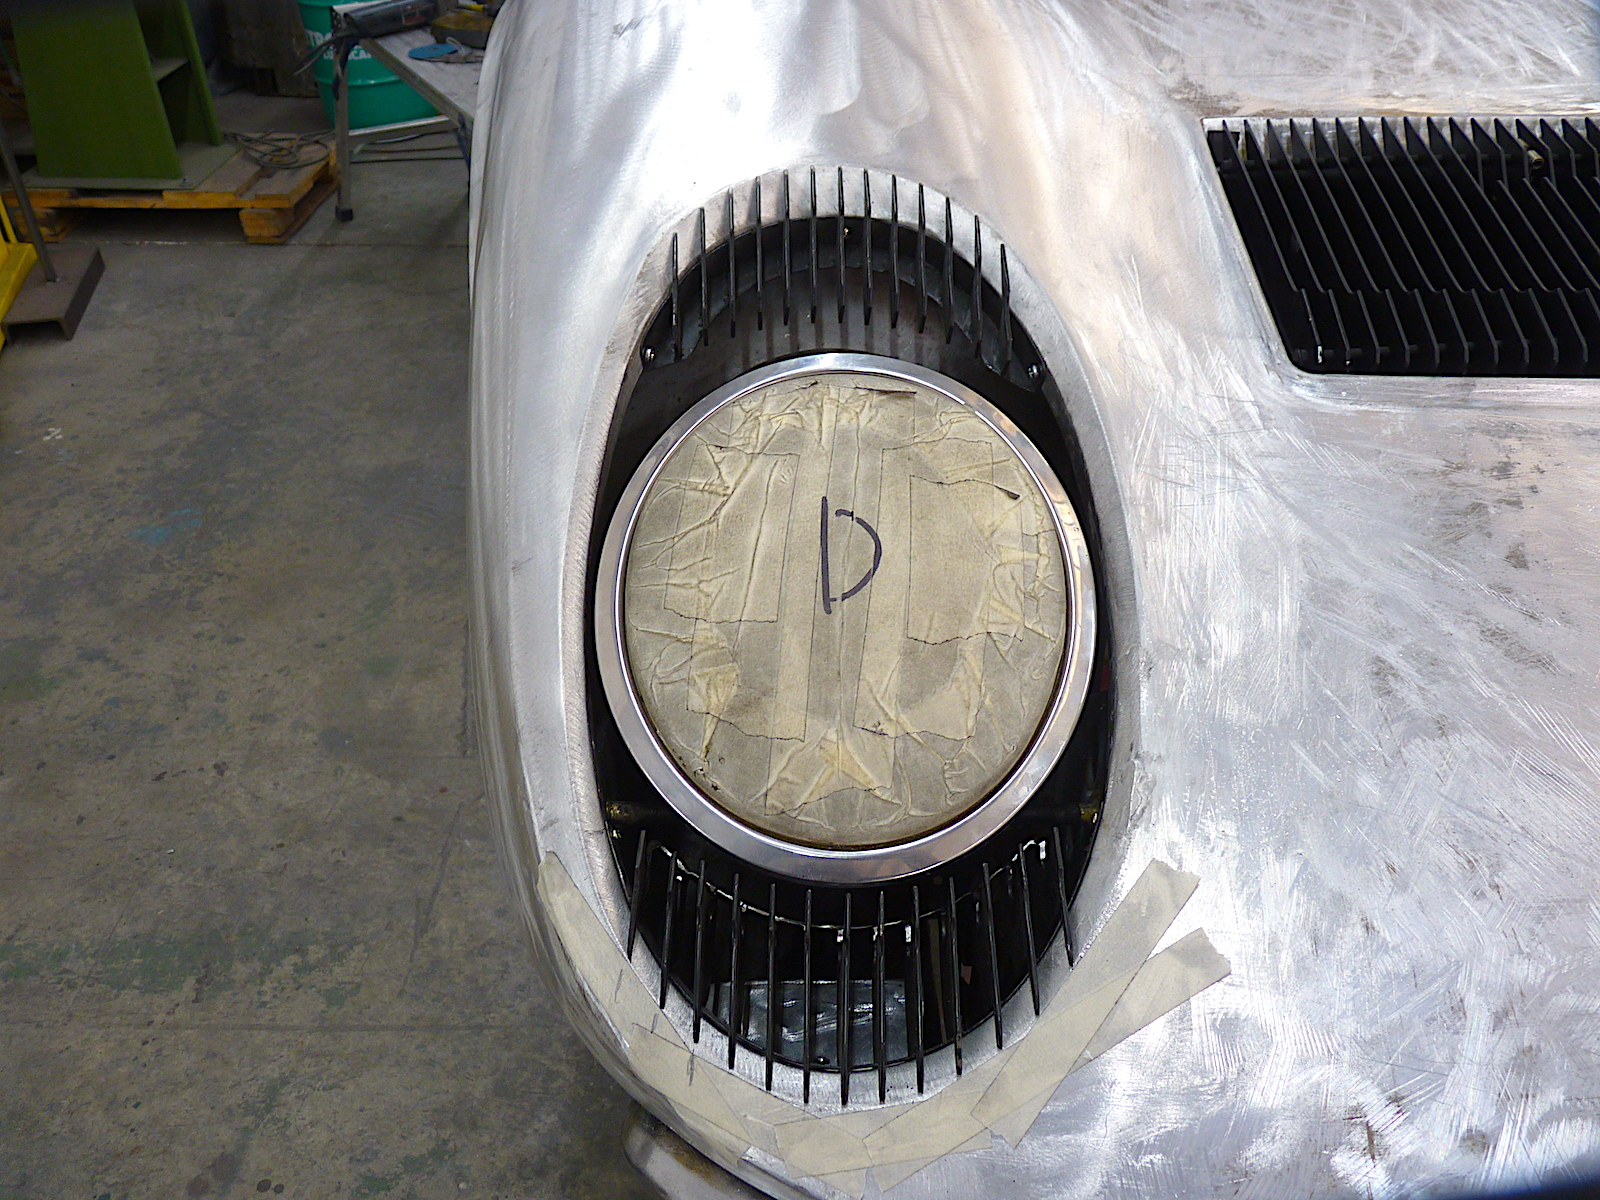
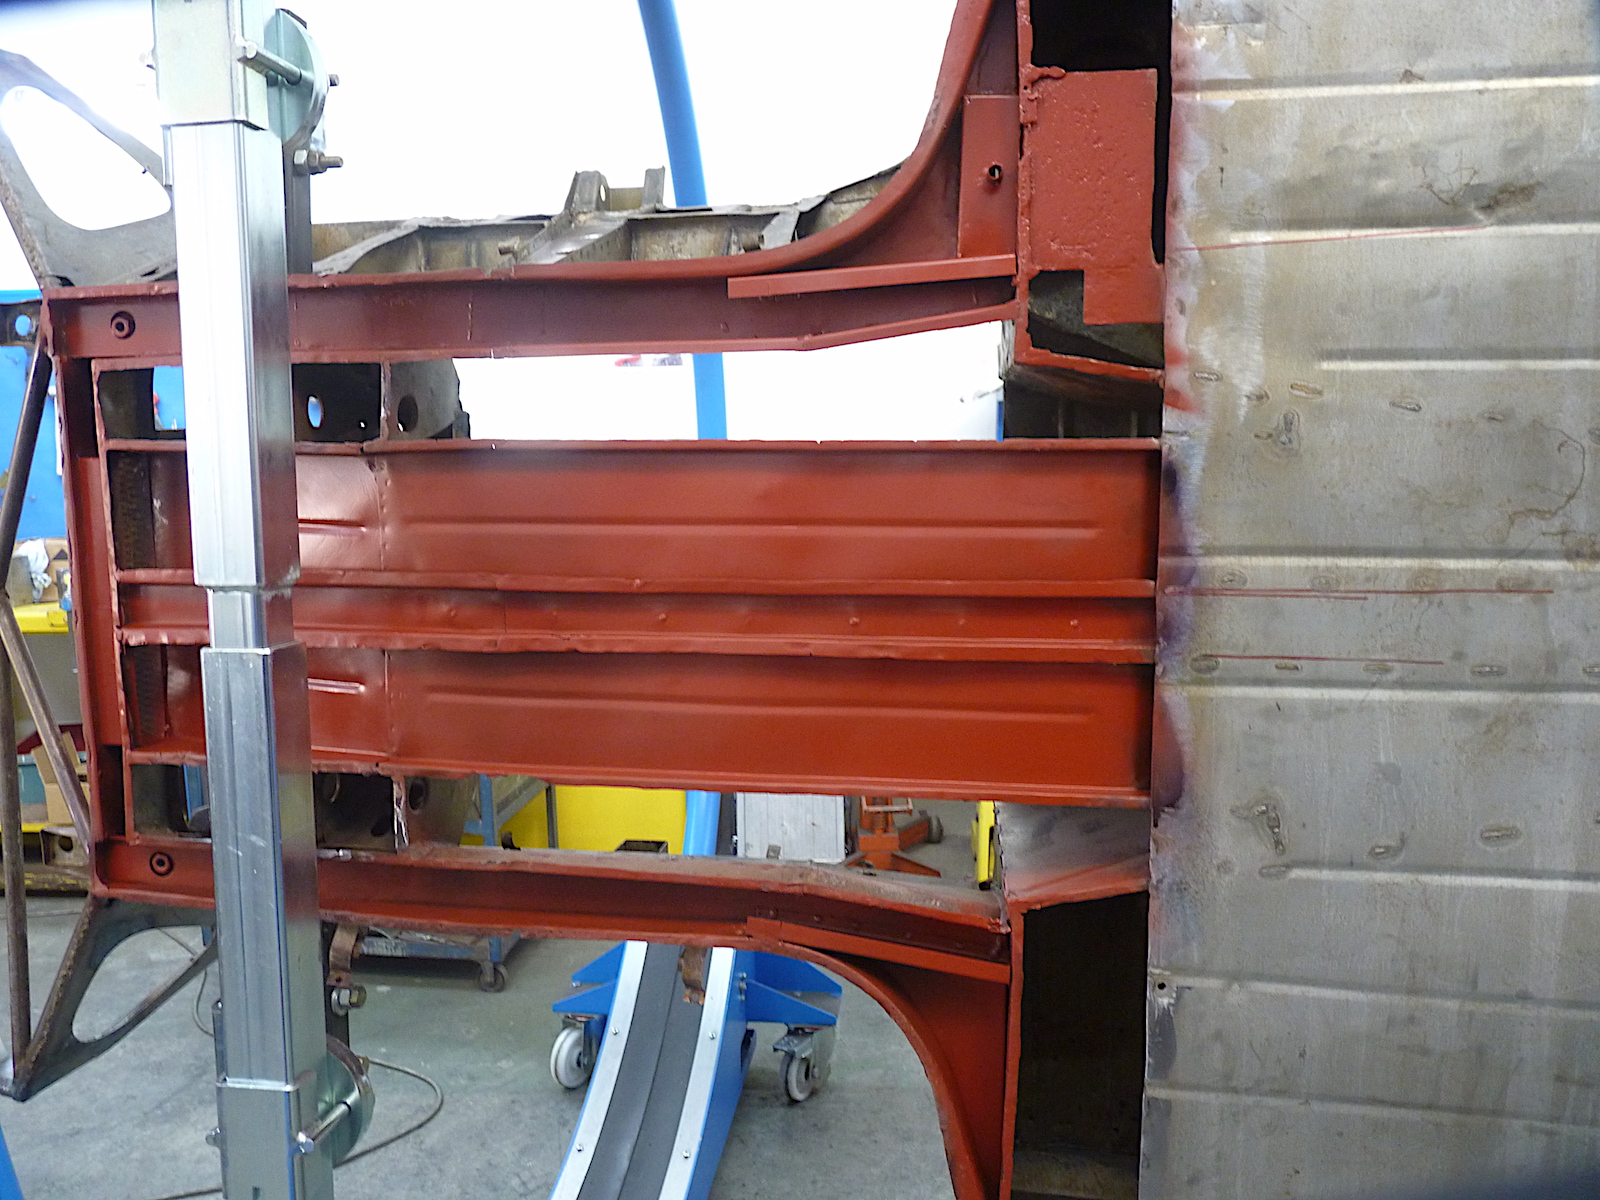
Checking the measurements: the distance between the bumper and the bonnet need to be equidistant with all spacers – we use the dime to check the inclination of the central moulding. A pre-assembly of all of the parts follows it’s a test. This is the first complete assembly to check that everything is aligned. The first mounting of the chrome light surrounds needs to be done overall with the bare metal work, we perform a second check afterwards, after working out the perimeters of the headlamp and the blackwork (plastic fittings). It’s a double-check, there could be some parts to be plastered to make the area smoother. It takes a lot more hours than those that you imagined, in order to achieve a result which is as close to perfection as possible, doesn’t it?
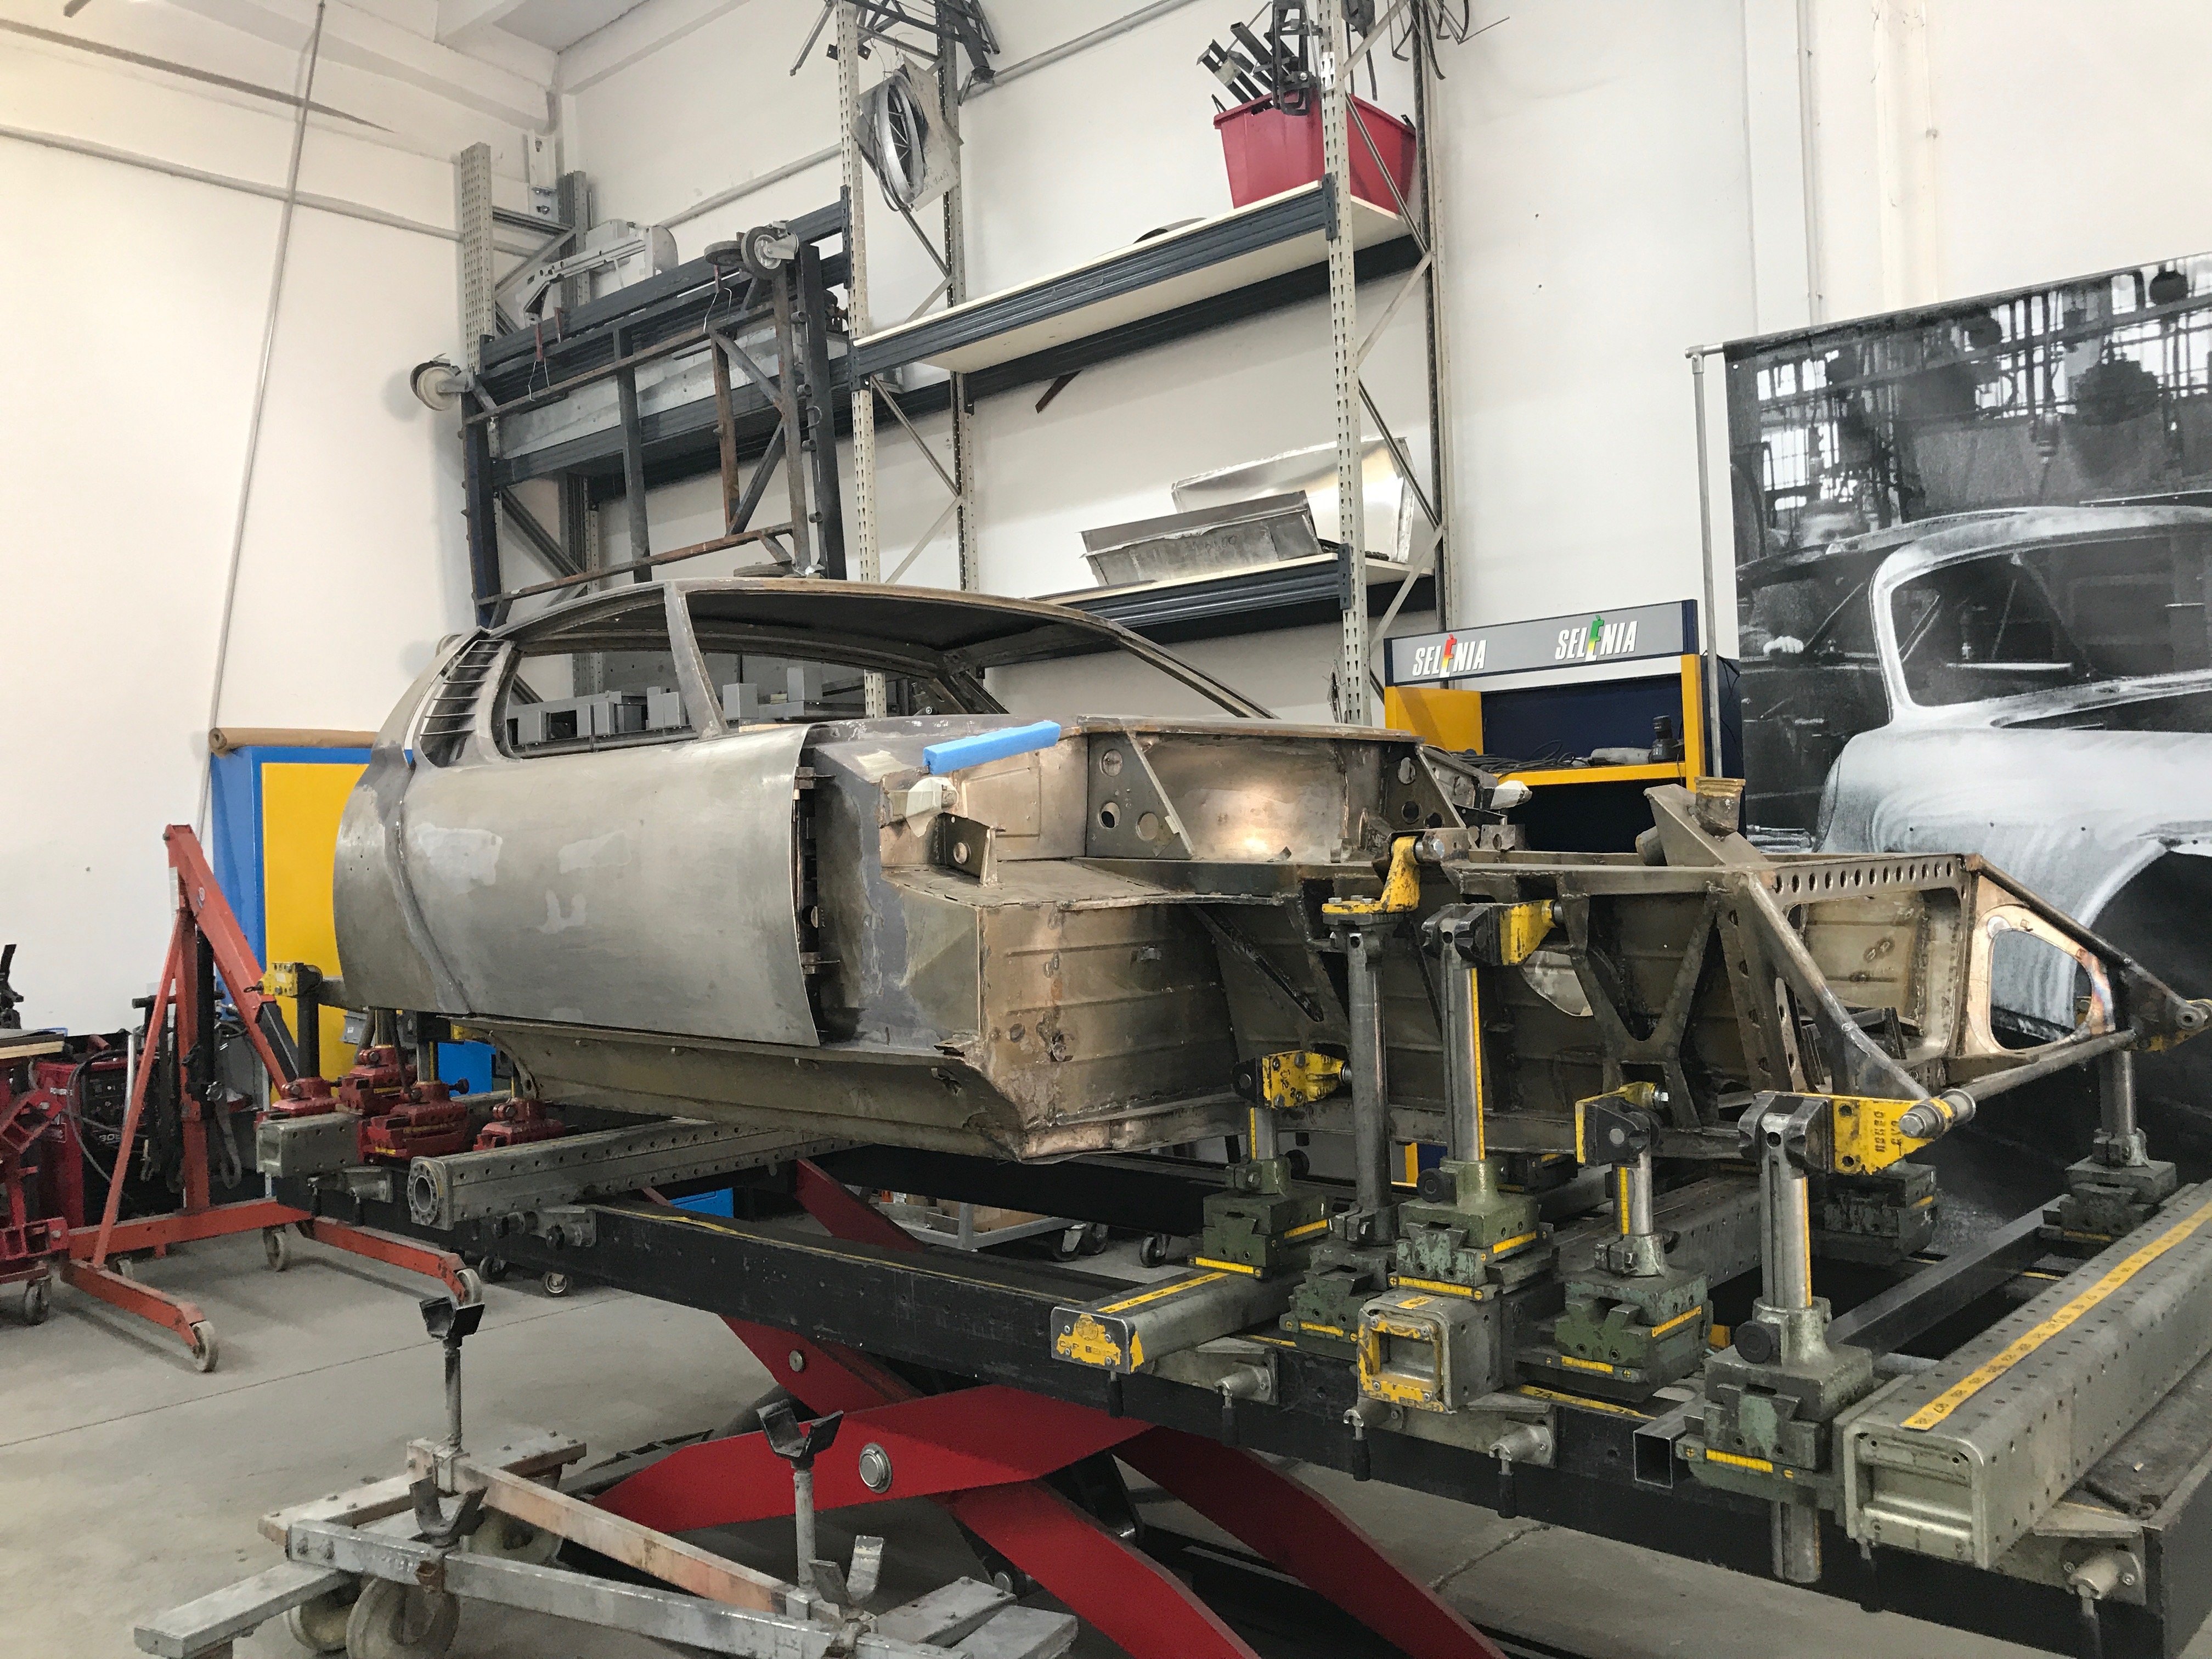
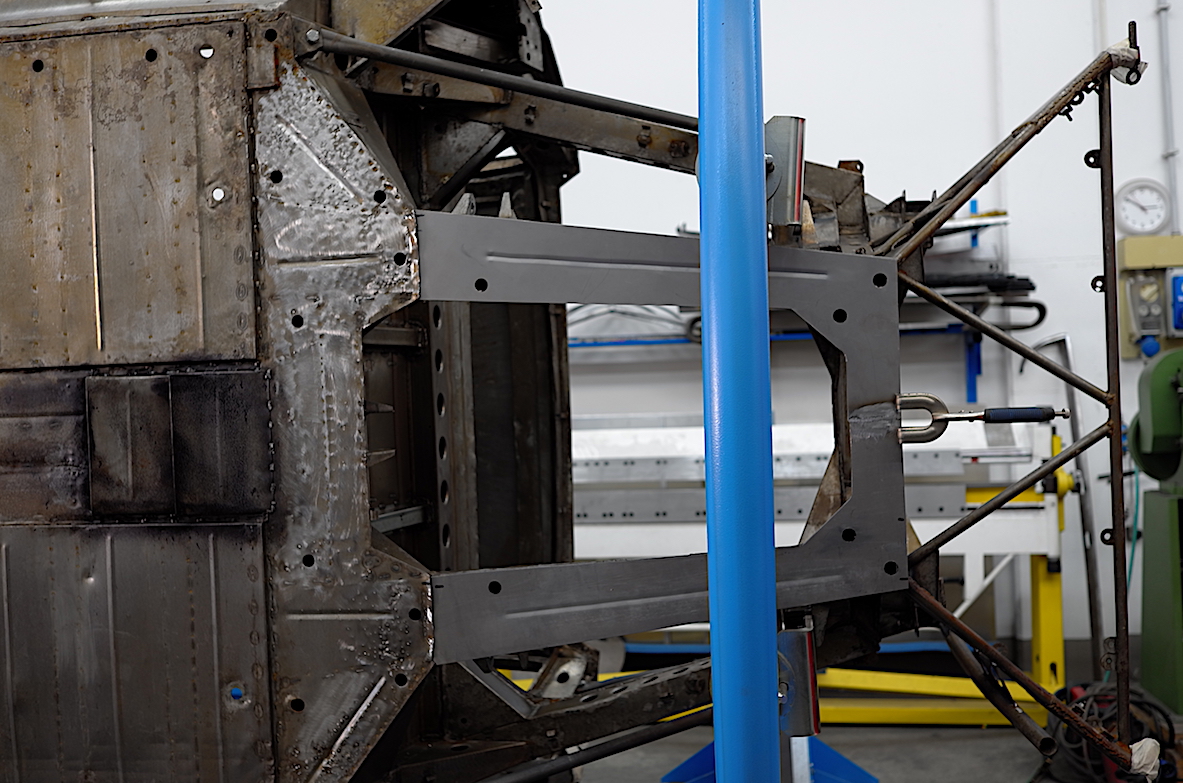
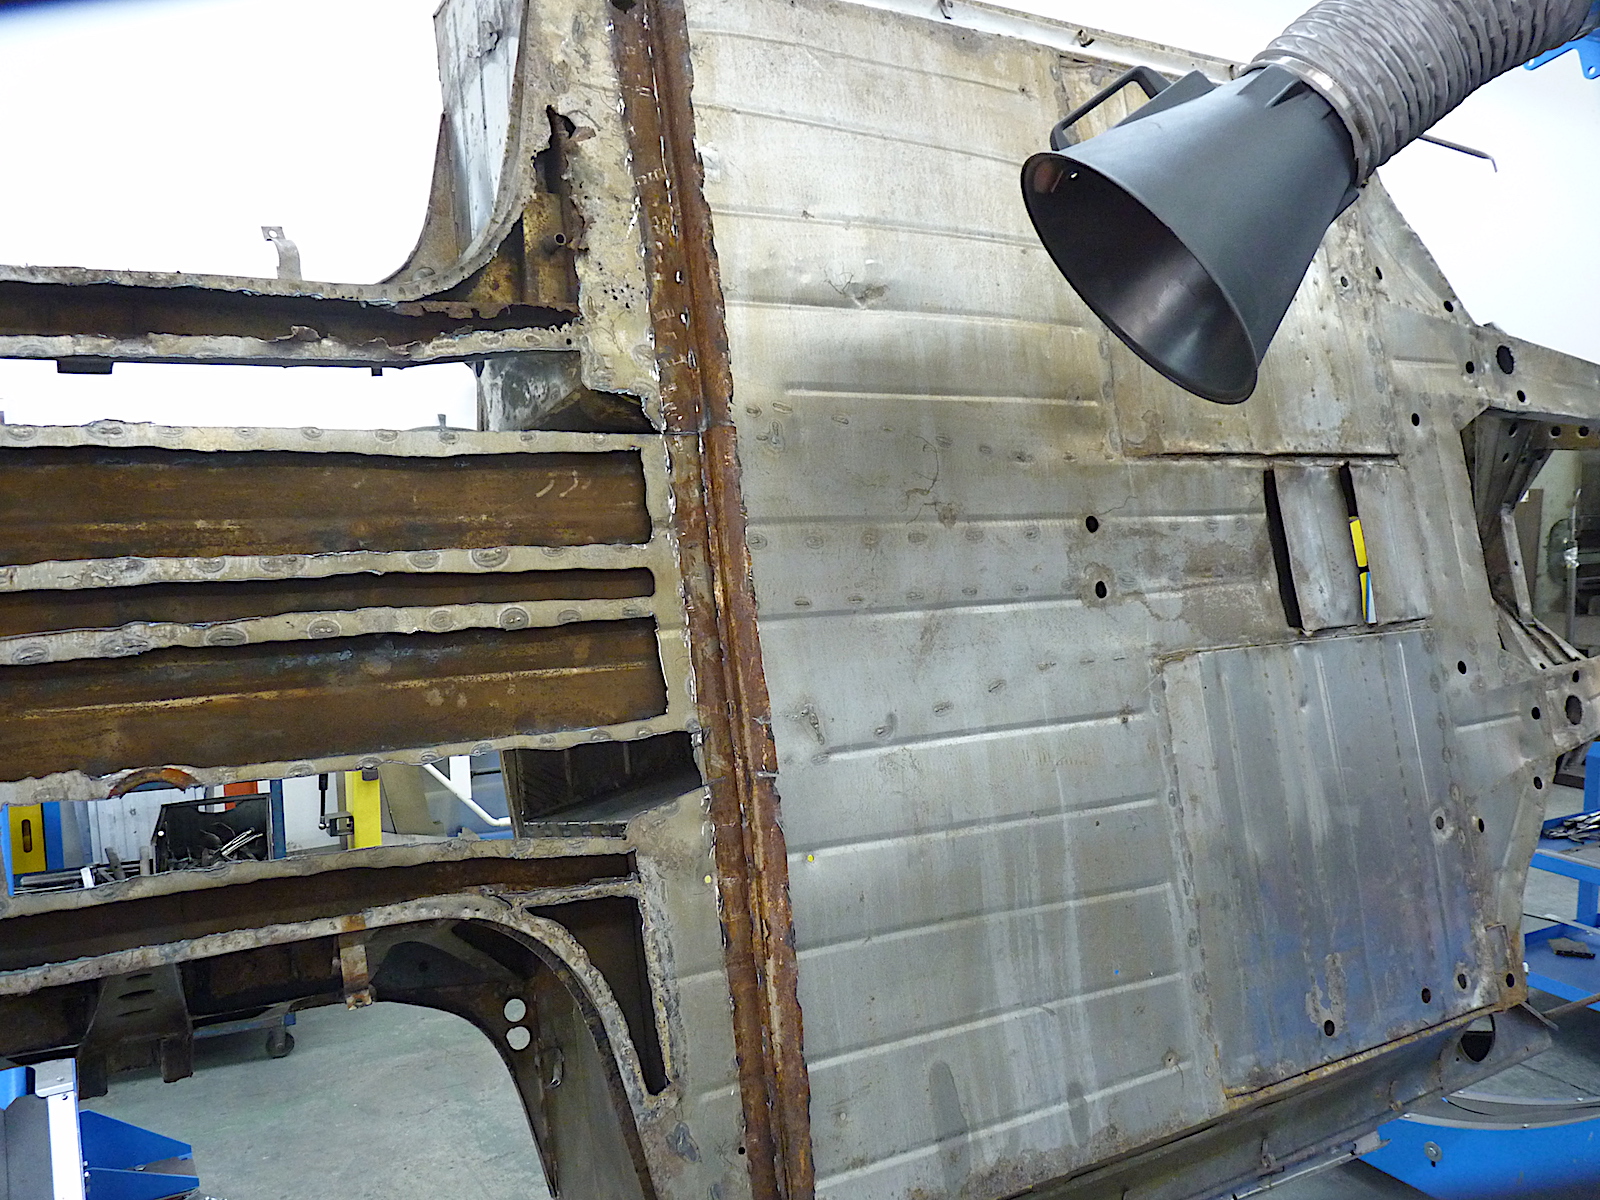
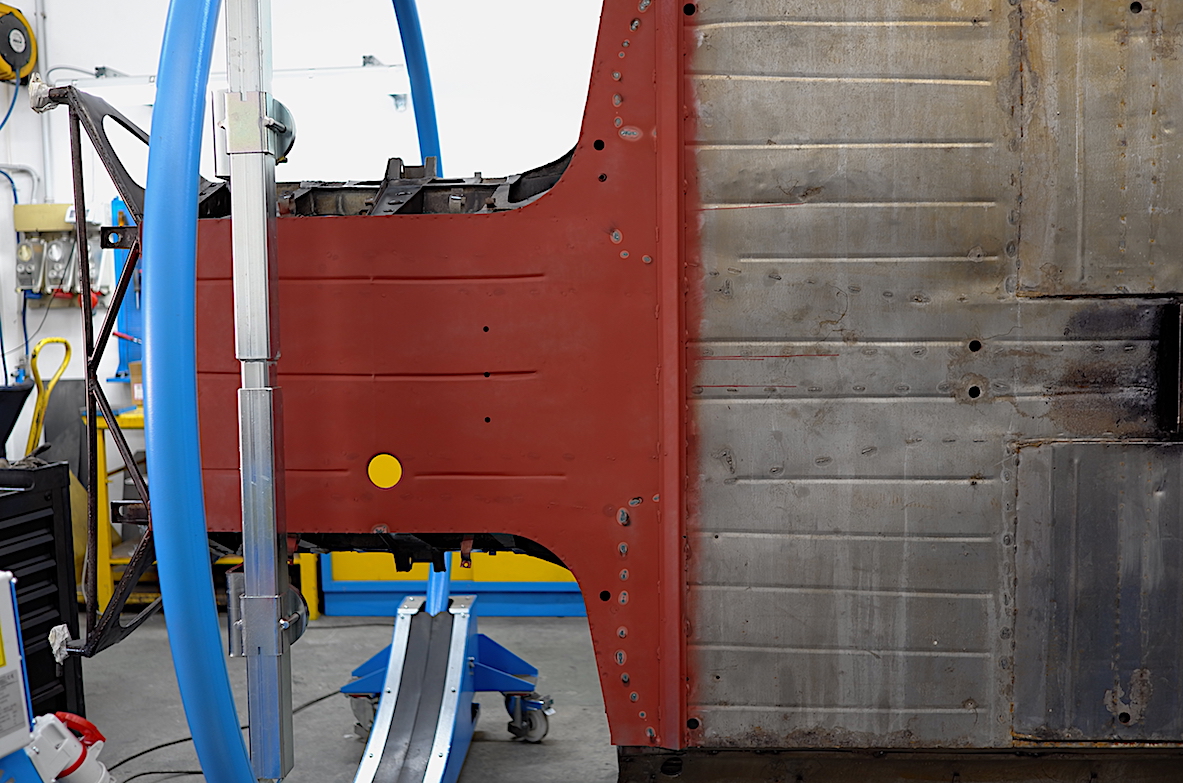
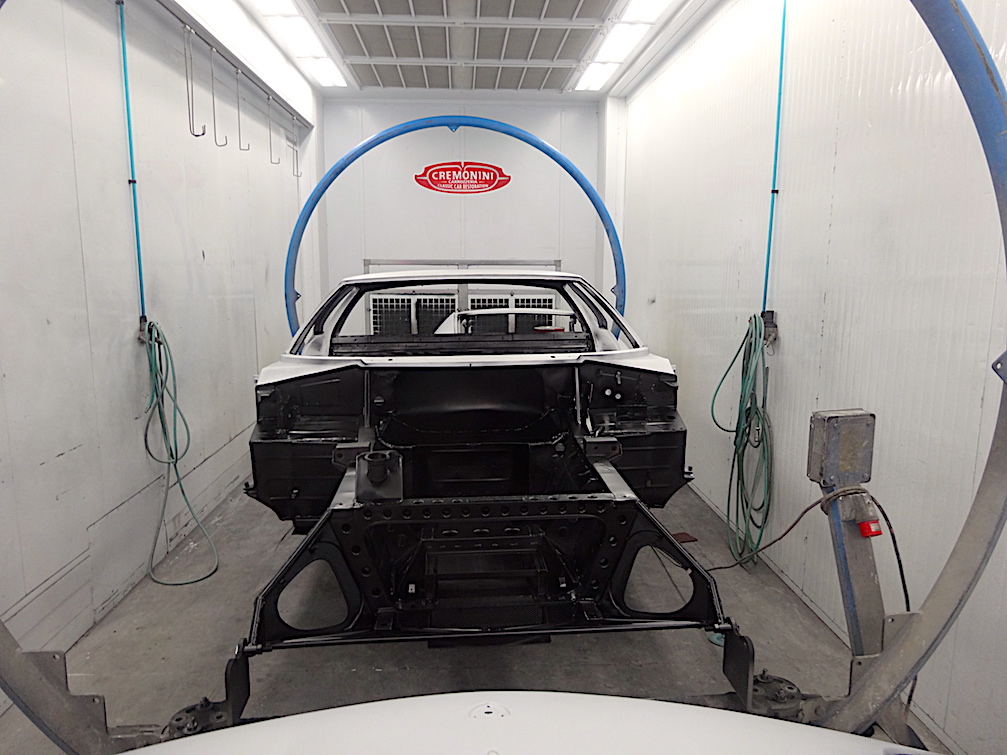
Shell on the positioner to start working on the lower parts.
The cradle that contains the engine is subject to corrosion because it’s a metal box. You proceed with removing and reconstructing the lower part, after removing all of the corrosion.
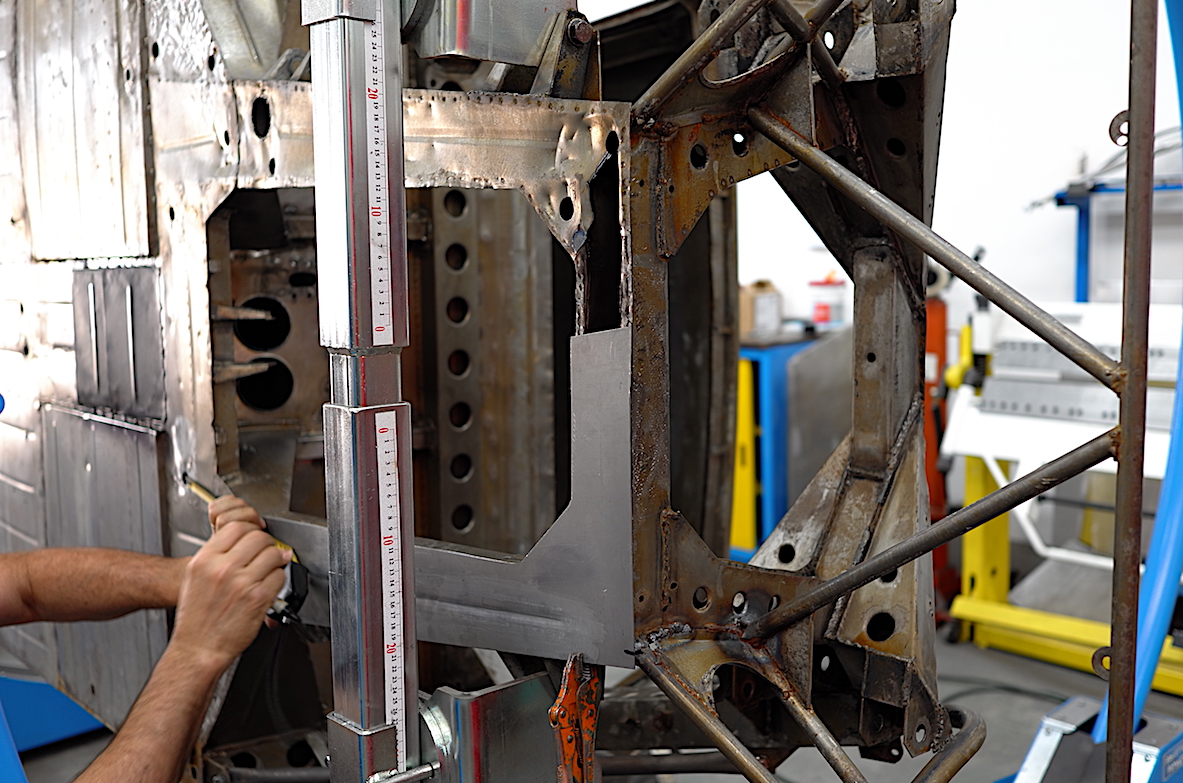
– The corrosion issues in the front bottom parts are common to all Miura’s, if the sealing hasn’t been performed – which we do at all times. Water tends to stop exactly in that spot.
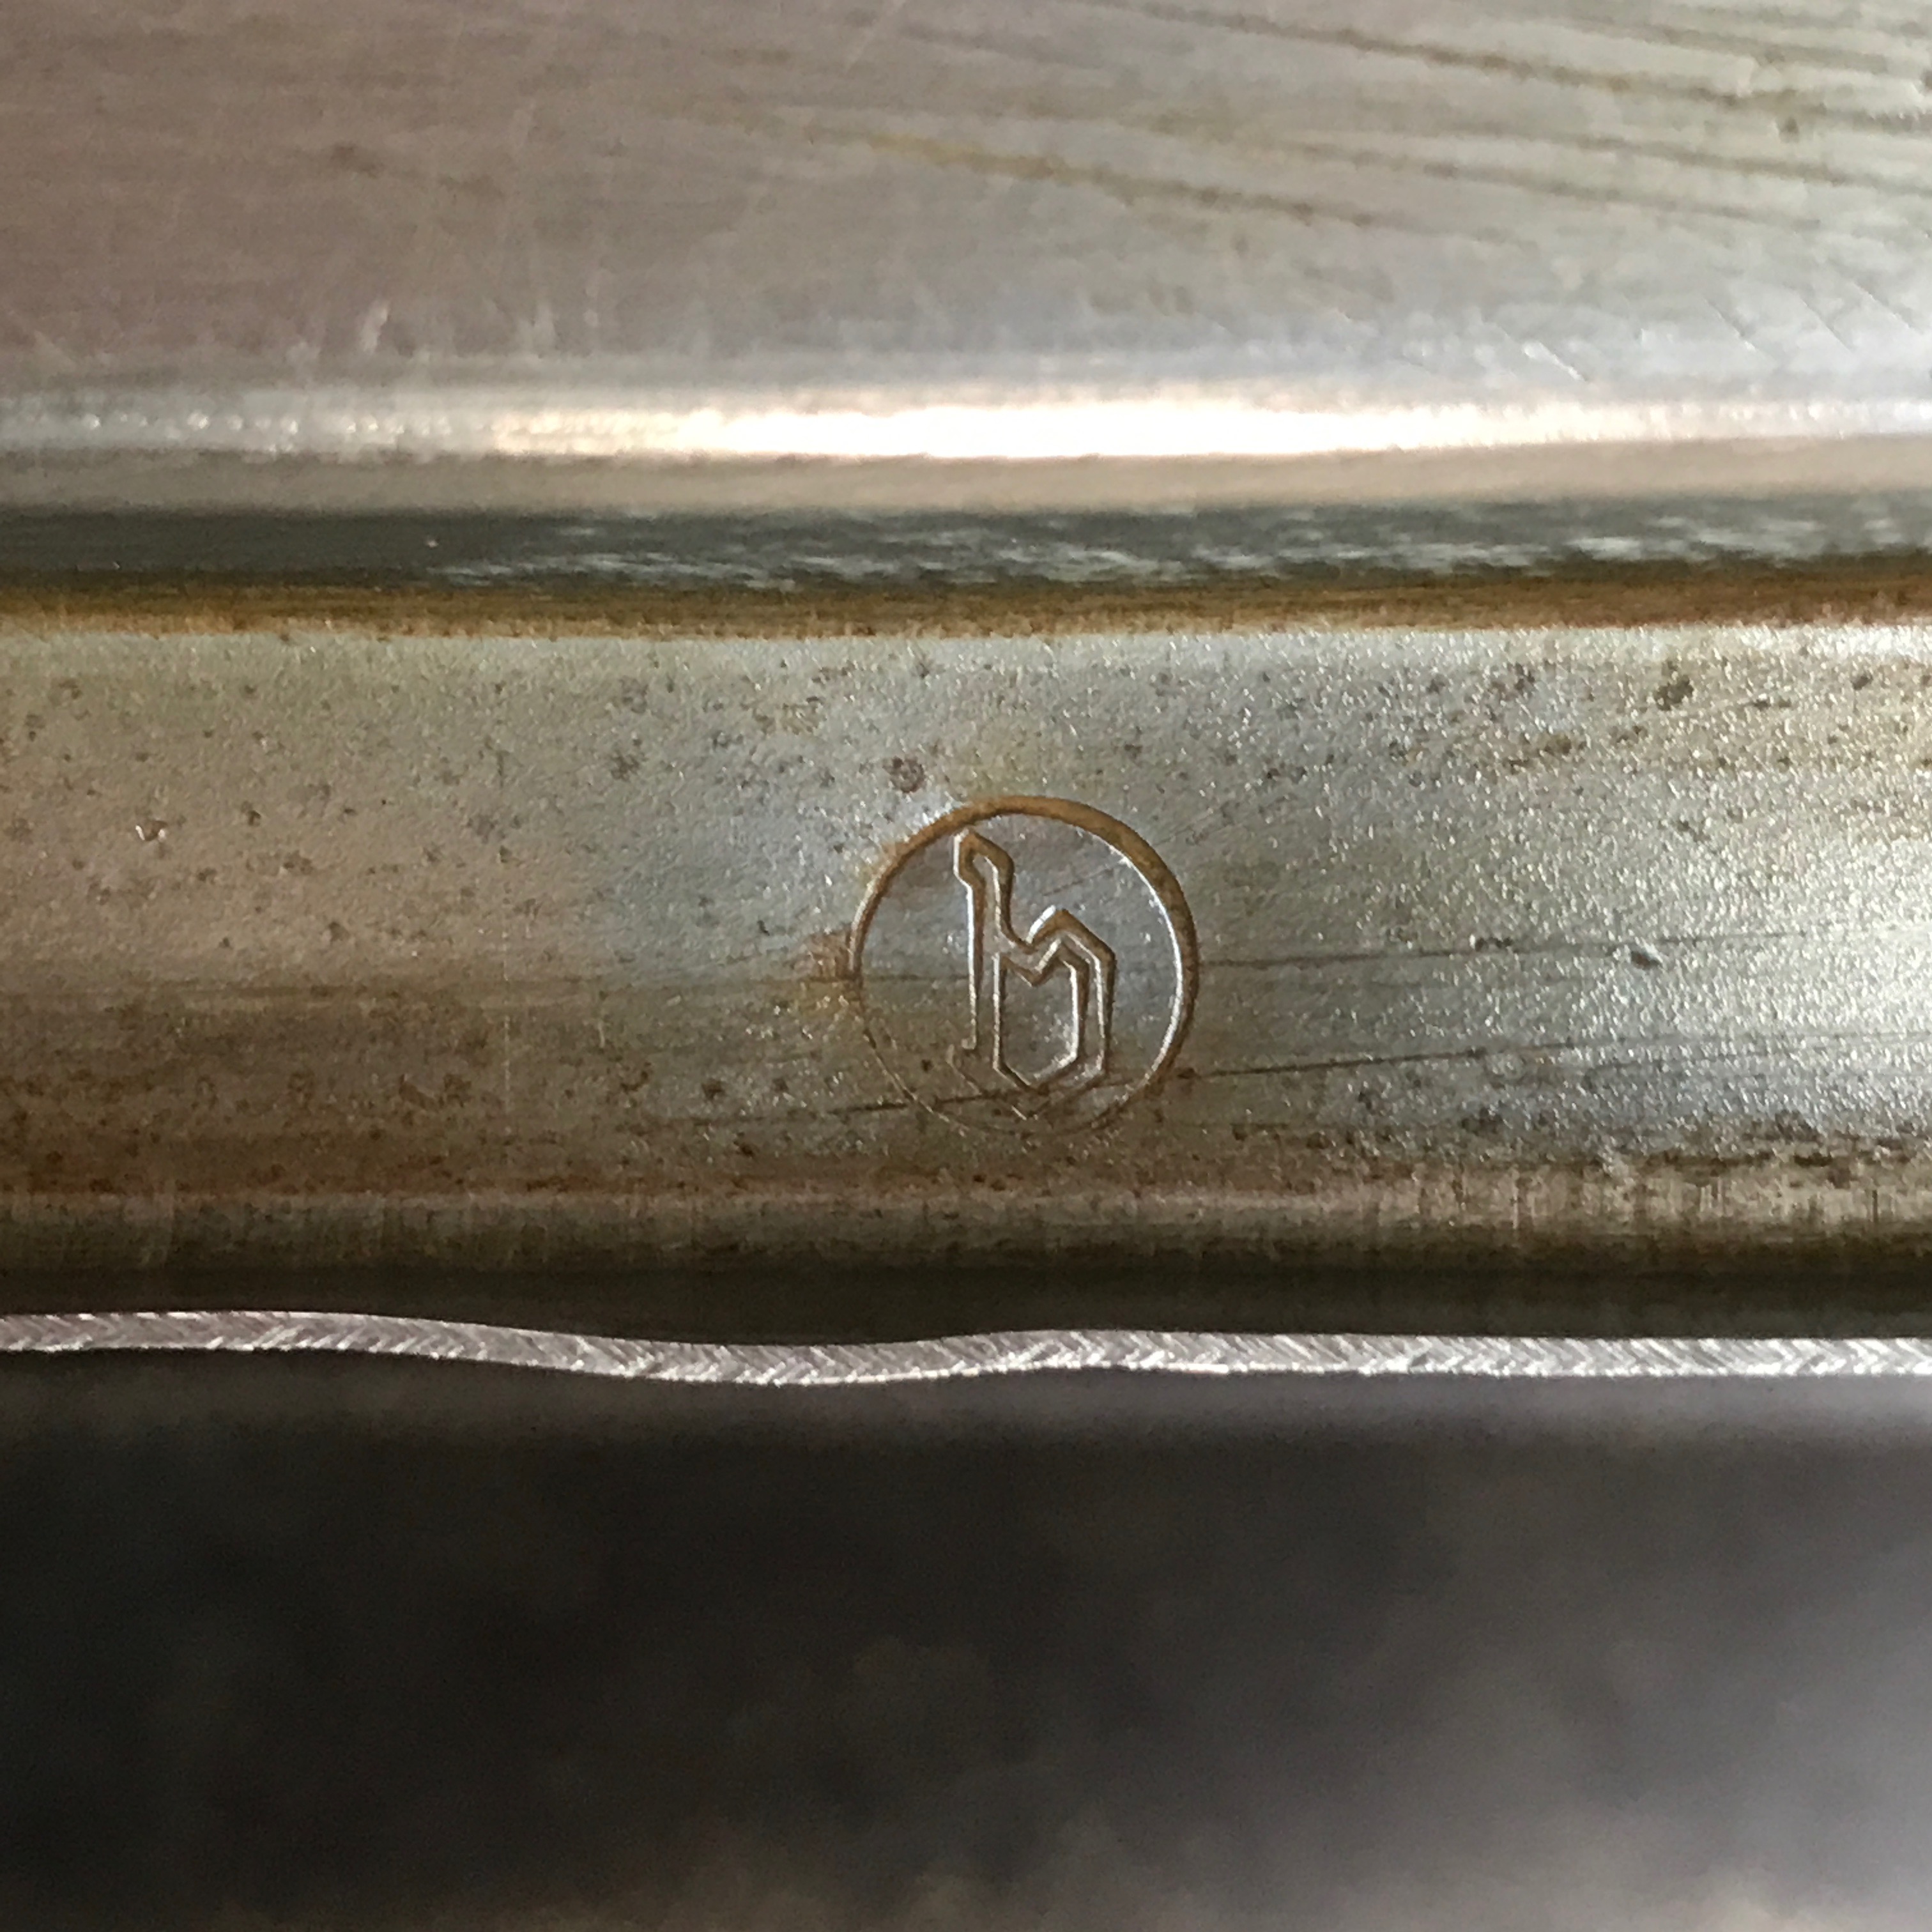
Mauro’s professionalism, the accuracy of his conception of a restoration, oozes from the details.
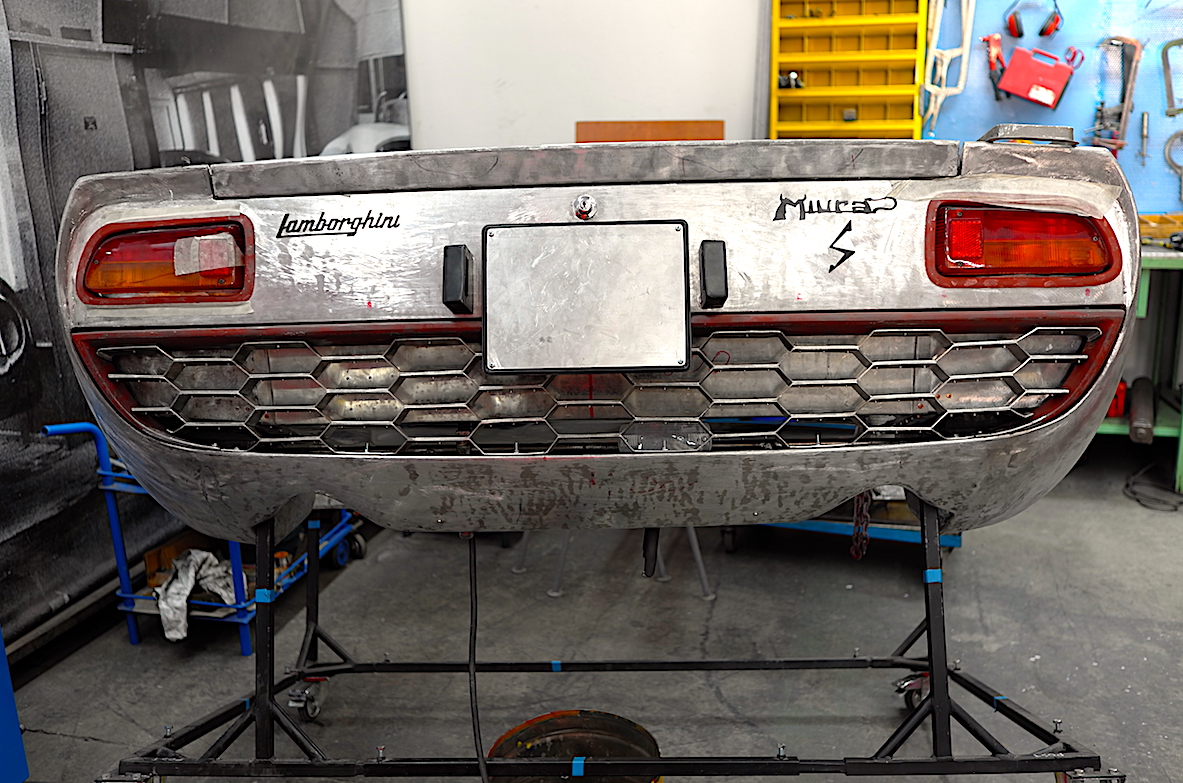
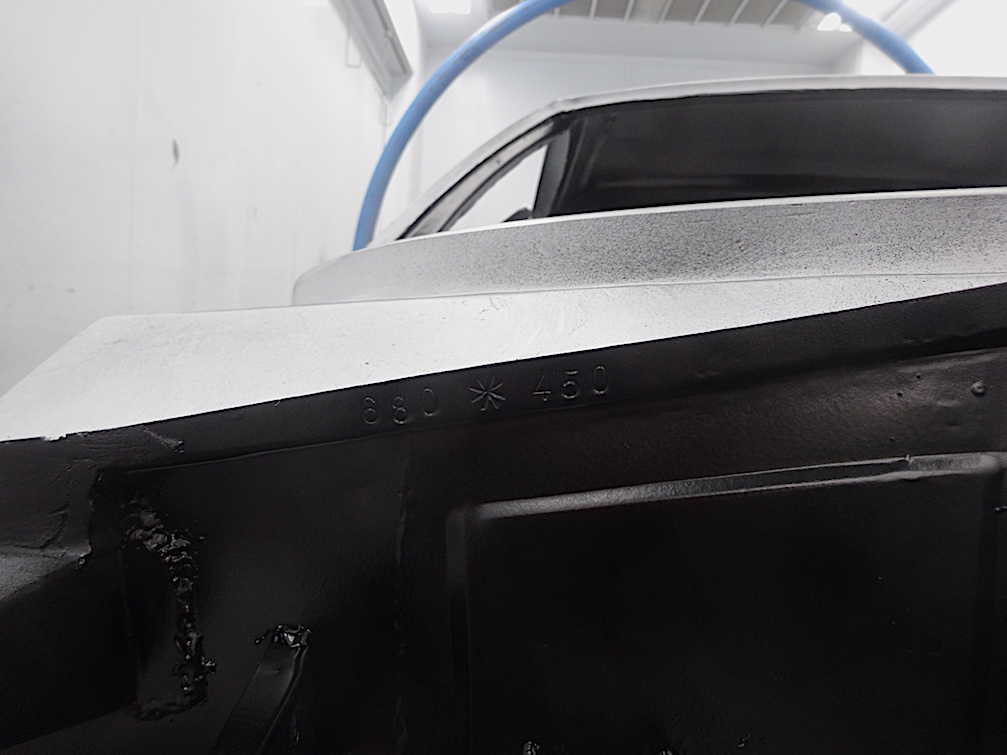
– Here is the B for Bertone stamped on the shell – it’s below the window, in the channel underneath the windscreen wiper. You give it a buff with the scourer and half a coat of base coat, when you apply it to the car. In order to protect it, we will wrap it up in paper until the varnishing takes place.
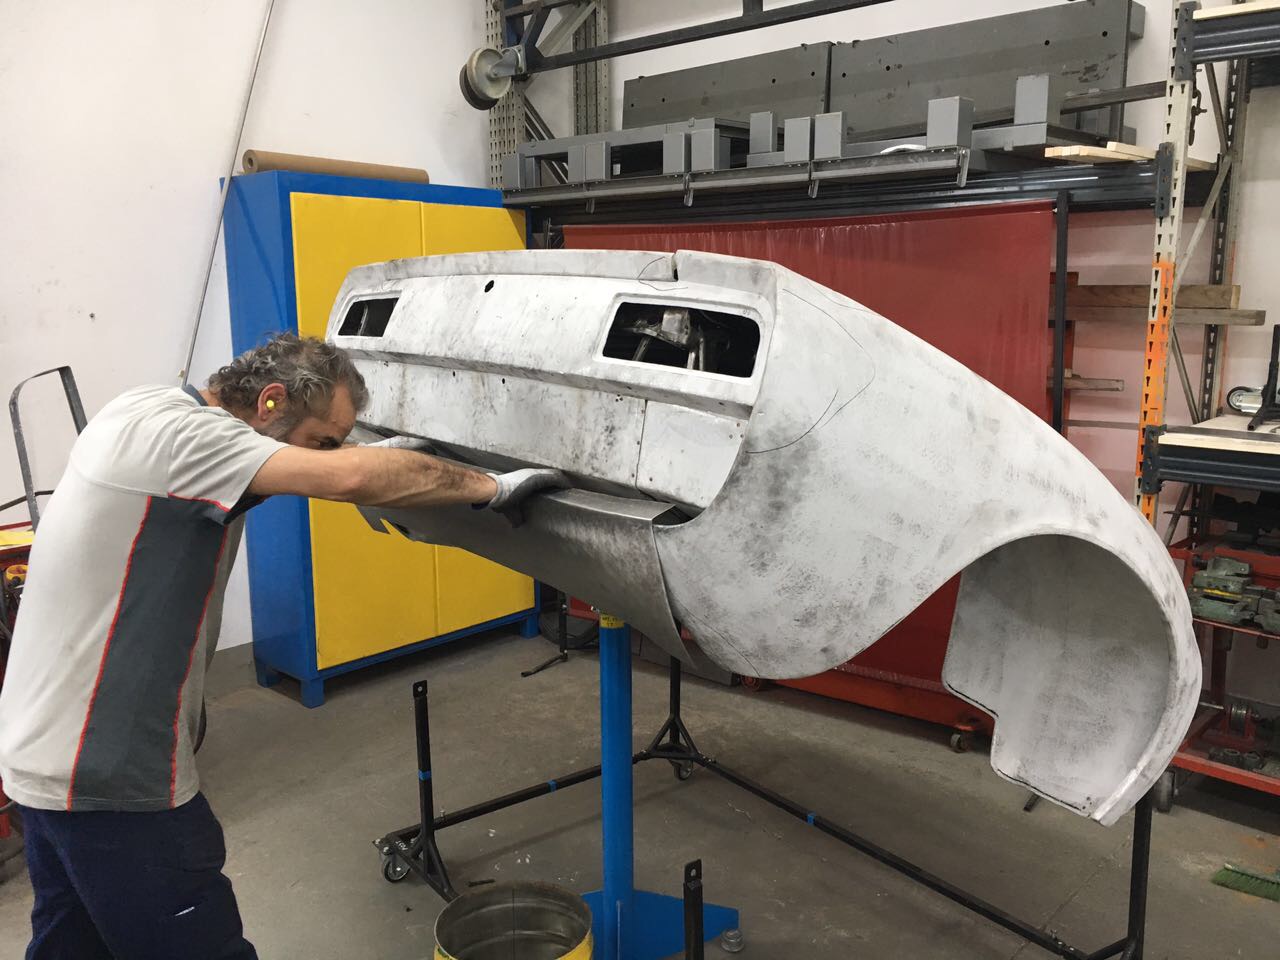
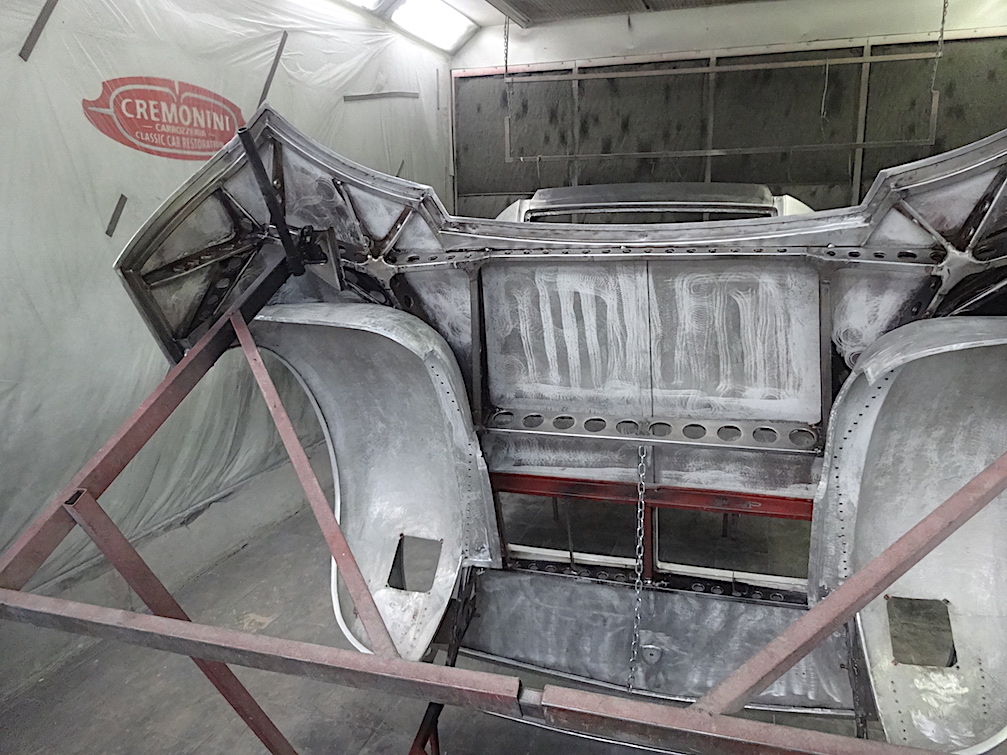
Cleaning means removing oxidations, soldering traces and, also, the stains of grease, burns, the signs of corrosion left by the old rust. The metal needs to be cleaned for the next step. The final result is a metal that looks as if it was “glazed” and you achieve that through using the grinding machine, the angle grinder, the brushes – Mr. Mauro lifts his hands in the air – and of course, the hands.
– The clean car is then washed with paint thinner and it’s ready for the epoxy base coat.
– You may also use an acid to clean the aluminium. I wouldn’t personally recommend it, firstly because the Miura’s bonnet is aluminium externally, but the frame is in iron. Secondly, the acid needs to be rinsed with water and it isn’t recommended, because experience says that if the car doesn’t dry perfectly well, it will get humid in inconvenient places.
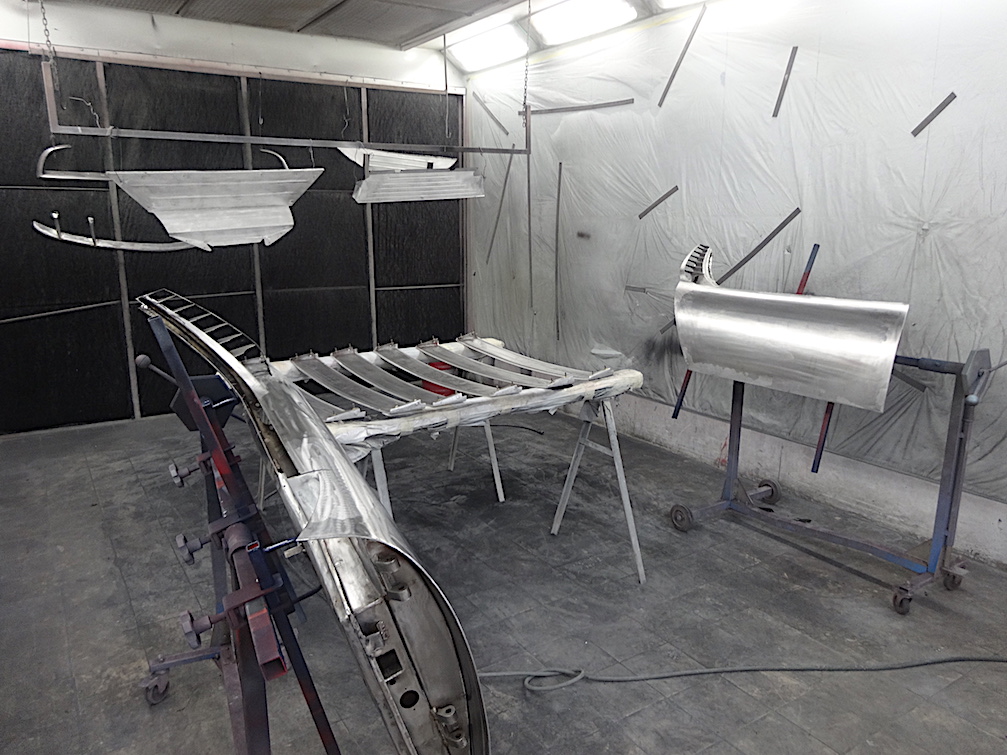
– Once clean, the car is placed in the painting booth and you apply the protection. The first product to be applied is a layer of epoxy base coat, which preserves the metal sheets from corrosion. The total thickness is 70 microns when dry. Curing at 60°C for one hour is recommended. A personal piece of advice is that I would let the car rest for two days after the application. The reason is simple: the paint thinner evaporates slowly.
– You specified the microns of thickness, why is that?
– 70 microns… because if you exceed, you will compromise exsiccation. This base coat guarantees anchoring on aluminium, metal sheet, tin, soldering… whatever you wish!
– I’d like to stress that anchoring is guaranteed only if the metal sheet has been cleaned well. Another detail which shouldn’t be underestimated is the temperature of application of the first coat of base coat, which needs to be close to 40 degrees. The metal sheet needs to be lukewarm, because the solvent contained in the epoxy coat lowers the temperature. Try to brush the solvent, if you touch it with your hand, you will notice that it’s cold. There is a thermal decompensation and a condensation phenomenon occurs; if that humidity remains underneath, it would cause some dotting that will rise one or two months later, the so-called blossoming.
– You need to briefly sand down with Scotchbrite or with a very fine sandpaper. My suggestion, for an excellent homogeneous result, is that the epoxy layer should never be “peeled”. What do I mean? When sanding, you should never uncover the metal sheet from the epoxy coat, because otherwise the varnish would be absorbed unevenly.
Afterwards, you apply a polyester-based product with the sprayer. The thickness should be around 500 microns when dry. Curing at 60° for one hour.
During this phase, we perform the targeted plastering. They’re thinner than the polyester coat, they’re for precision purposes, when required by the circumstances, in order to guarantee a perfect job.
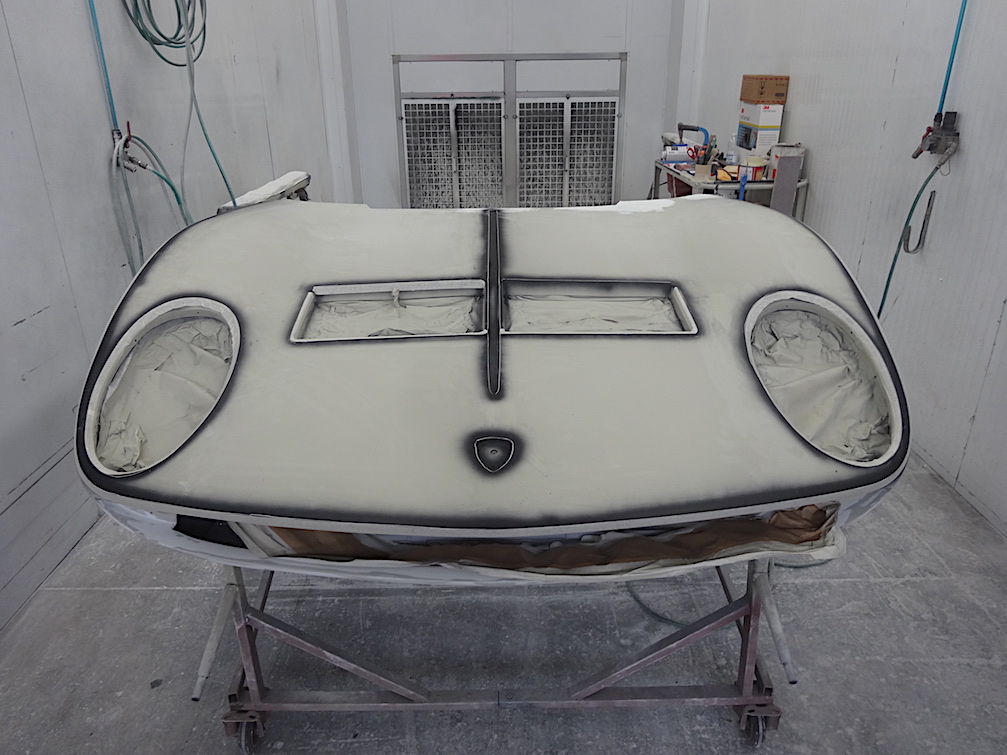
– The car is assembled, we mark the spaces between the mobile parts with a compass, marking them with a specific product.
Afterwards, we start sanding down the excess: first, you need to do all of the flat areas and alignments, then we work on shutlines.
This product is nothing but a highlighter, that is the black to do the shutlines, the profiles for the ducts and everything you need.
You sand down where it is highlighted in back. How much should I sand down? How do I know when to stop? Through experience, I know that I need to achieve transparency. The polyester coat is yellowish, while the epoxy coat is grey, the different colouring helps me not to go wrong too.
After forty-three years of work, all details are predictable for Mr. Mauro. They’re observations and gestures which come spontaneously, from the confidence acquired through experience.
– You can’t get to the end of the yellow colour with a large grain, so you start with rough sanding, then you decrease the grain to sand the final shapes. In order to be precise, you go from 80/120 to 180/240/320/400/600 and so on.
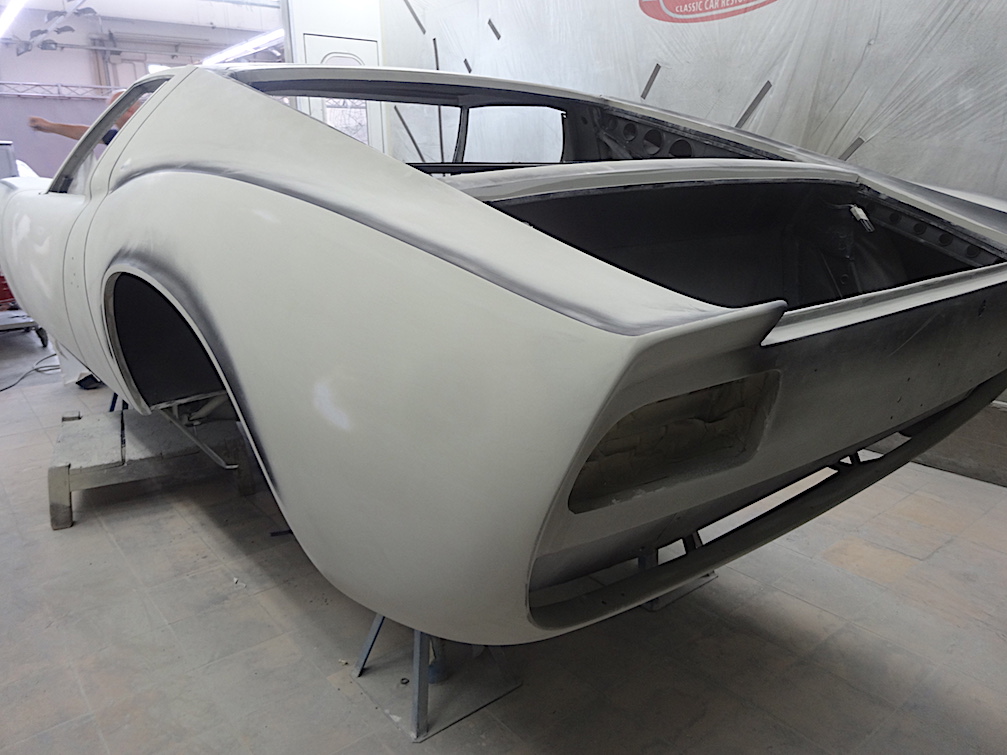
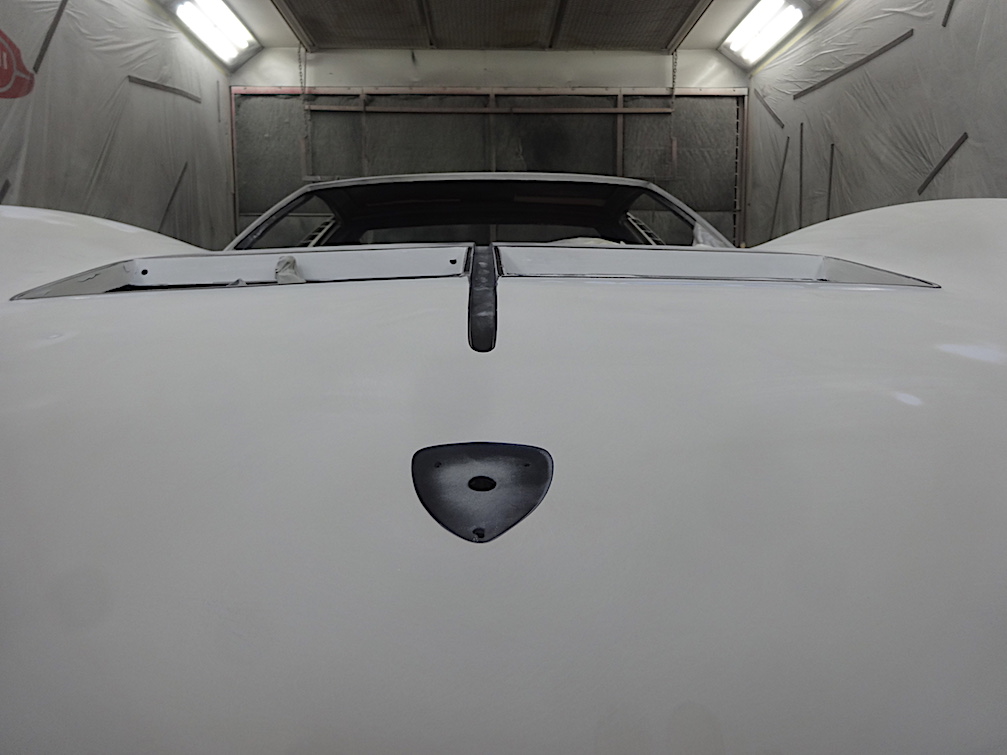
End of prepping. The car lines have been traced, the shutlines between the mobile parts have been cut.
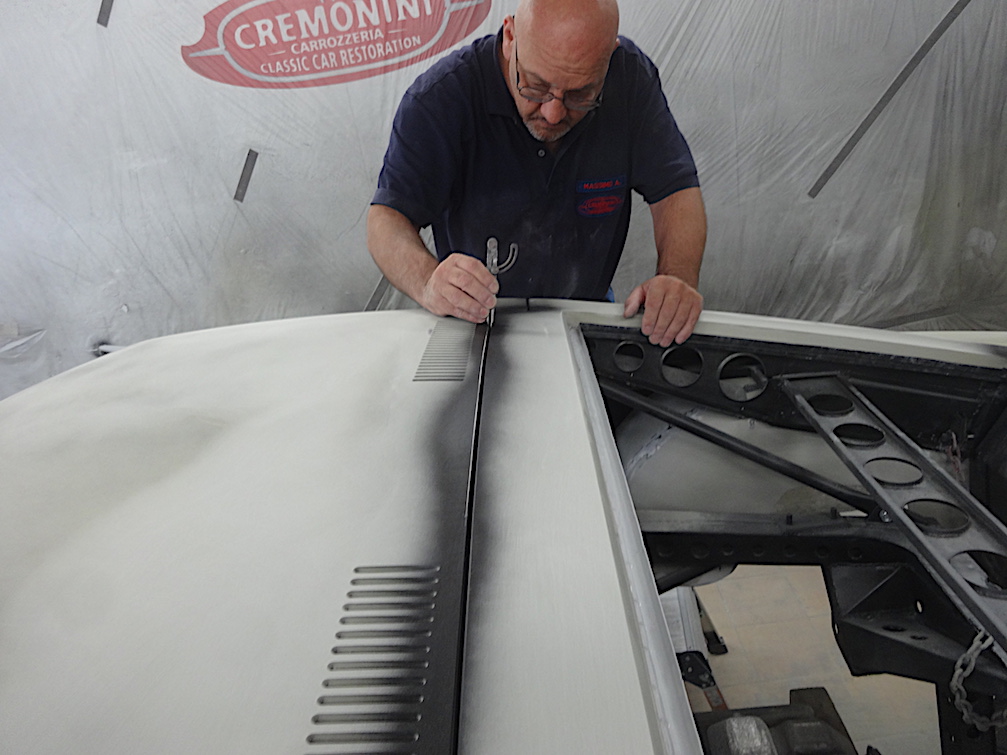
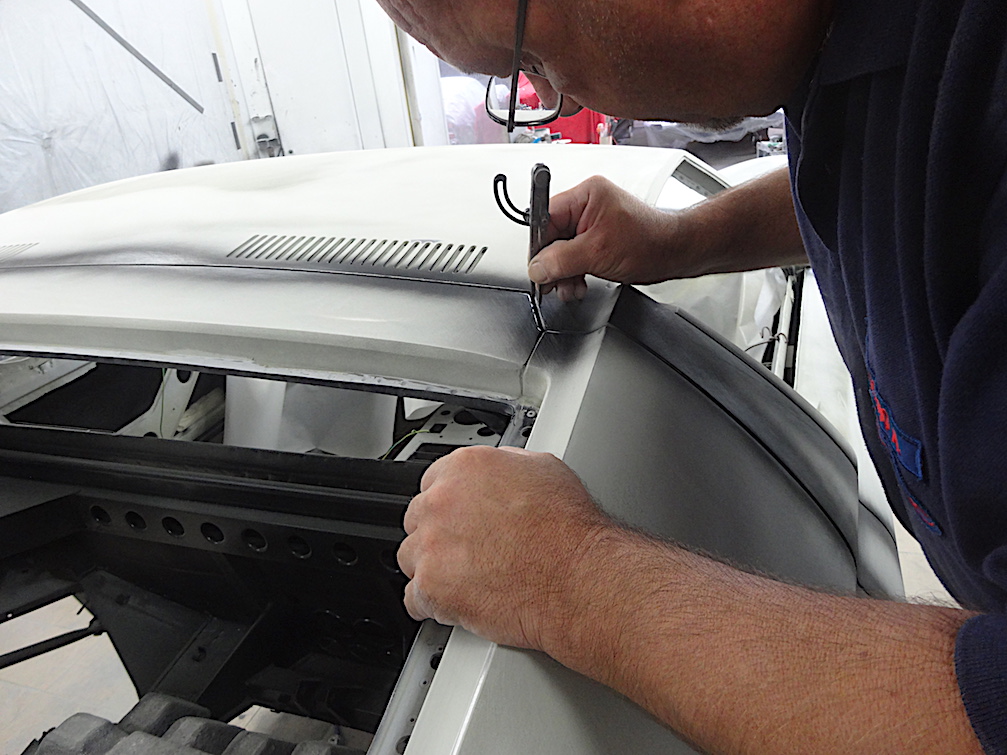
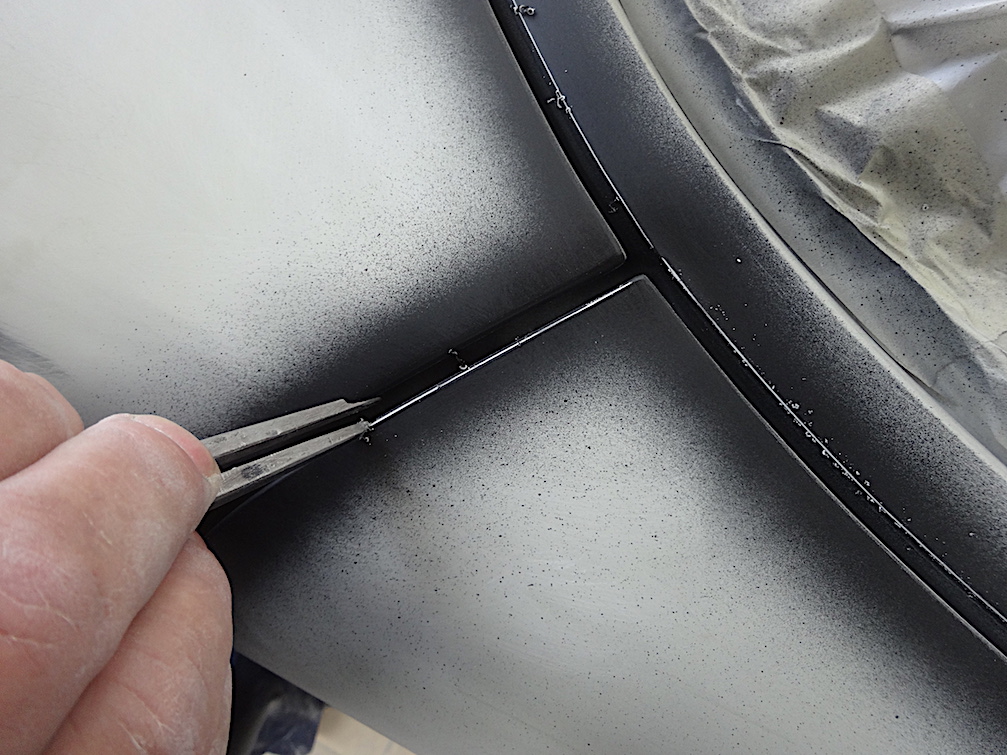
– Both flat surfaces and shutlines need to be done twice. It’s obvious that to sand down surfaces, the closer you get to the end, the finer the grain needs to be. This is how we sand down the shutlines: first we stand down the flat surface, then we mark the control with black and, finally, we go over with the compass. It’s an impeccable precision job, because they need to be even.
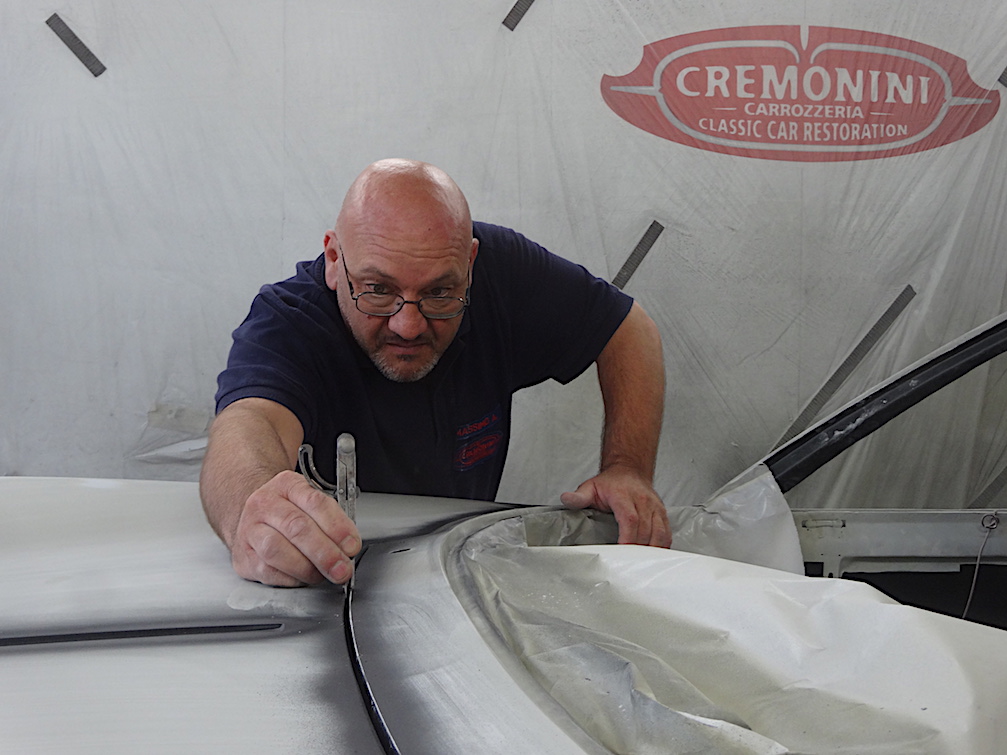
I’d like to spend a few more words on rounding, due to the major relevance that it has on the desired result, particularly with the use of some colours. For example, if this wasn’t done with the silver colour, that would represent a fatal mistake.
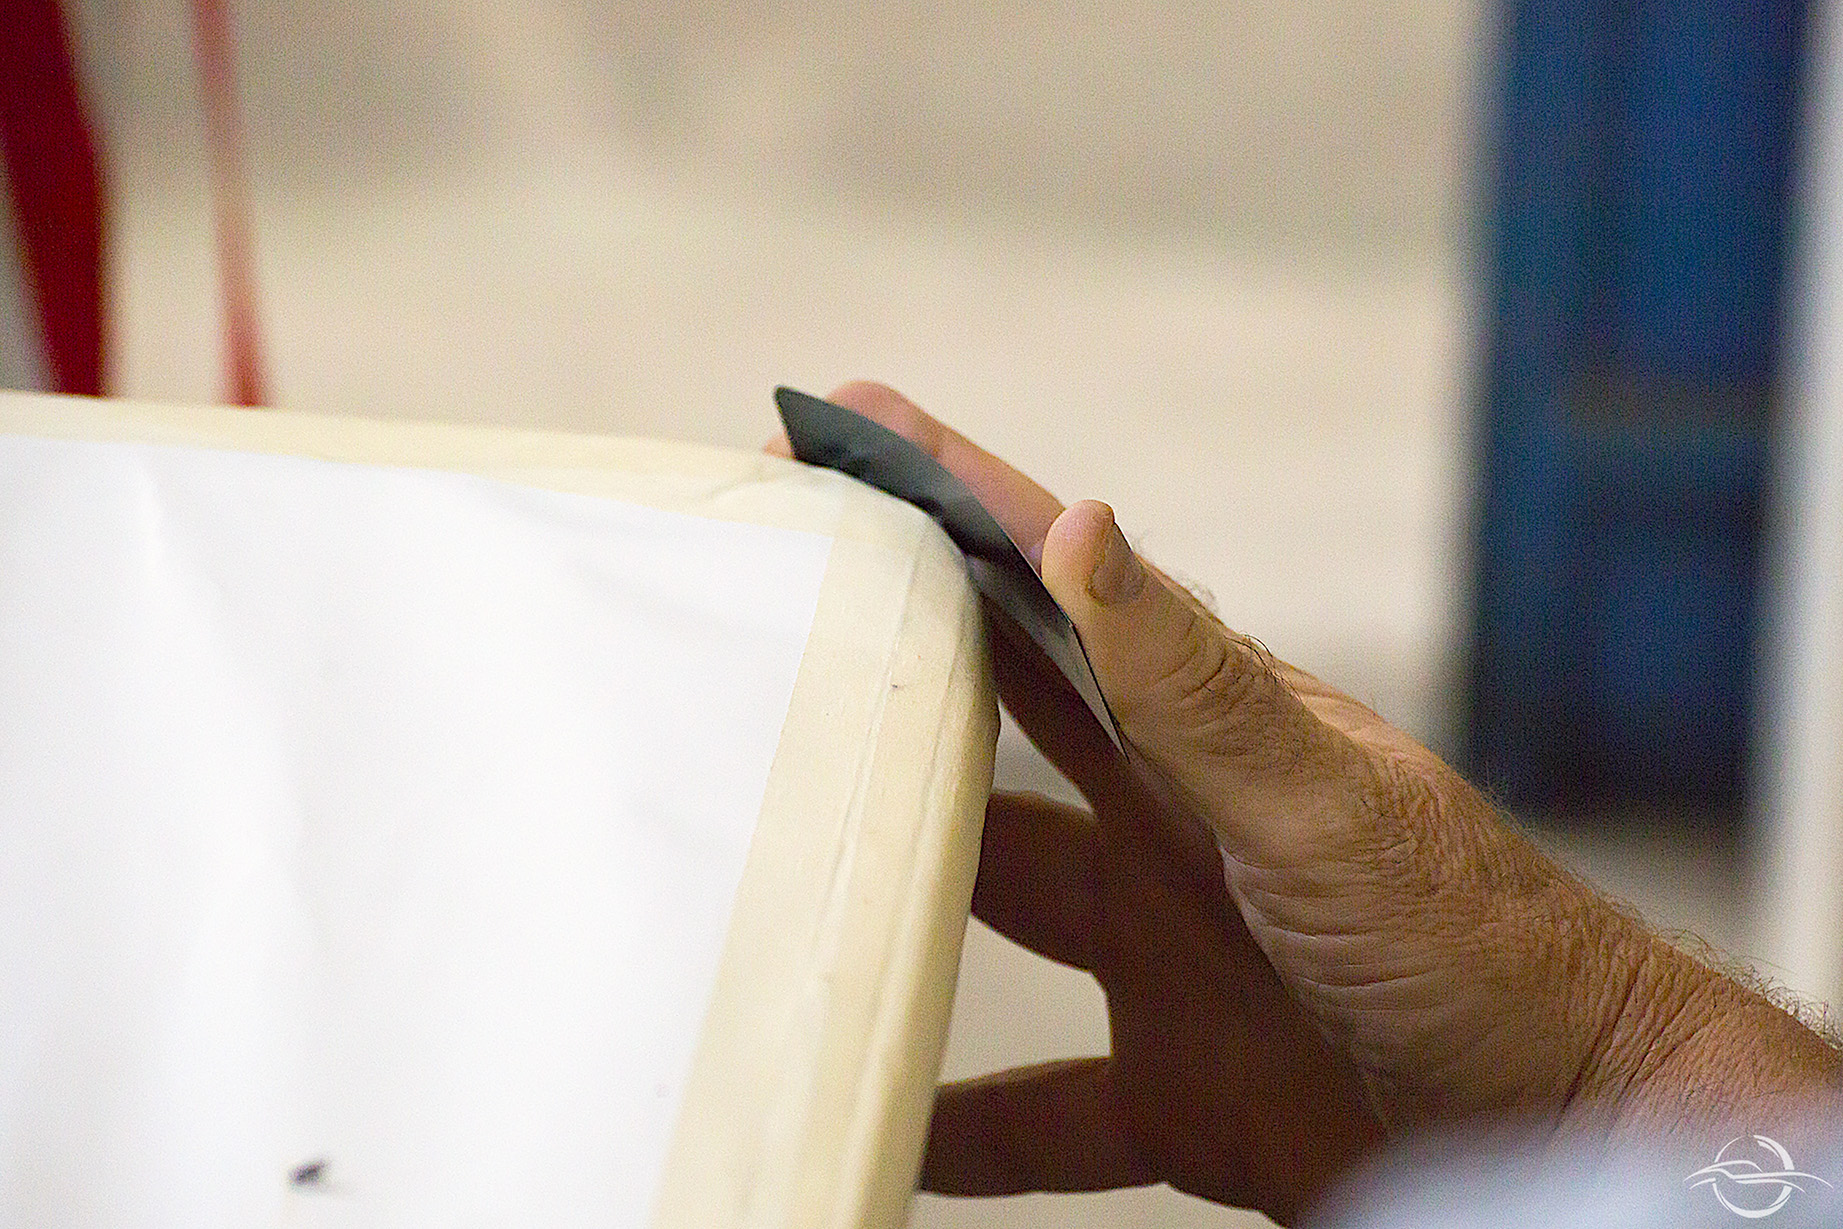
– It’s easy to understand that rounding has an impact on aesthetics, it enhances the luminosity of the colour and the perception of brightness. Without them the car seems flat, it has no movement.
The corners are nice when they’re thin and marked, if you were to exaggerate, you would see large and ungraceful corners. In the first case, you lighten it up and it becomes elegant, in the second, it weighs it down and it becomes uniform, anonymous. You need to find a balance, because the corner needs to have colour on it!
How do you do that? Personally, I prefer rounding the edges with the spatula, because the with the sandpaper between your hands you risk exceeding. With the spatula the job is a lot more precise and it’s longer, it guides you more towards uniformity. Only one person needs to work on it, so that you can ensure a homogeneous job, everybody has their own hand!
During this “end of prepping” you add weights, which are also named leads, which are used to simulate the car in driving order, as if it had all of its components fitted.
What is the measurement of the shut-lines, done through the compass? It depends on the cars, I’ll give you a few examples: for the Lamborghini Miura, you measure 4.2mm with the compass, to have a 4mm end result. The Porsche 353 door areas are 3mm and I can guarantee that they’re not convenient at all to do!


– If I had affected the epoxy base, I would need to proceed and lay a new coat… if you’re skilled enough, you never peel it off!
Mr. Mauro doesn’t openly say it, he would never dare to praise himself, but the time of experience and experiments is over. Today, he can enjoy a baggage of skills which helps him to save time – and with great satisfaction – because there are no mistakes to go over… or nearly!
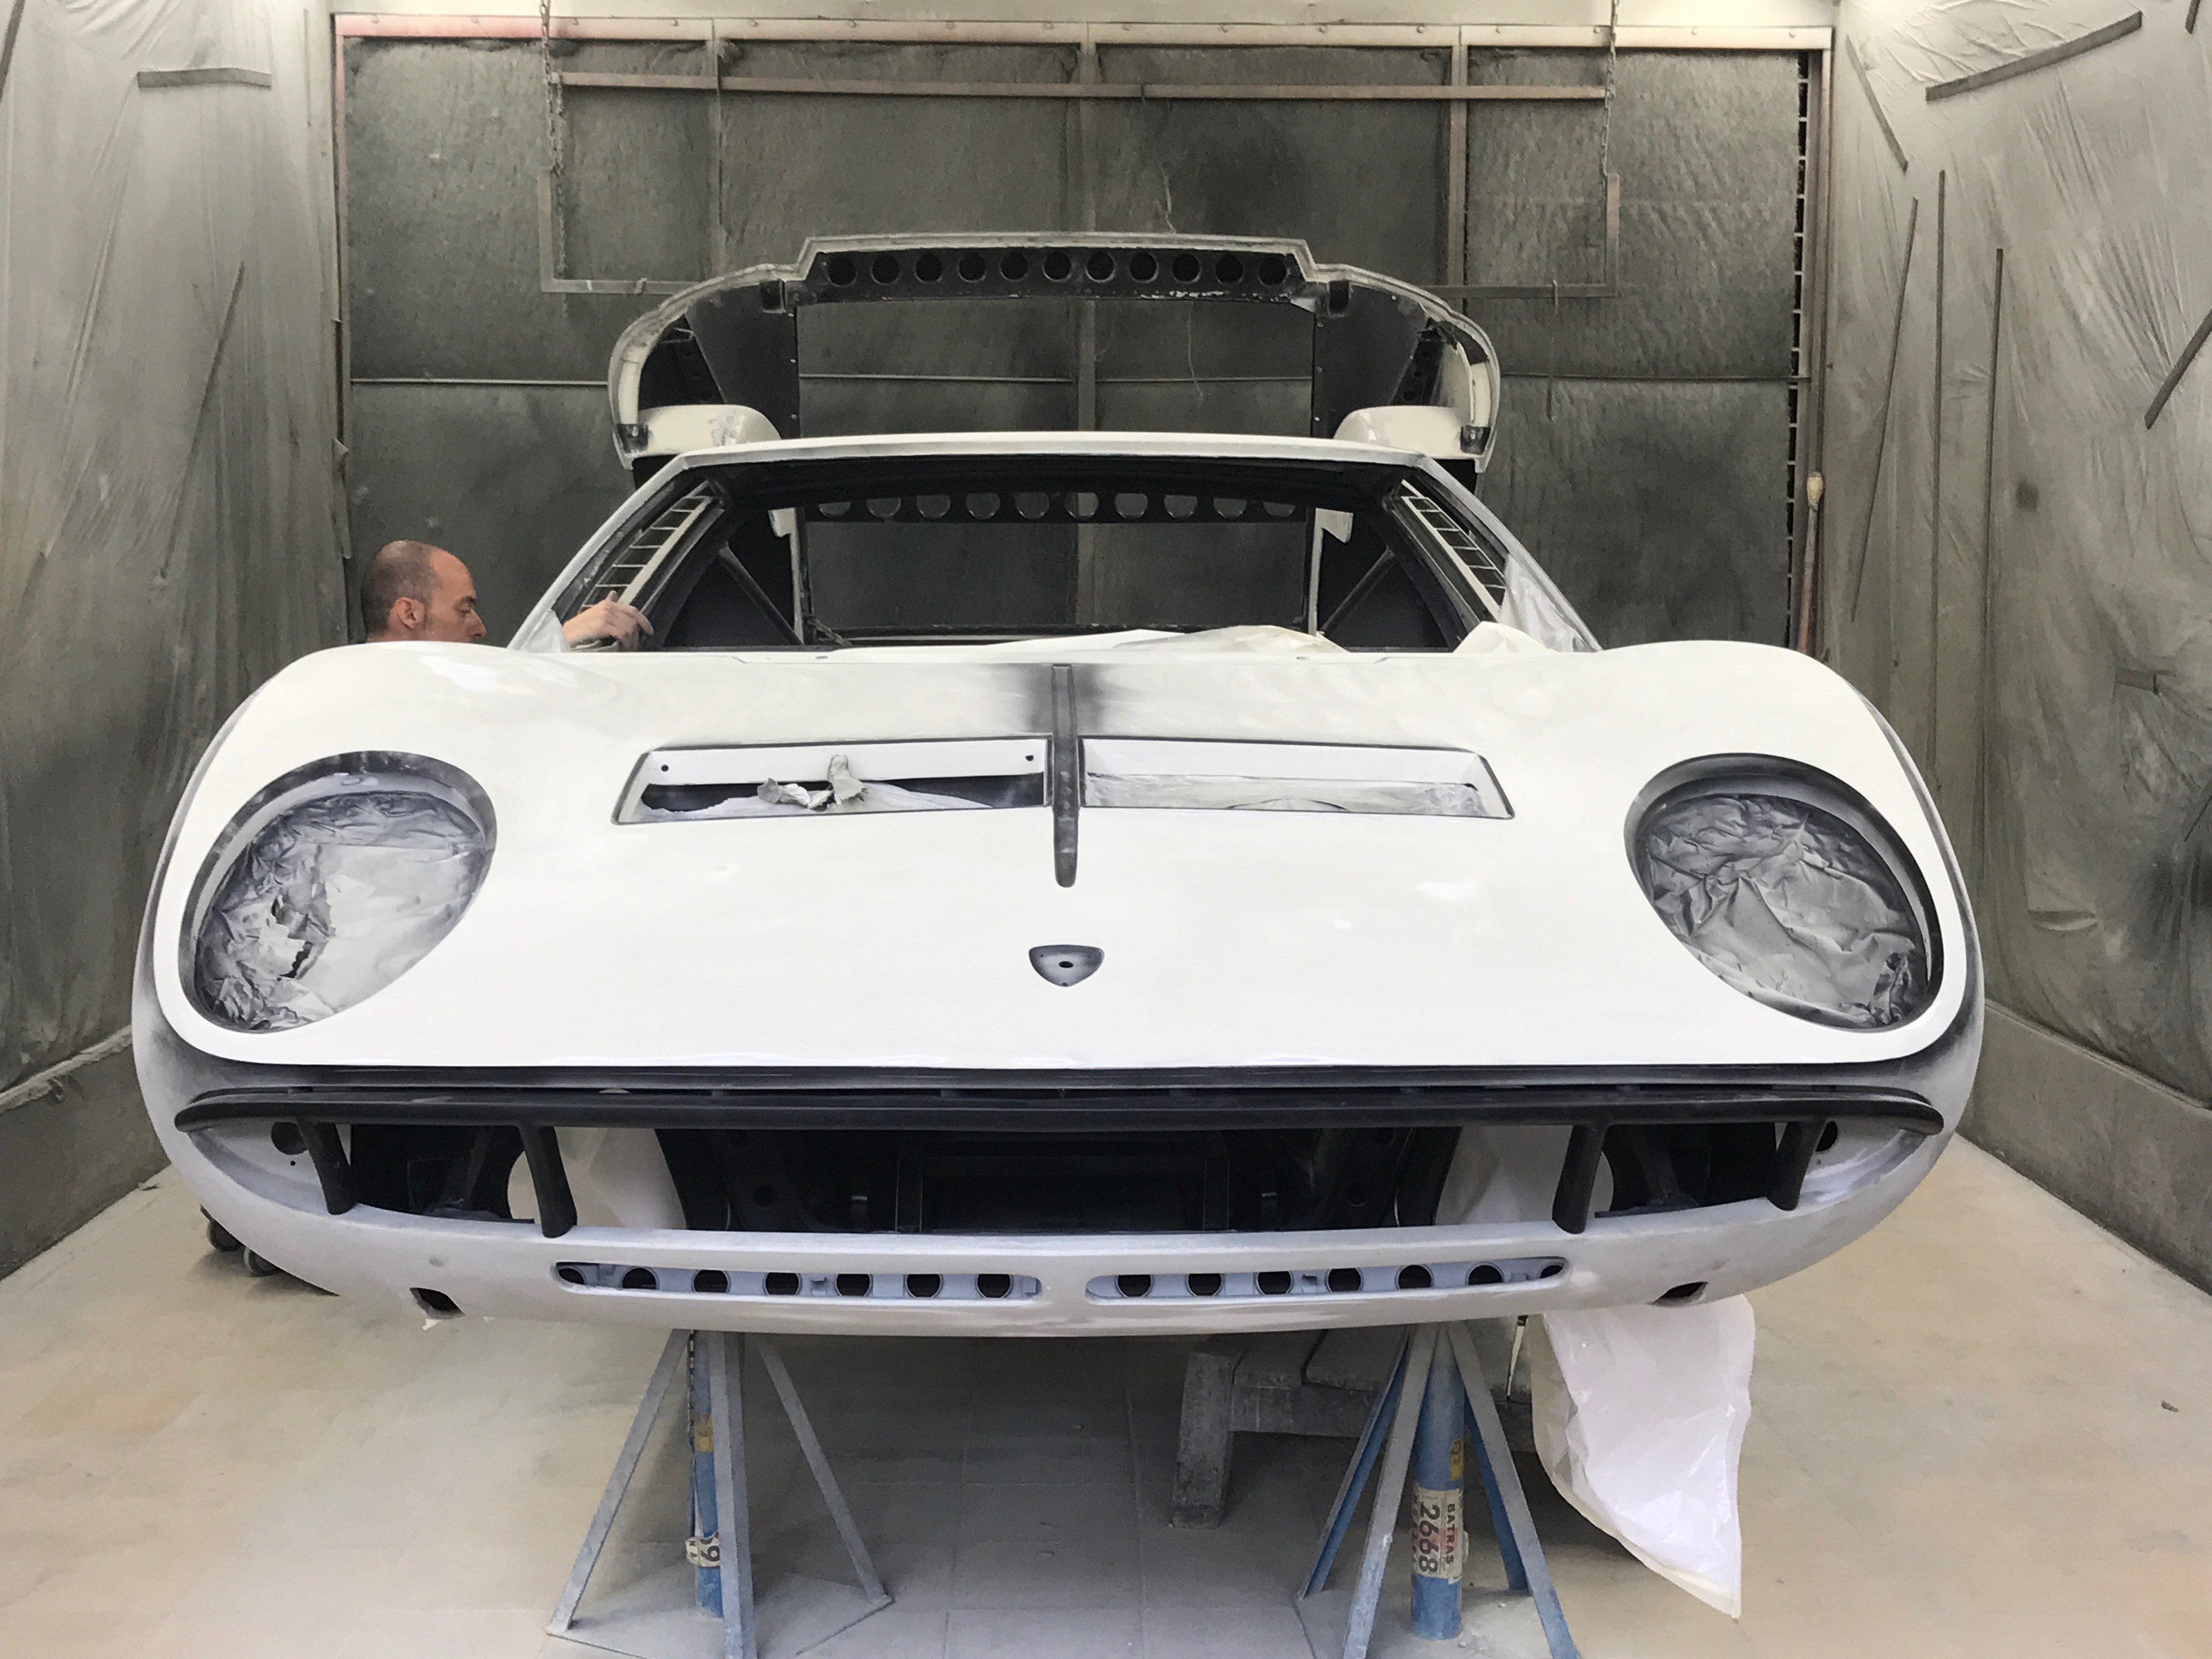
The car is ready to be re-assembled.
– The car is now ready for the final stage of the process: the varnishing.
Now the varnisher, Mauro, comes into action and, as you may sense, his is not just a job, but it also involves dedication and passion.
Thanks to Mr Mauro Barbieri for his lesson, Carrozzeria Cremonini Classic for their availability in providing us with the images’ archive and the photographer Angelo Rosa for the photographic contribution.
By International Classic
Keep following the story: Wise hands and restoration – Chapter 3
Read also:
Wise hands and restoration – Chapter 1