")
Lamborghini Miura: emotion captures the gaze
– 20R308 Rosso Fuoco (fiery red), this is the Longchamp gold, this is Merak blue, which is also called French blue, then we have Flemington, which sometimes is confused with iron-grey by some people, while 106E1 is Auteuil, we recently varnished a Ferrari 275 with it.
This morning, we start off with numbers. “They’re old codes – he points out – by Glidden Salchi”. He knows them by heart, this is his job, his life.
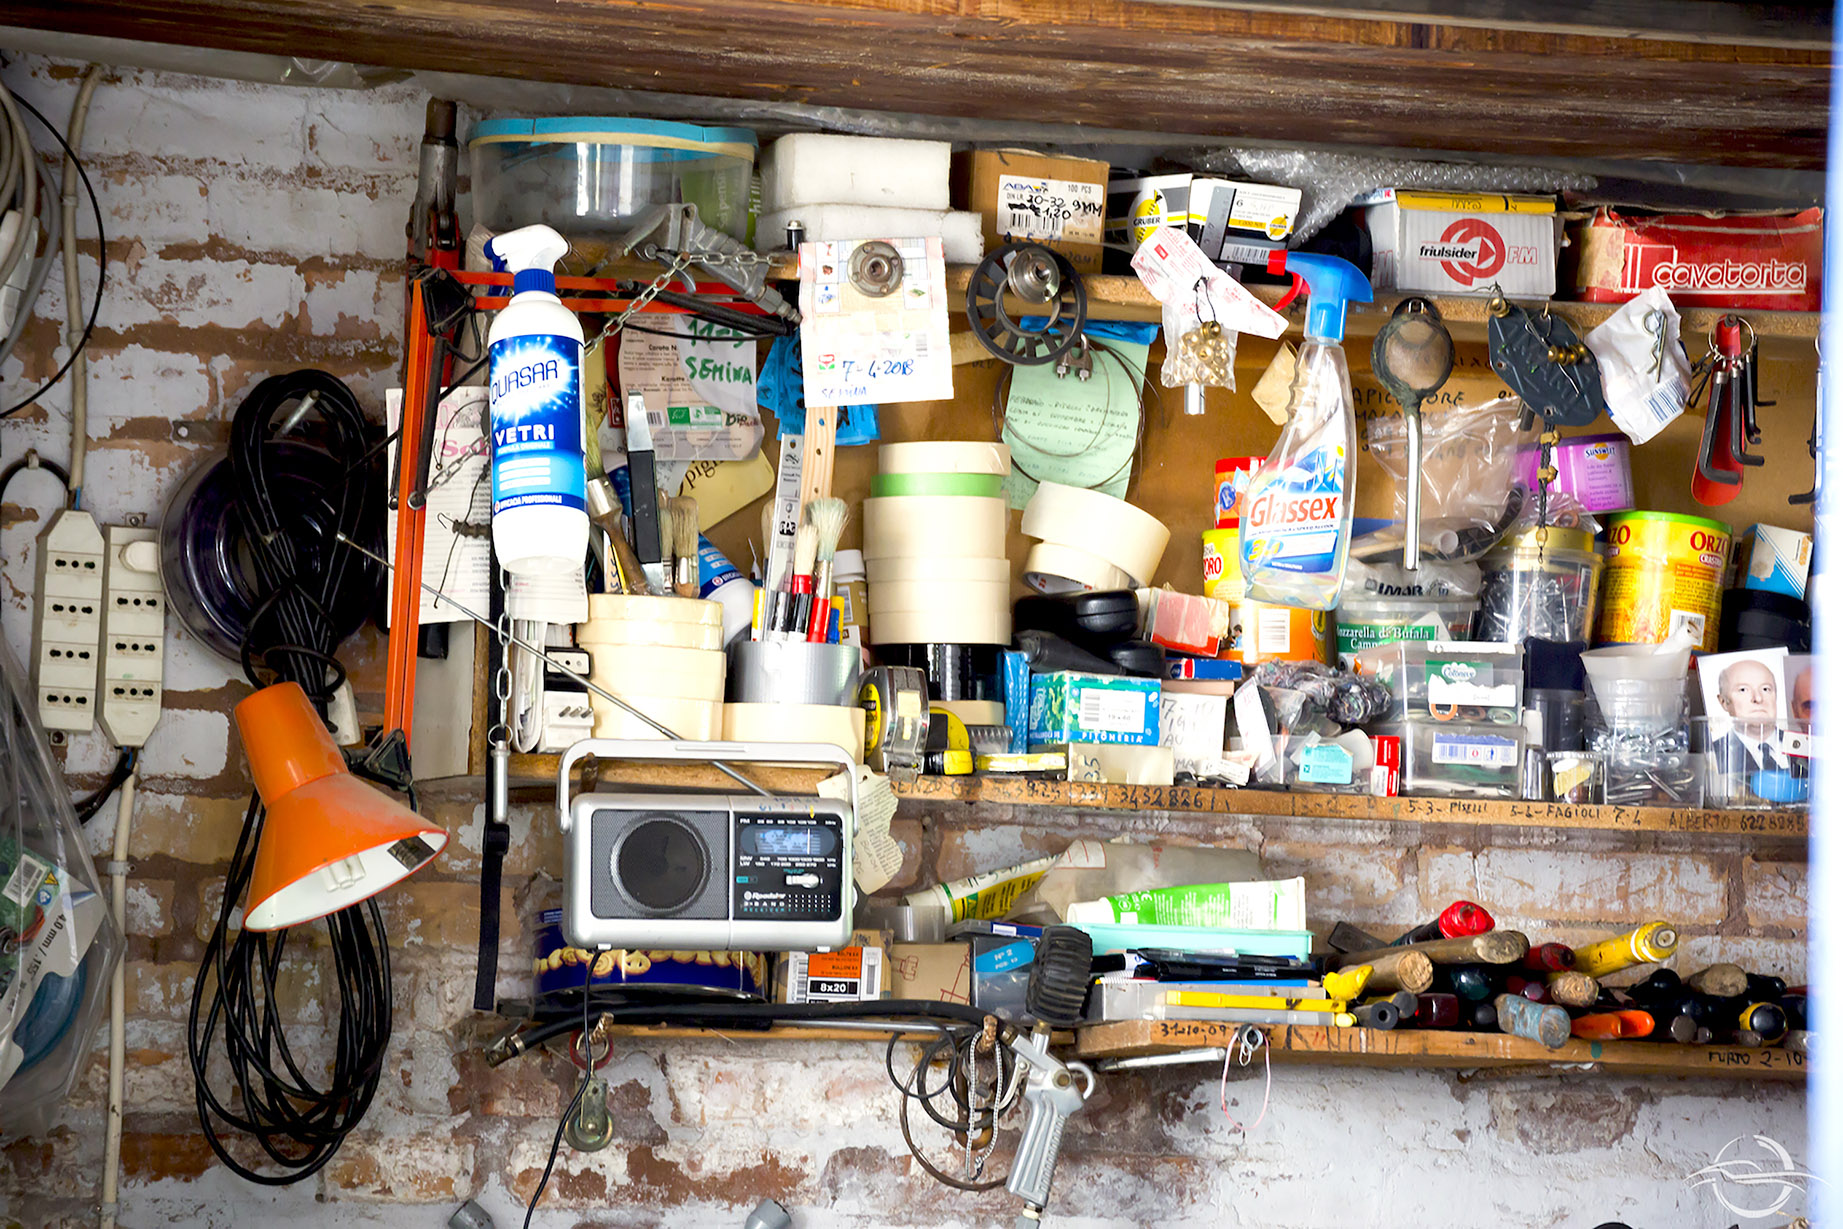
We’re in Soliera, in the Modenese countryside, and we’re being hosted by Mr Mauro. We walk through what must have been the cowshed, I recognise the drip pan, a workshop that is still active and we reach the vegetable plot and the orchard. Objects and utensils are immobile through time passing. Throwing away even just a wooden crate with the grandfather’s initials would mean dispersing some of his love.
-
- Photograph by Angelo Rosa
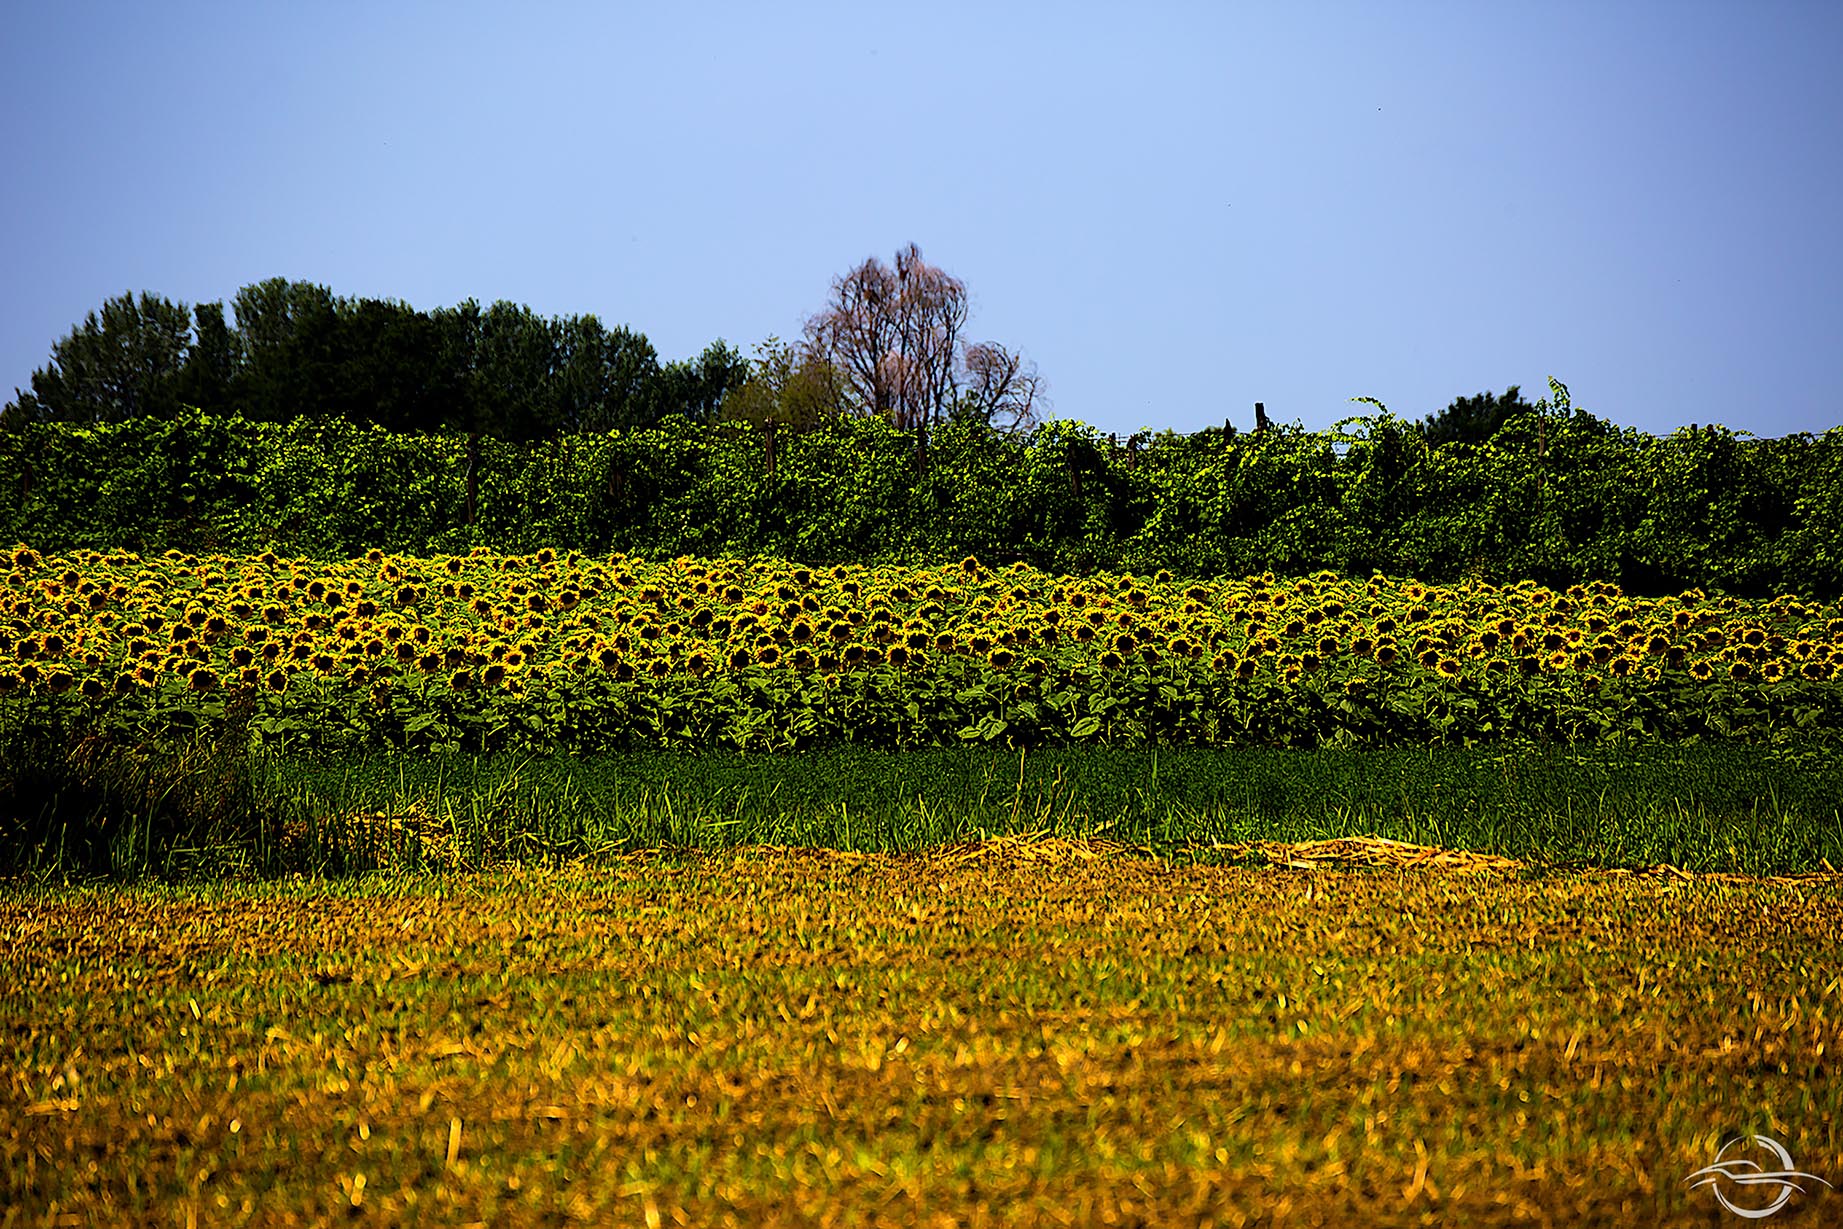
“I have vivid memories: myself as a child in shorts running around the garden… with my grandad”, the farmstead is a casket of memories, every single item has something to say. Stories of the land and pragmatism. Mr Mauro’s roots plunge in this place. His personality, as well as that of other people that we’re meeting in this journey, has an inescapable link with the land.
-
- Photograph by Angelo Rosa
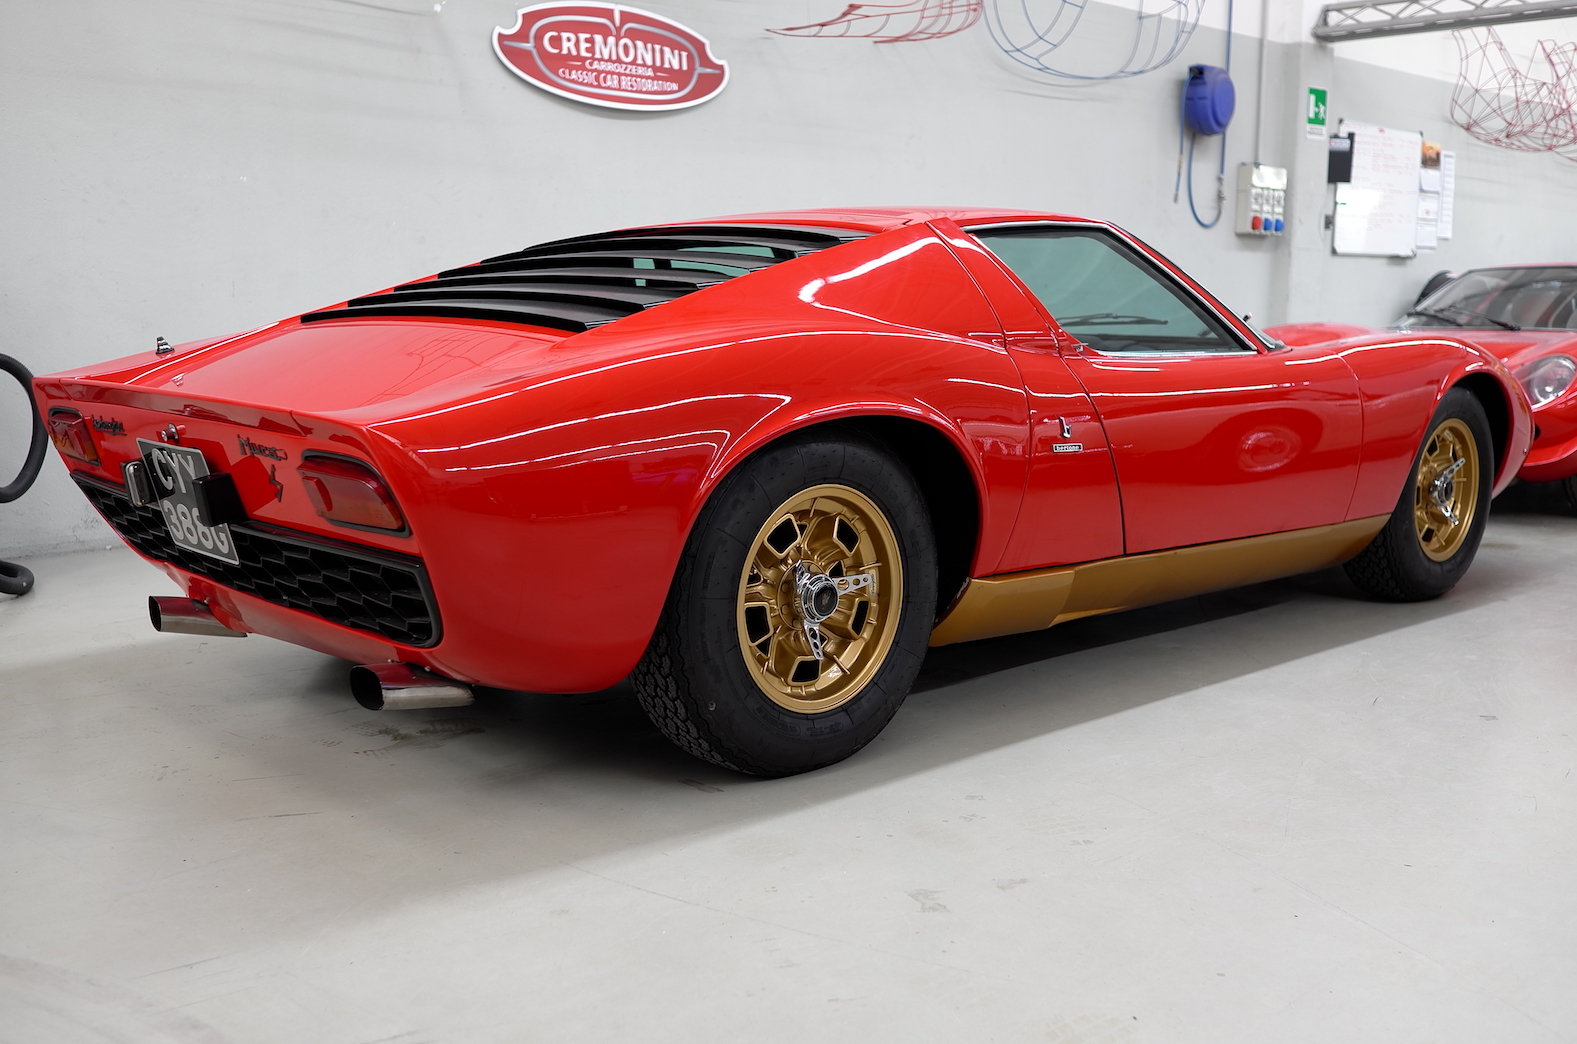
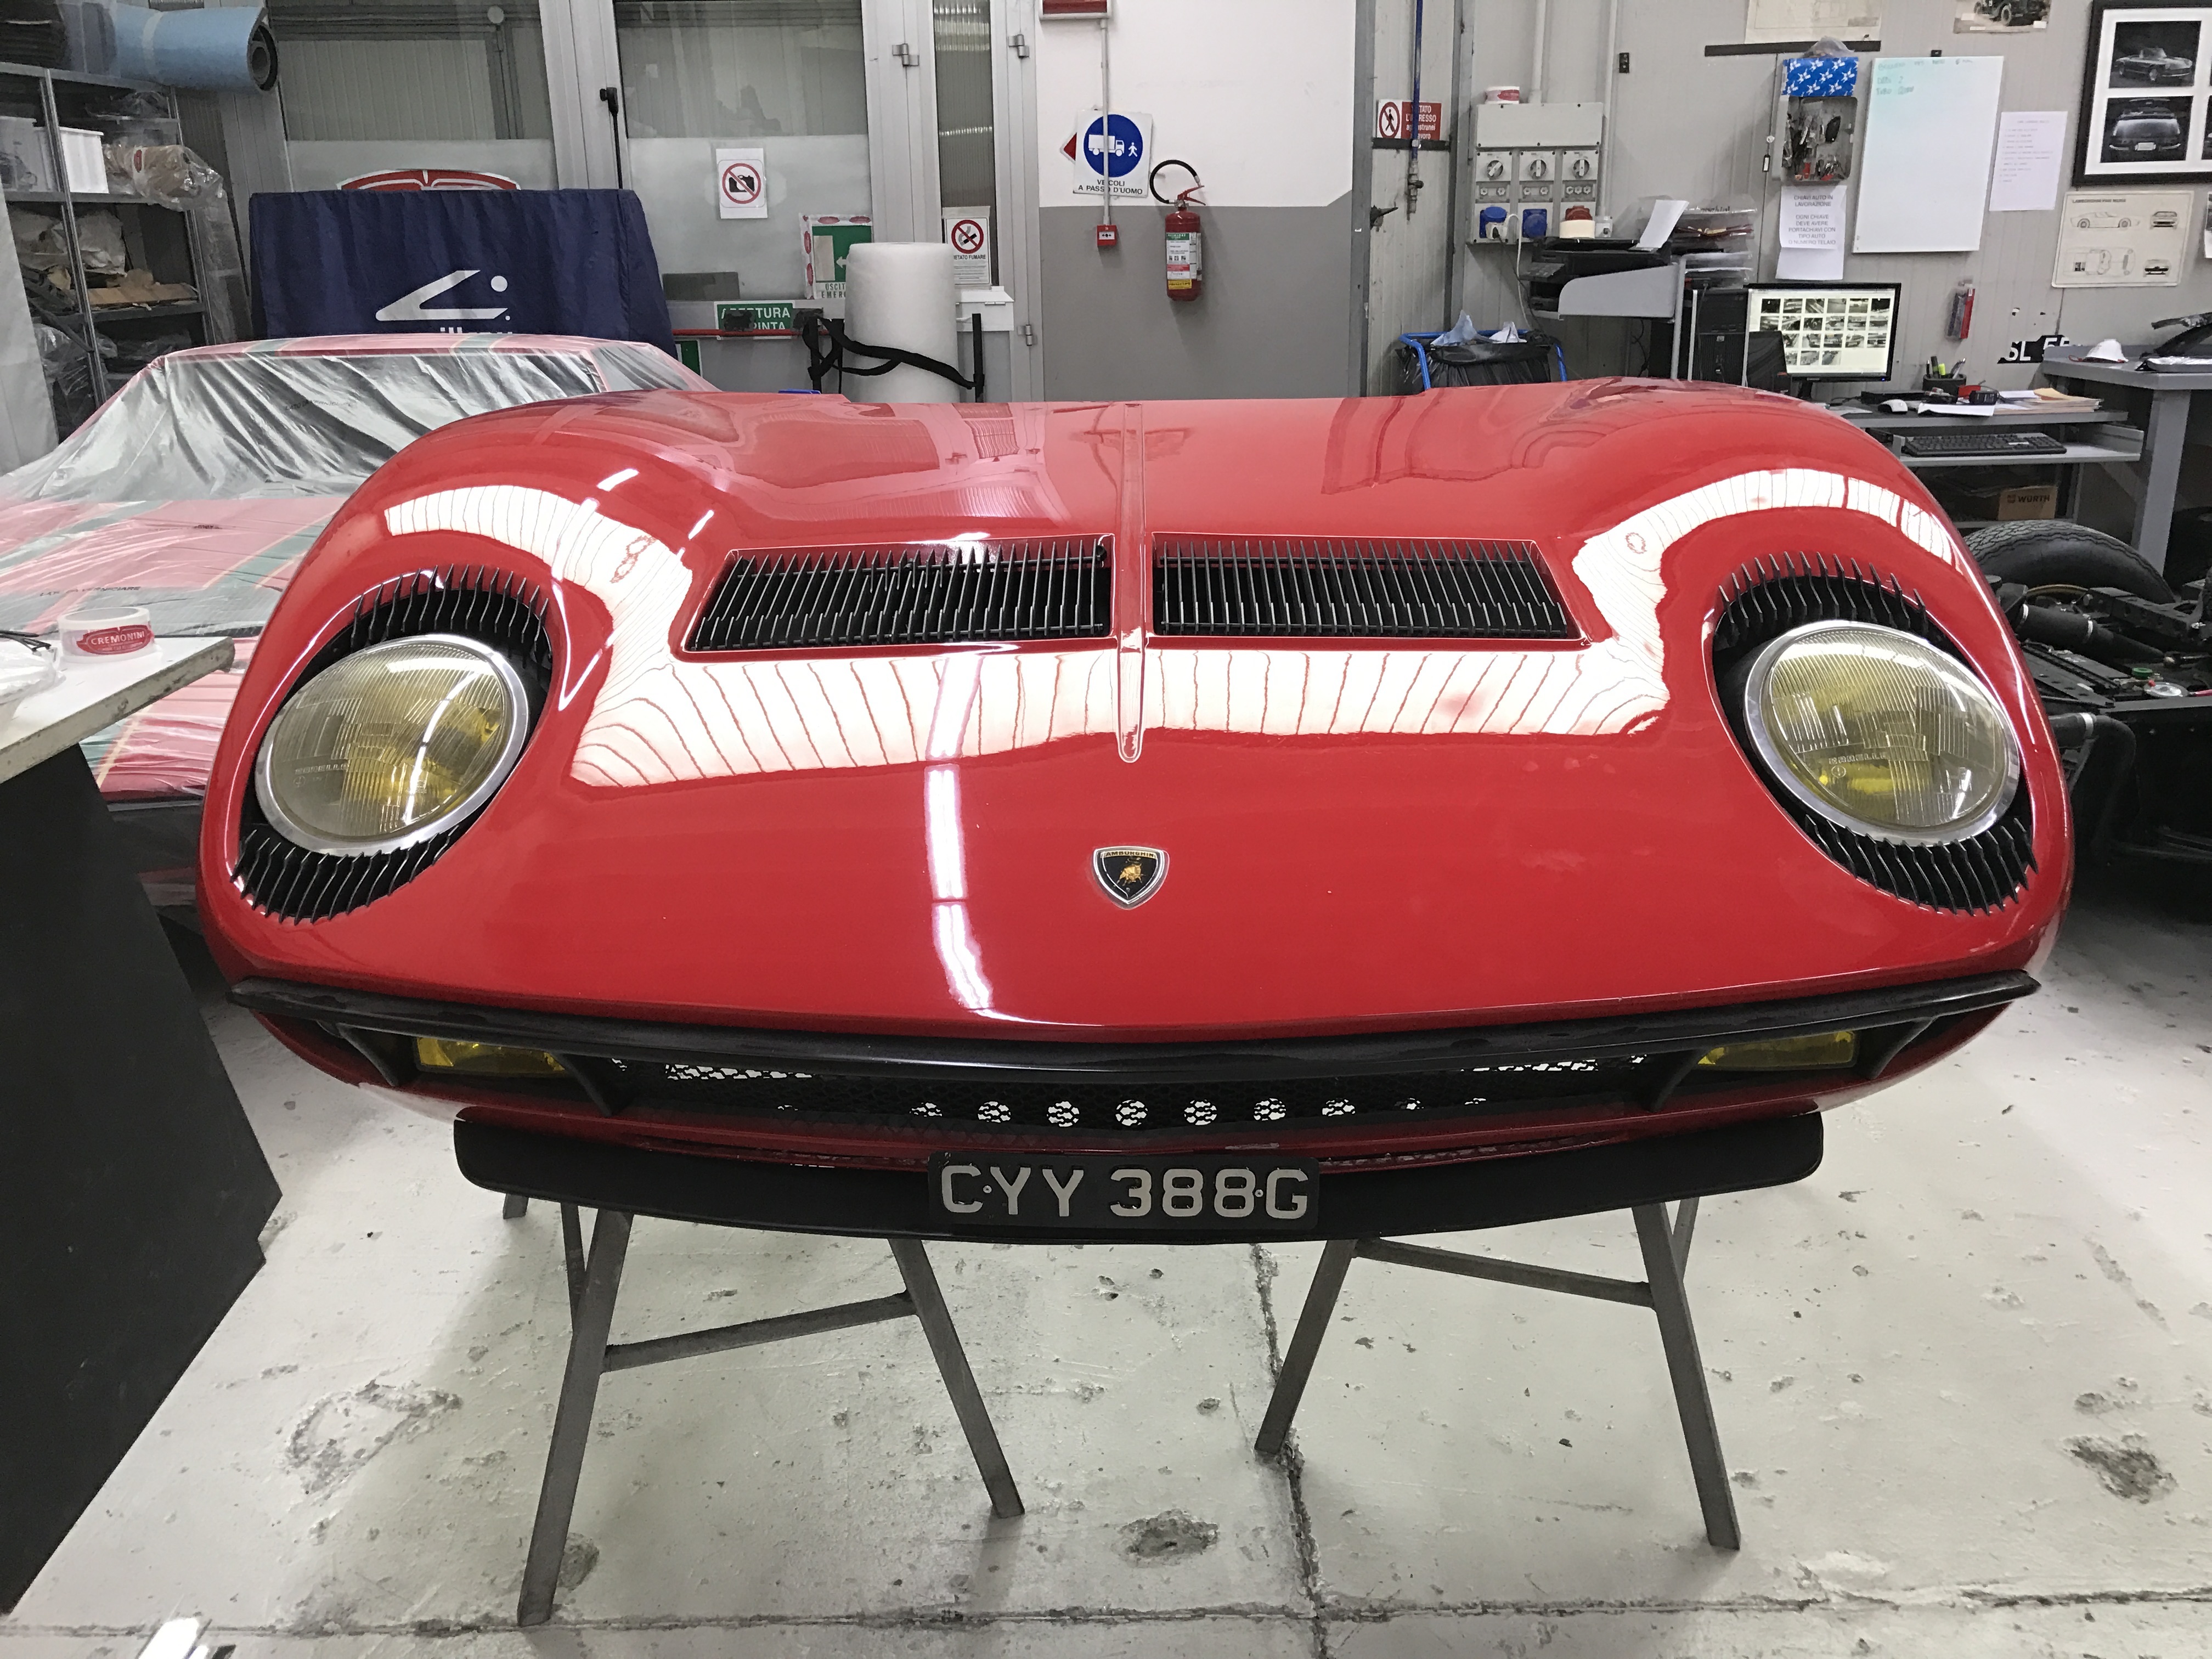
He’s our guide who will accompany us with precise indications through the world of a Lamborghini Miura S #4000’s restoration, which has been performed by Carrozzeria Cremonini Classic in Lesignana.
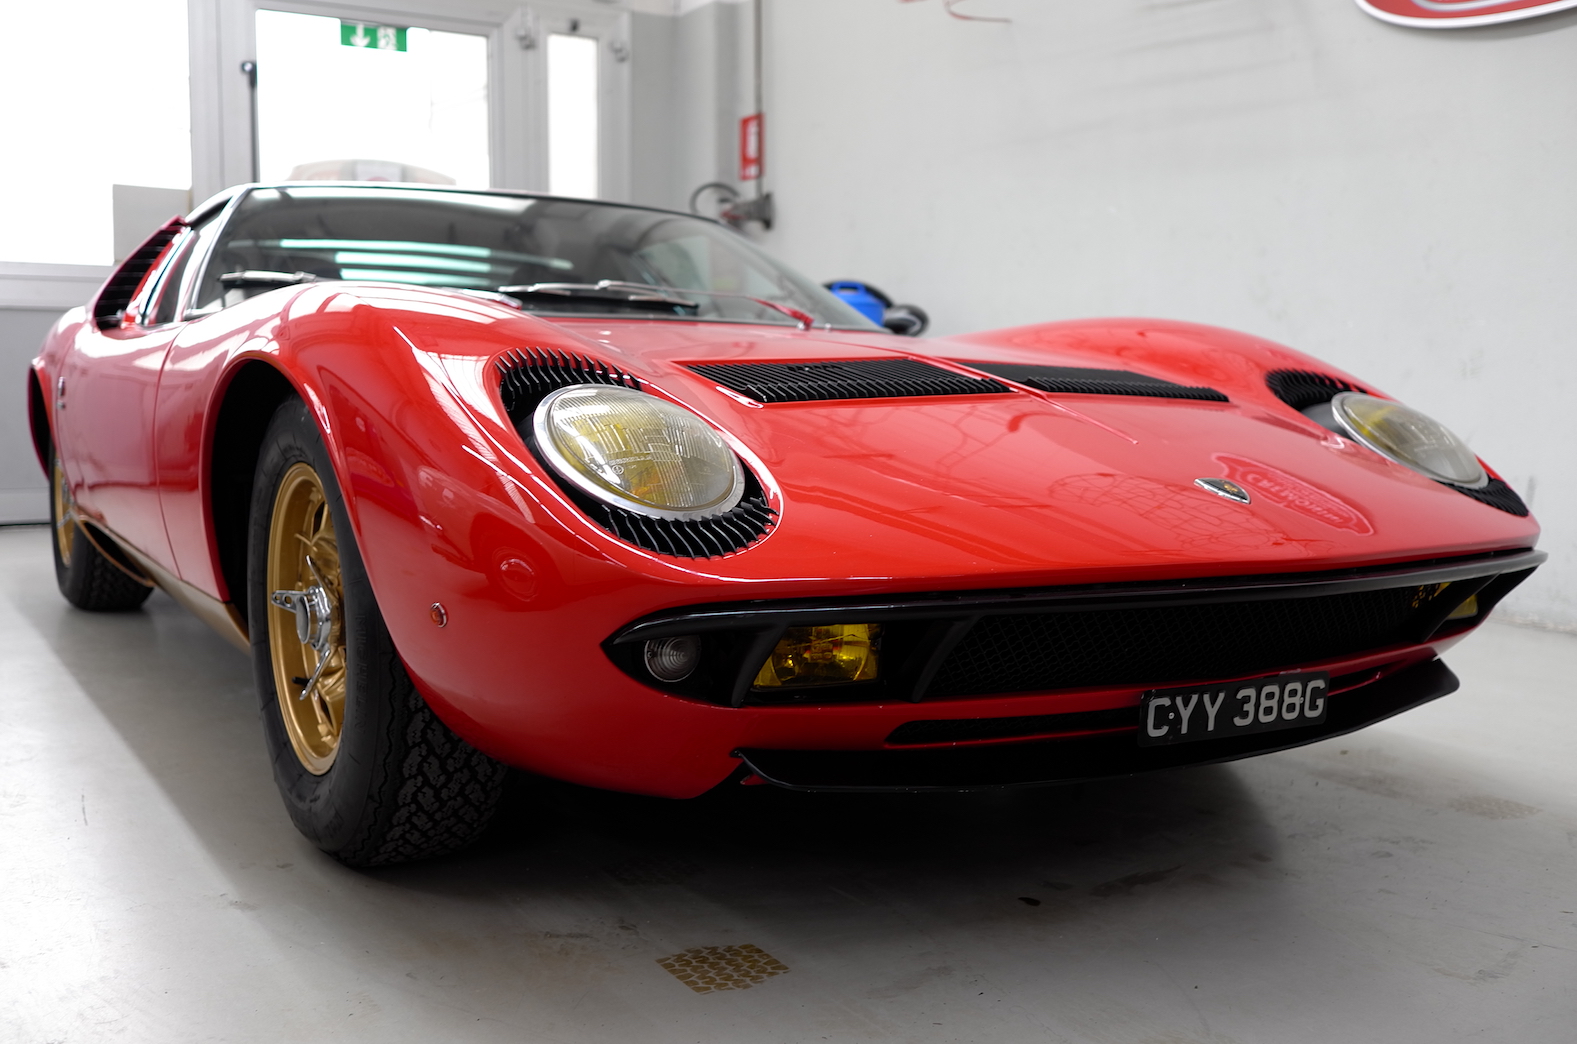
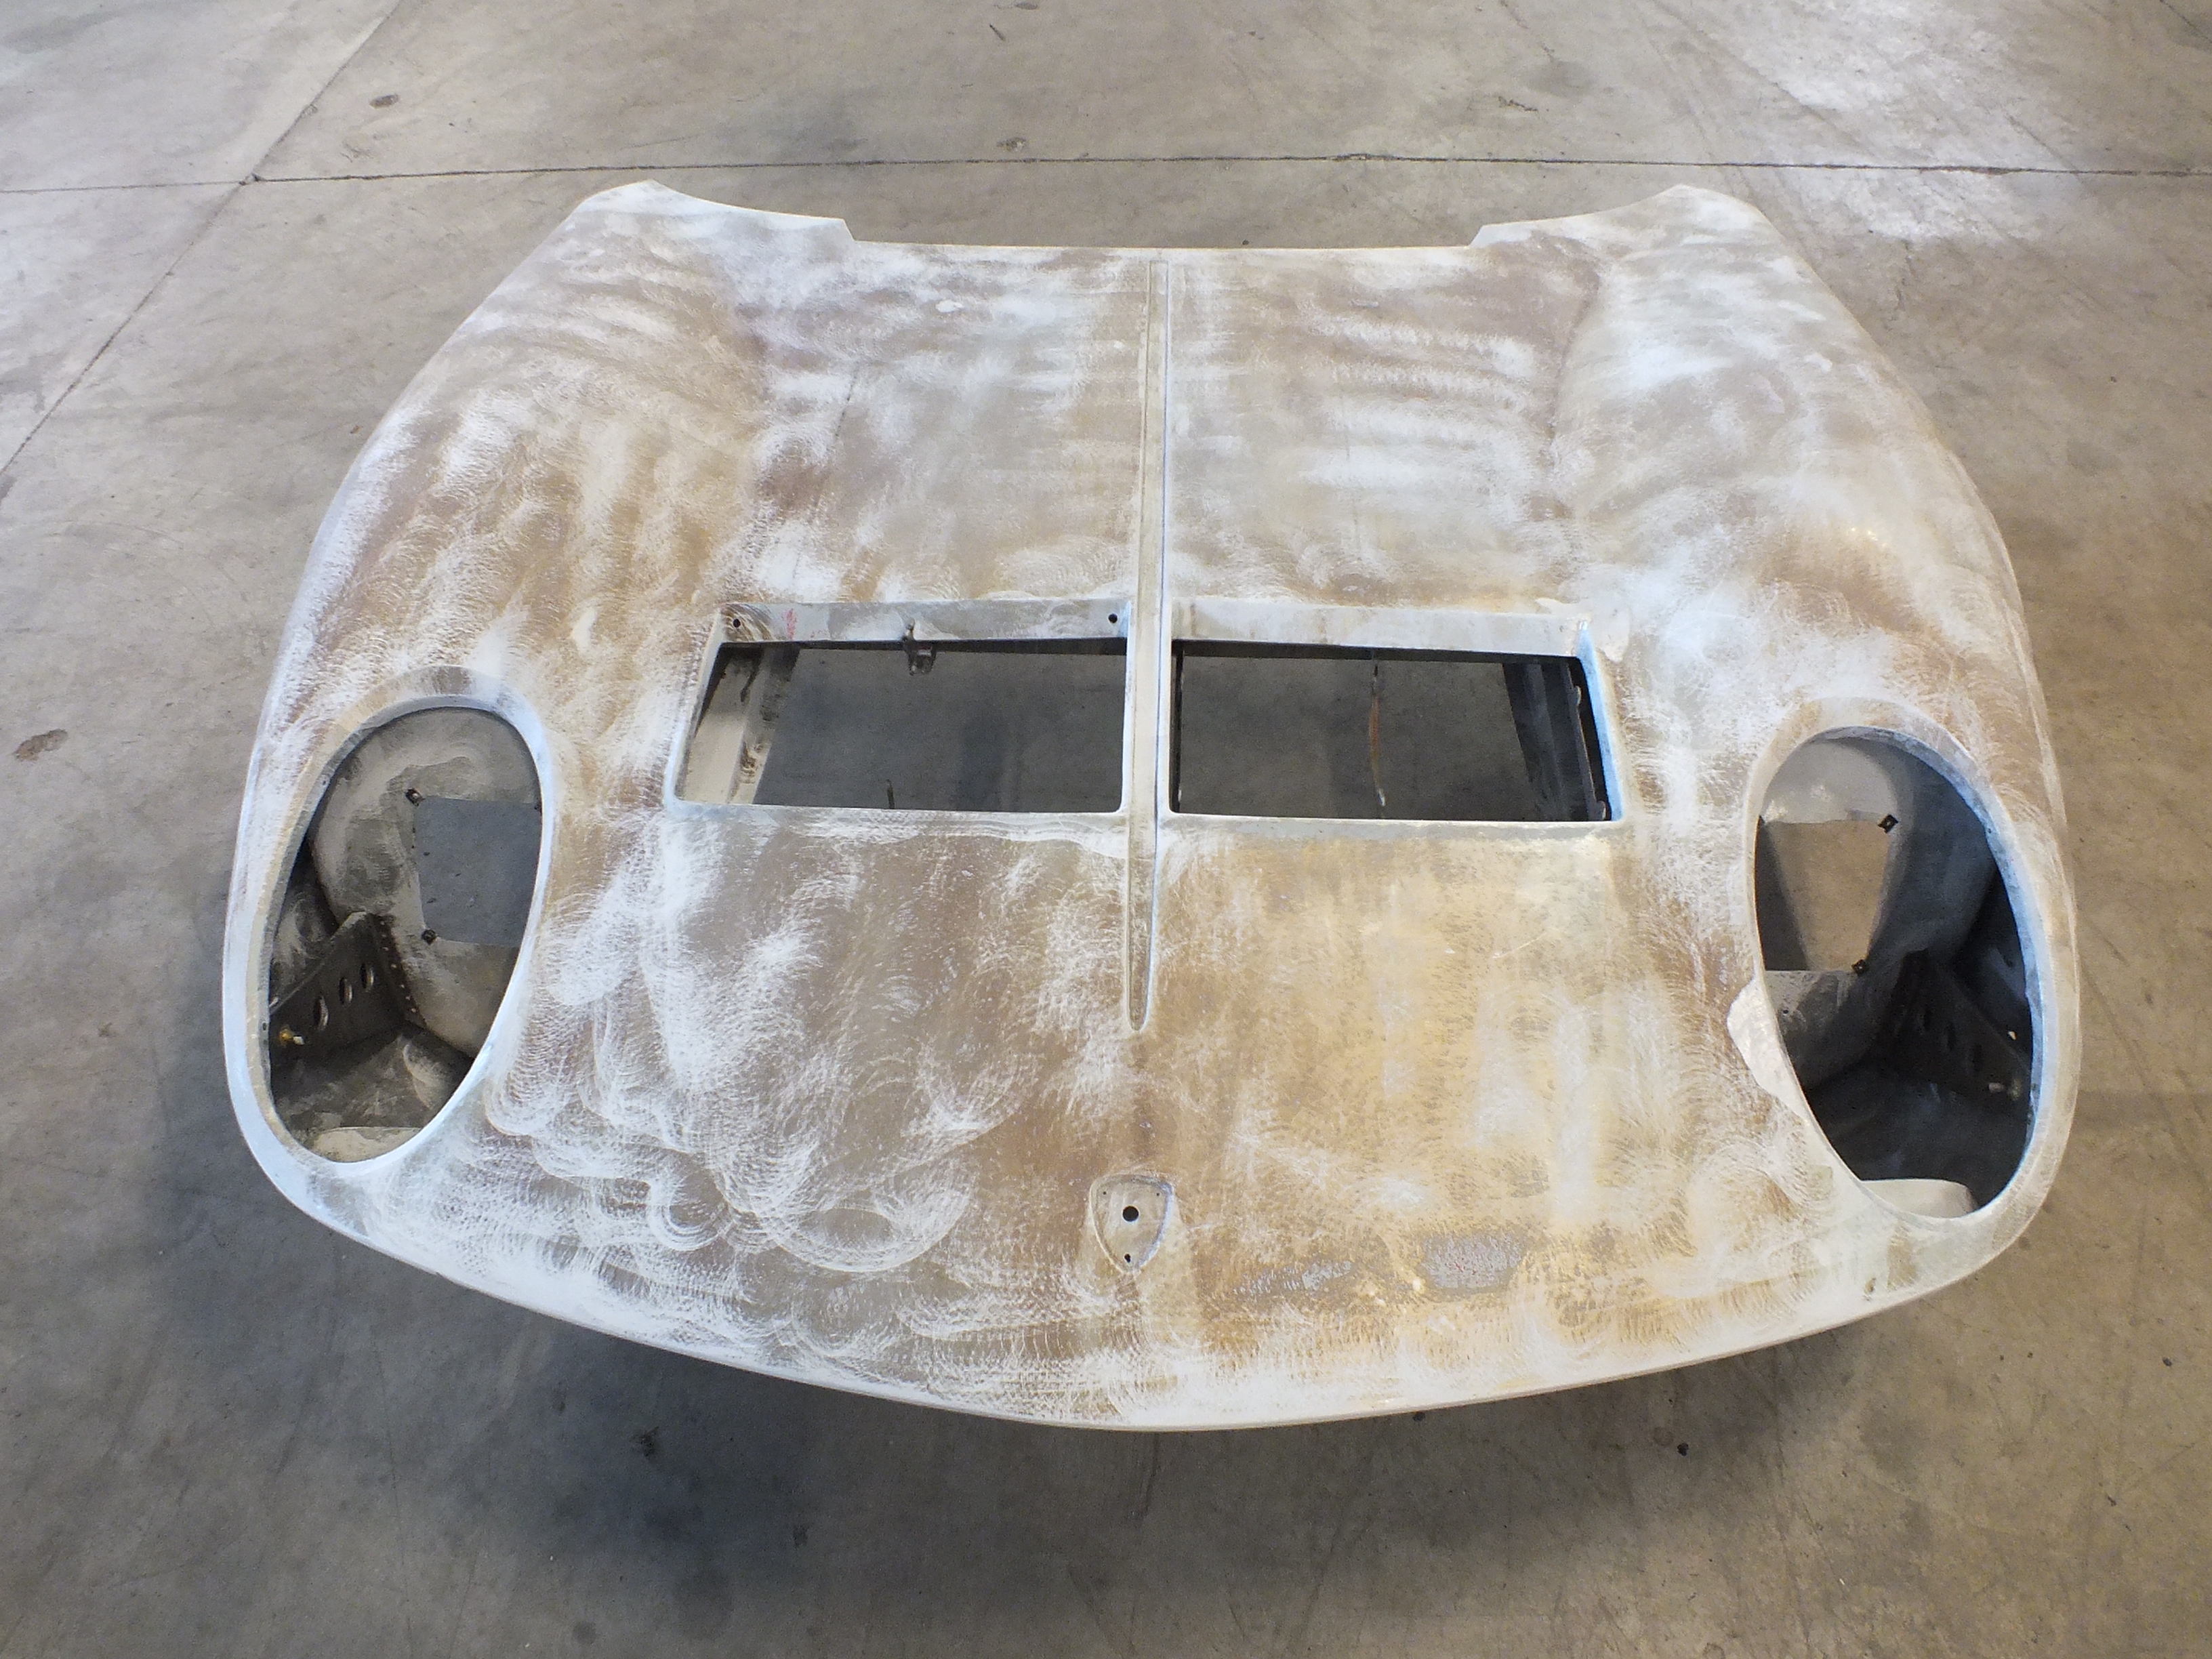
– When the car arrives in the body shop, we make an overall evaluation of its condition. For the inspection of the metal sheet, the paint needs to be stripped. Luckily, today there is the water-based paint stripper, which enables us to perform a precise job with no consequences; it was a technique that used to be applied to ships and it has recently been perfected for cars too.
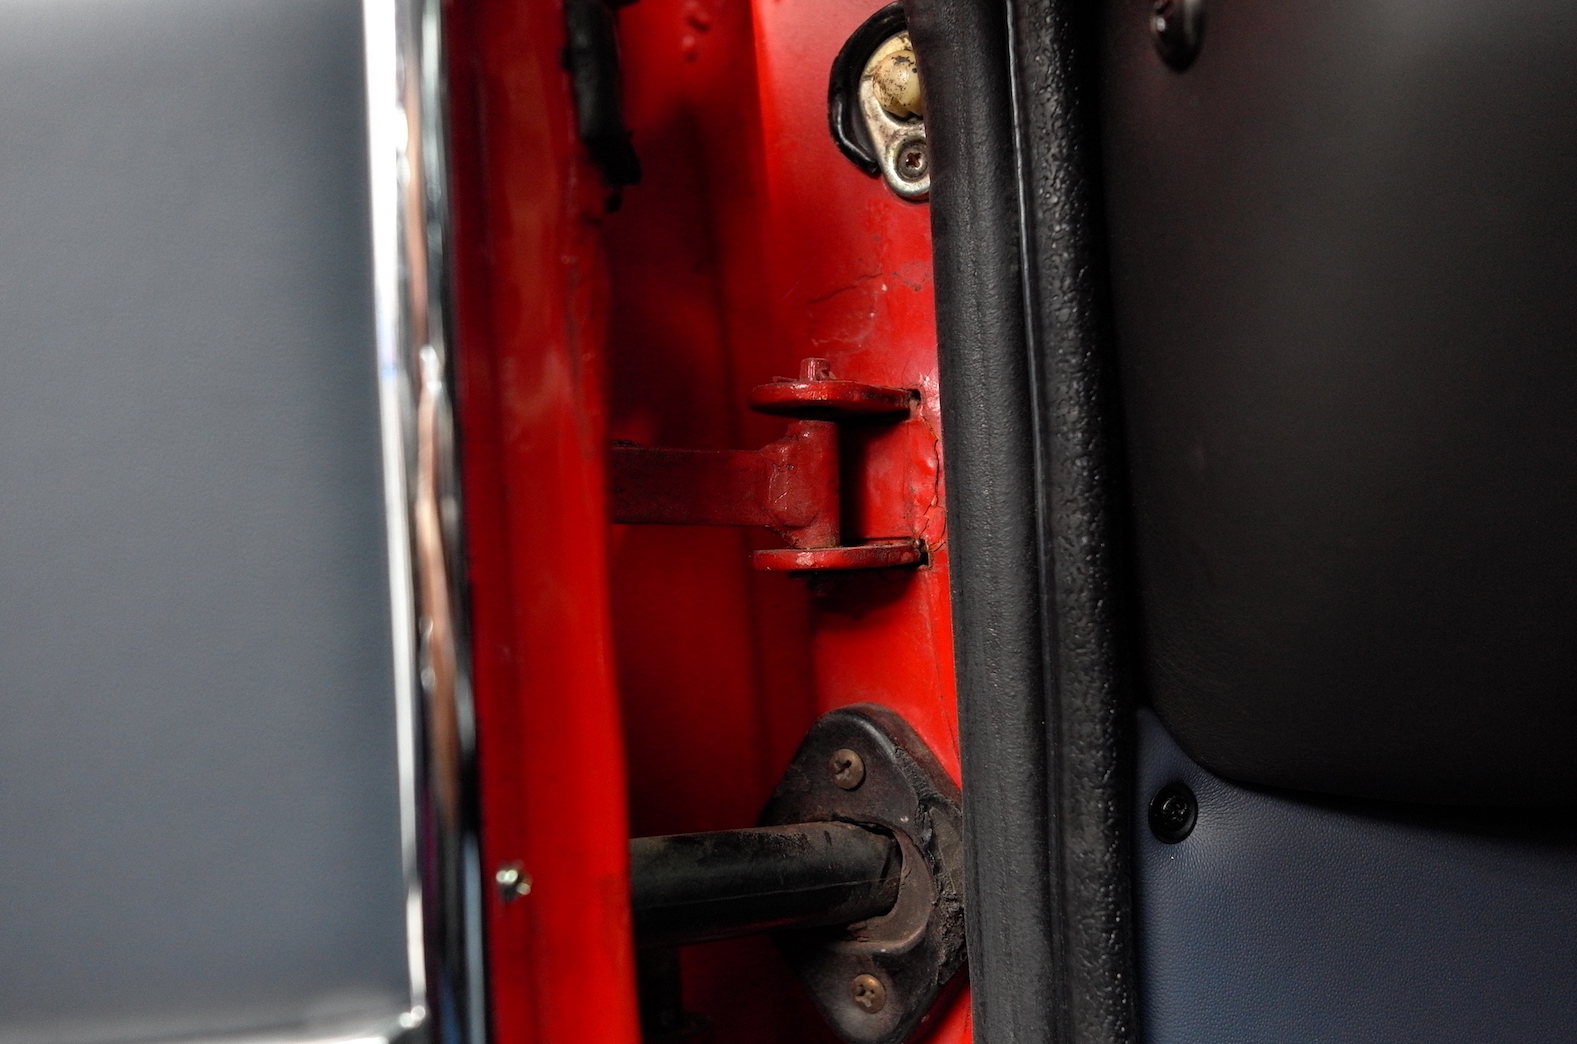
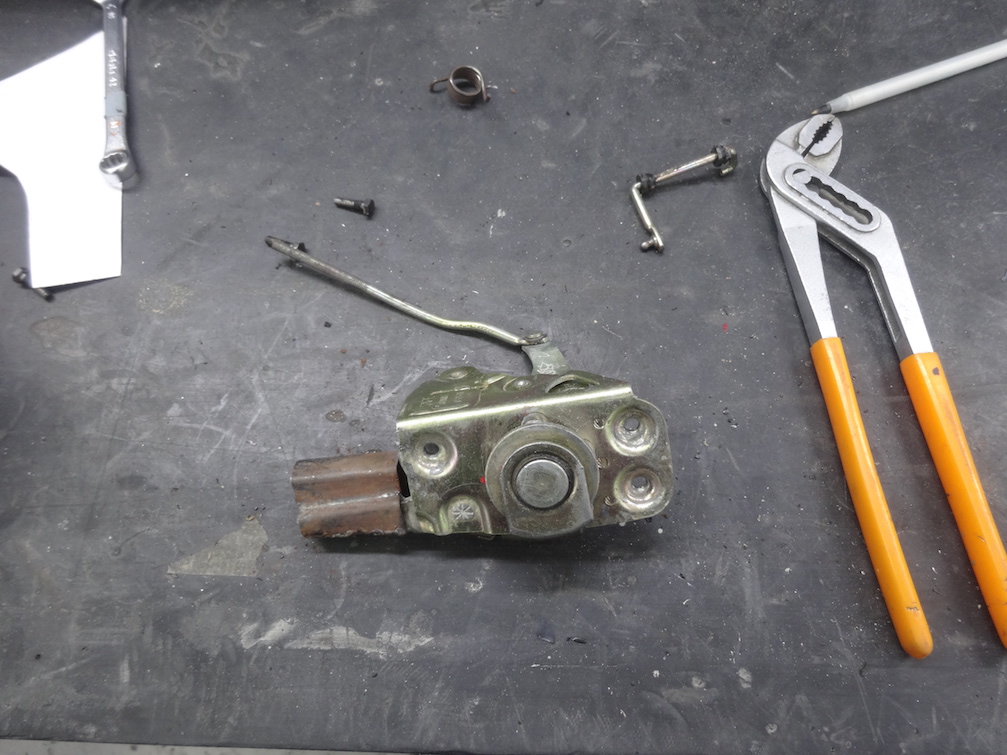
After a careful look, we note down the imperfections and the non-conformities to the model’s quality standards. We don’t leave any detail out, we open the bonnets for the internal inspection, in this case, the tie-rod is broken, it is also visible on the photograph.
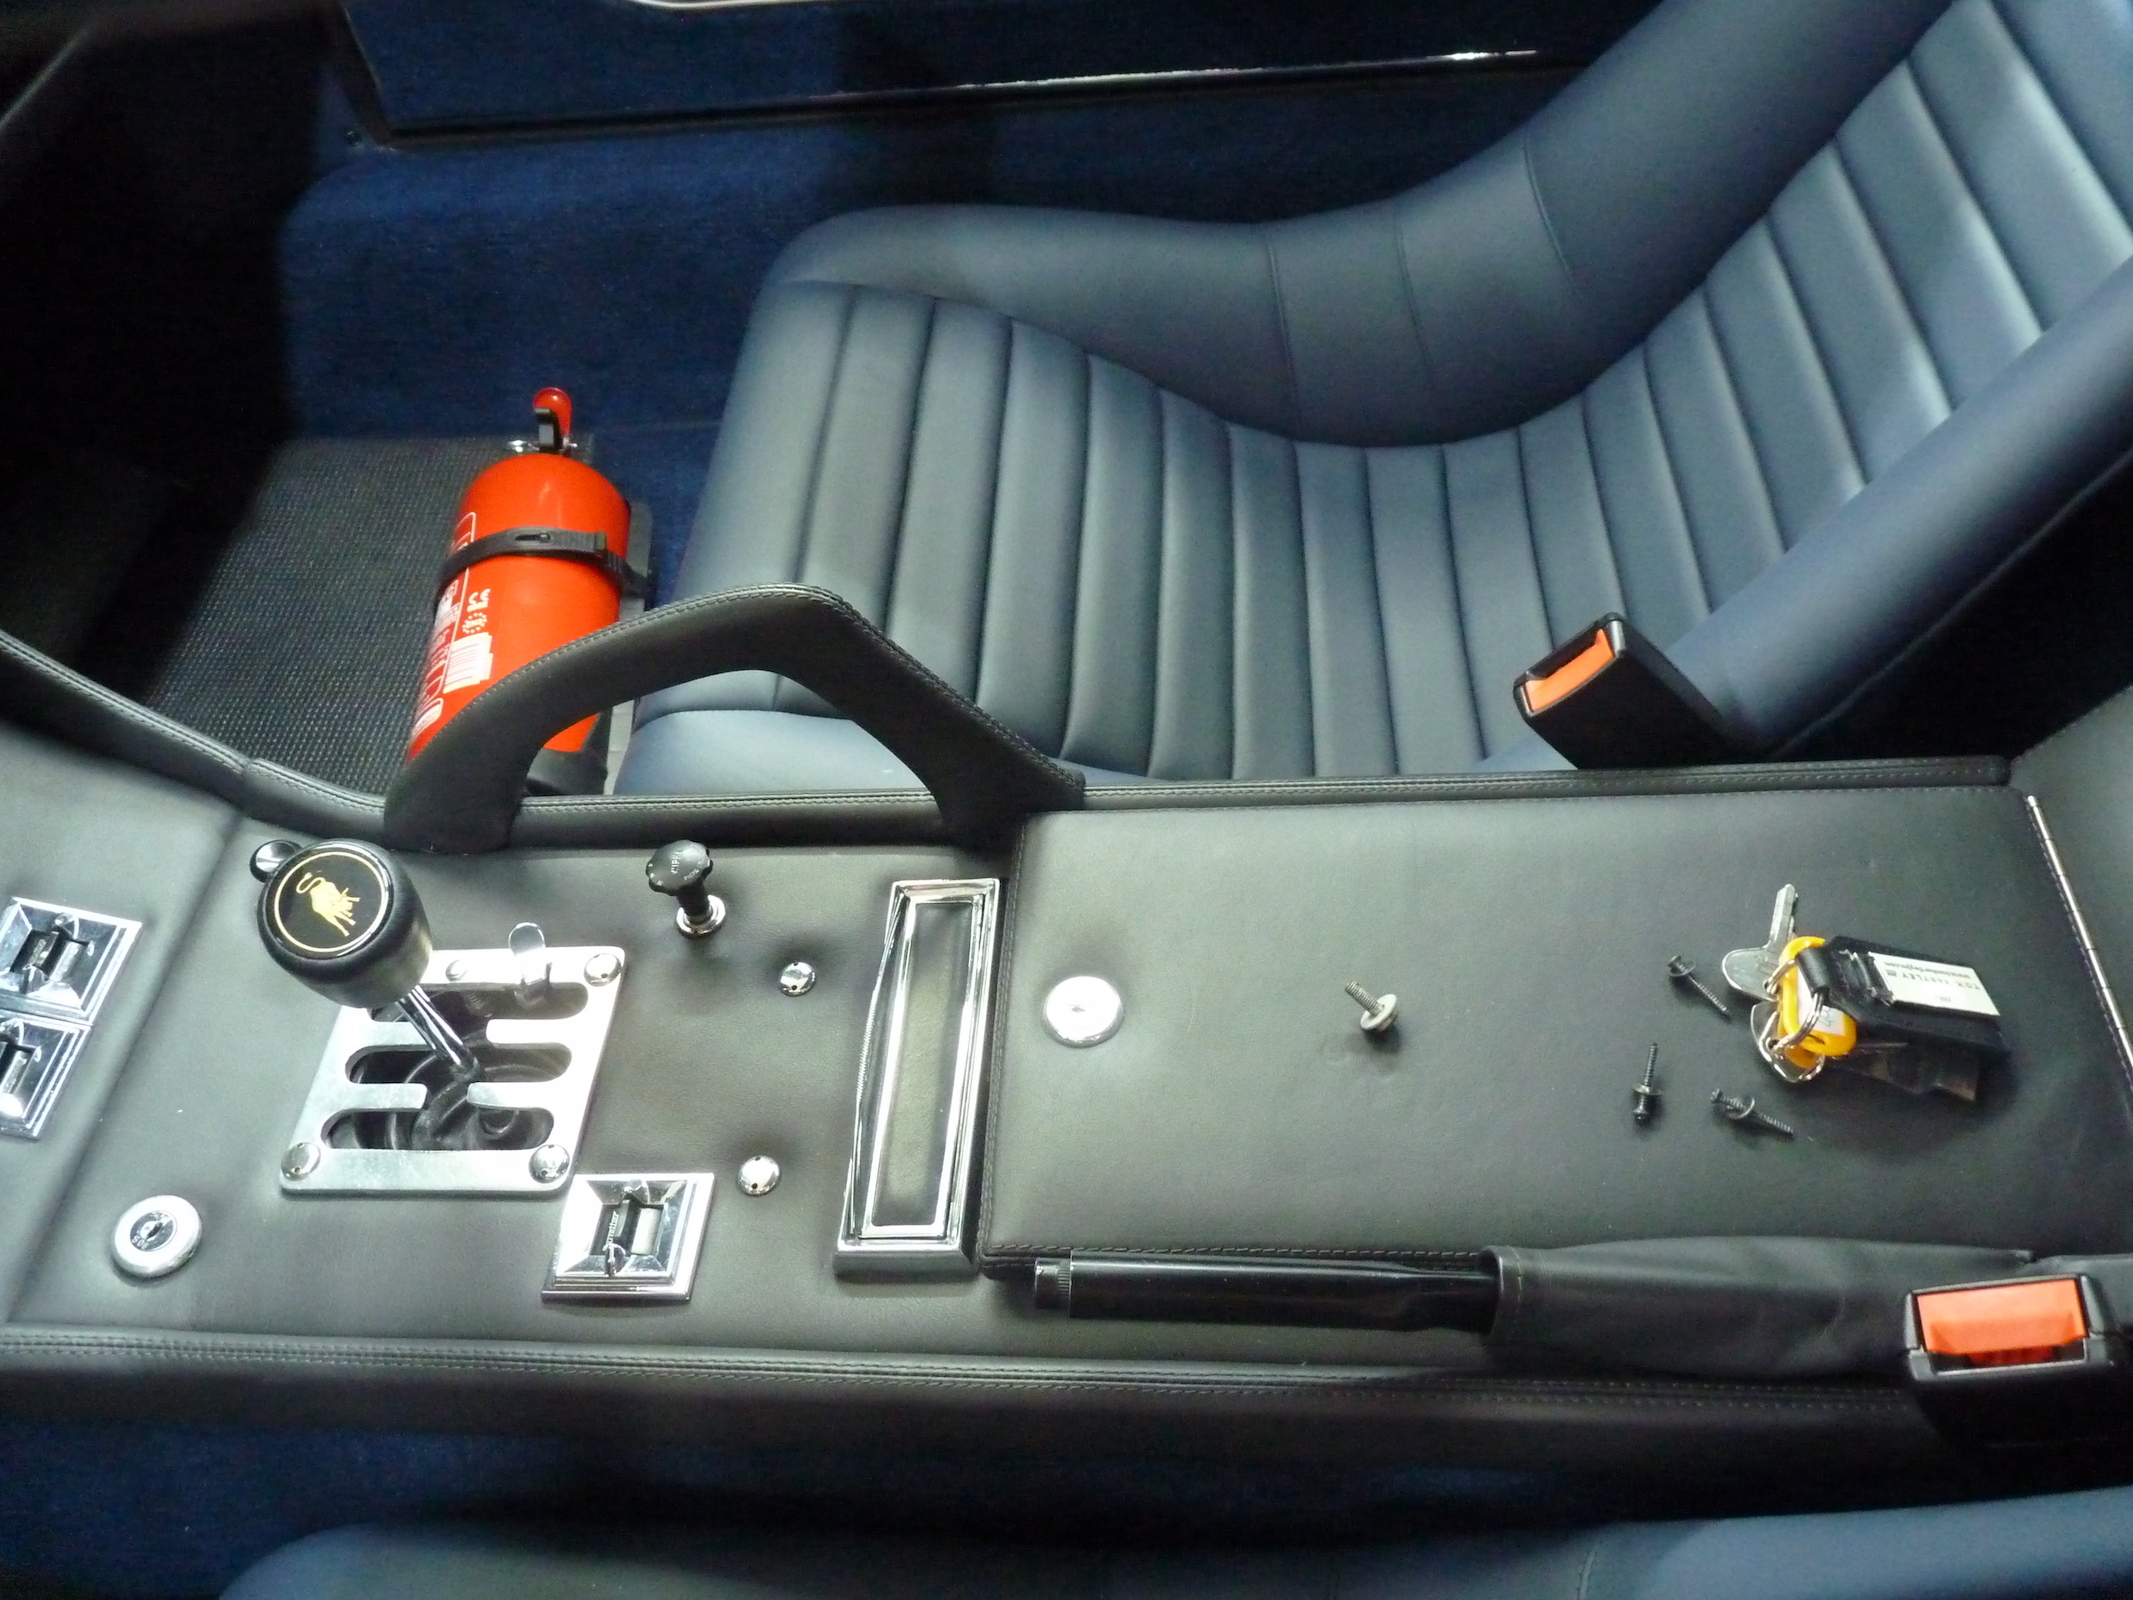
We check the interiors, the seat belts and the gear stick knob of the Lamborghini in question aren’t consistent with the original model. The appearance of the interior reflects that of the exterior: little care for detail, negligence and irregularity. It is noticeable that the interior has already been refurbished and it is in discreet condition.

– Very carefully, we highlight details, I say “the position of details must be baptised”. By “baptised” I mean that we need to assign the correct positions, these are notes that I must know from the beginning of the restoration job, because I still have some points of reference: the mirror is mounted and I can measure the encumbrance, for example. If the positions weren’t fine, we may correct them during the metal sheet’s revision phase.
Mr Mauro is a perfectionist in the acceptance of meticulousness and care, without being fastidious. He’s a varnisher specialised in restoring classic cars. The skill of his job is the result of strict discipline and the will to achieve the best possible result, which isn’t to be evaluated by others, but by the most inflexible of critics: himself.
-
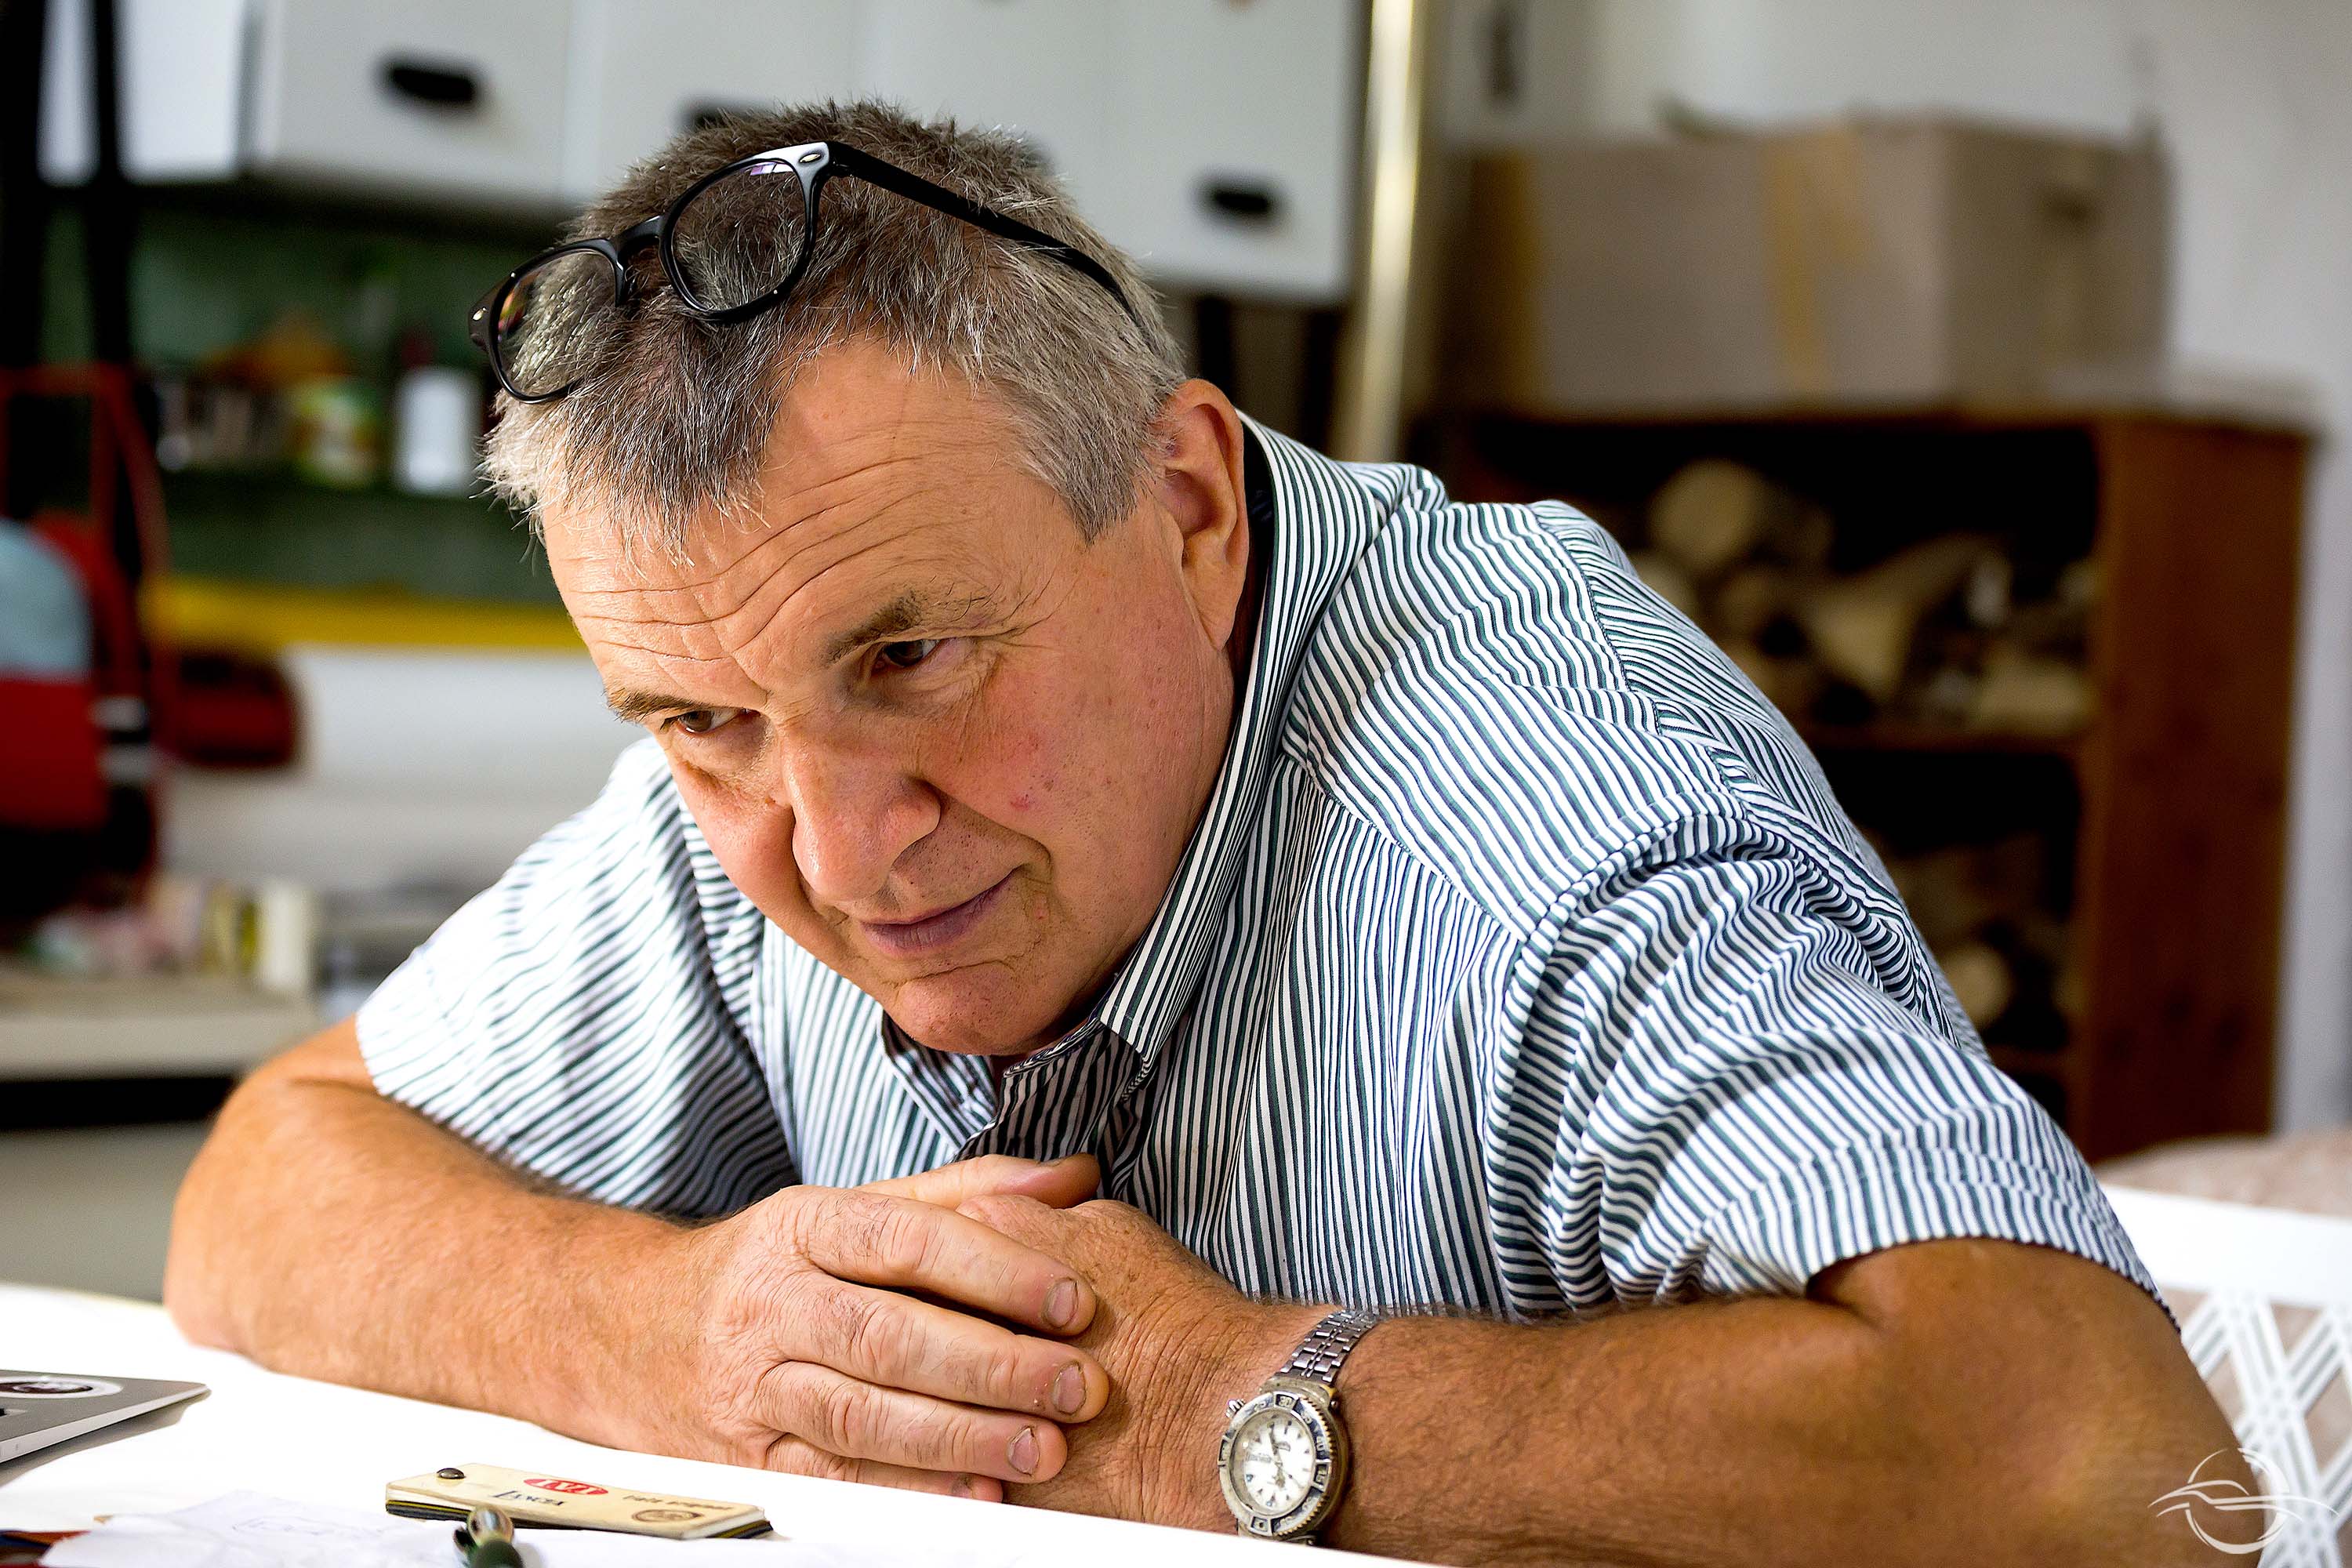
- Mauro Barbieri – photograph by Angelo Rosa
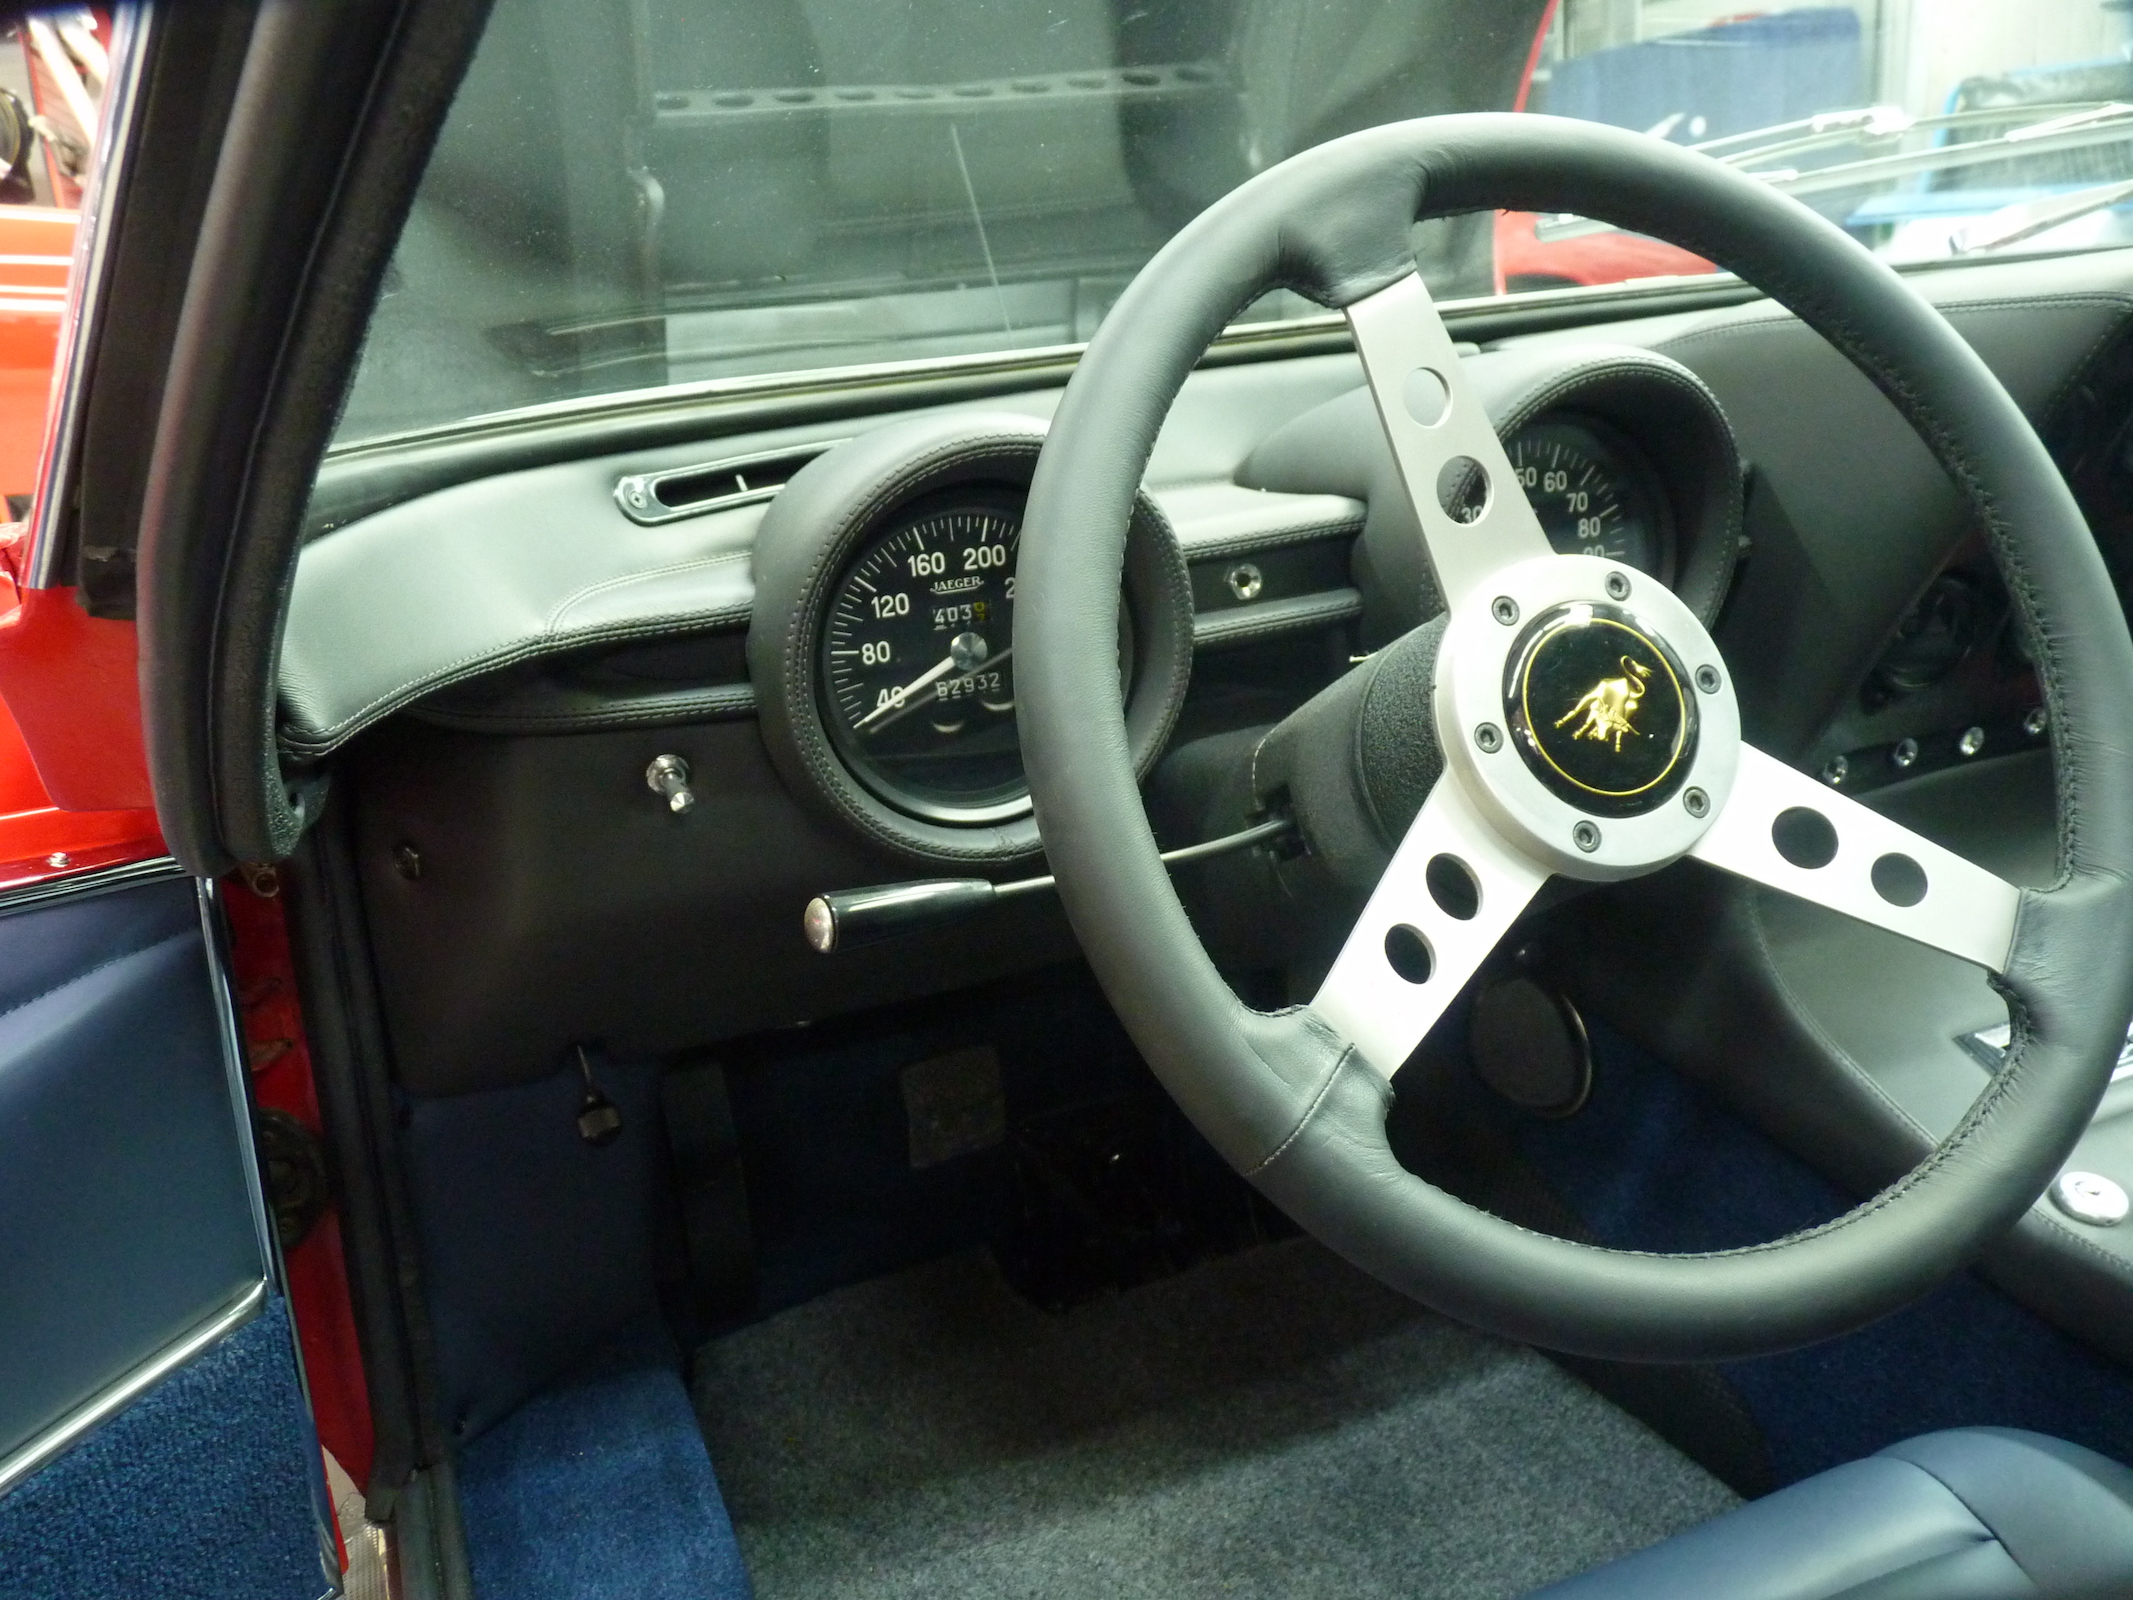
– The car needs to be dismantled and all of the parts must be photographed for construction and position. Each element needs to be catalogued with utmost precision: right, left, high, low… The dismantling process is a job that requires a lot of knowledge: the executor needs to know if the part that they dismantled is in the right place and if it is compatible with the time of construction. An excellent example would be the rear-view mirrors, they weren’t available on the vintage Lamborghinis. So what? We need to discover the precise decision made by the mother factory, there is no other way, we need to search for reliable information. The collaboration with the manufacturer is very close, they always collaborate very enthusiastically. We also contact the specialised press; we observe books and photograph collections.
– How long does it take for inspection, dismantling and cataloguing the parts of a Miura?
– You may easily spend 100 hours which, translated into English, would mean a person working on it for two weeks, but someone who works fast too… otherwise with someone lending them a hand. There are parts which you cannot dismantle on your own, such as bonnets. The bonnets’ industrious unhooking mechanism, both at the front and rear with the exhausts, requires the intervention of two or even three people.
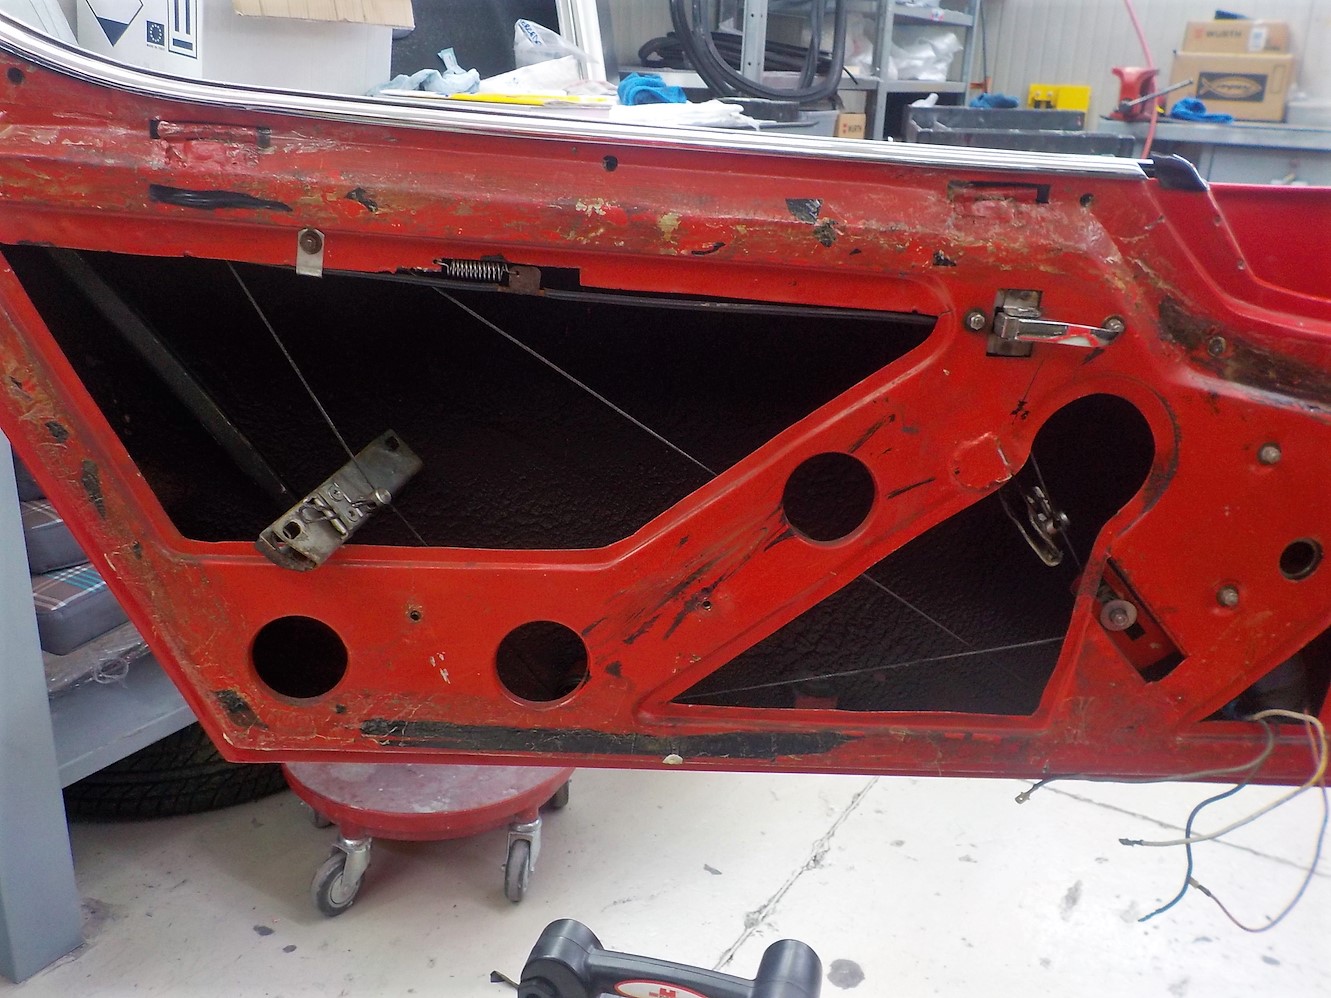
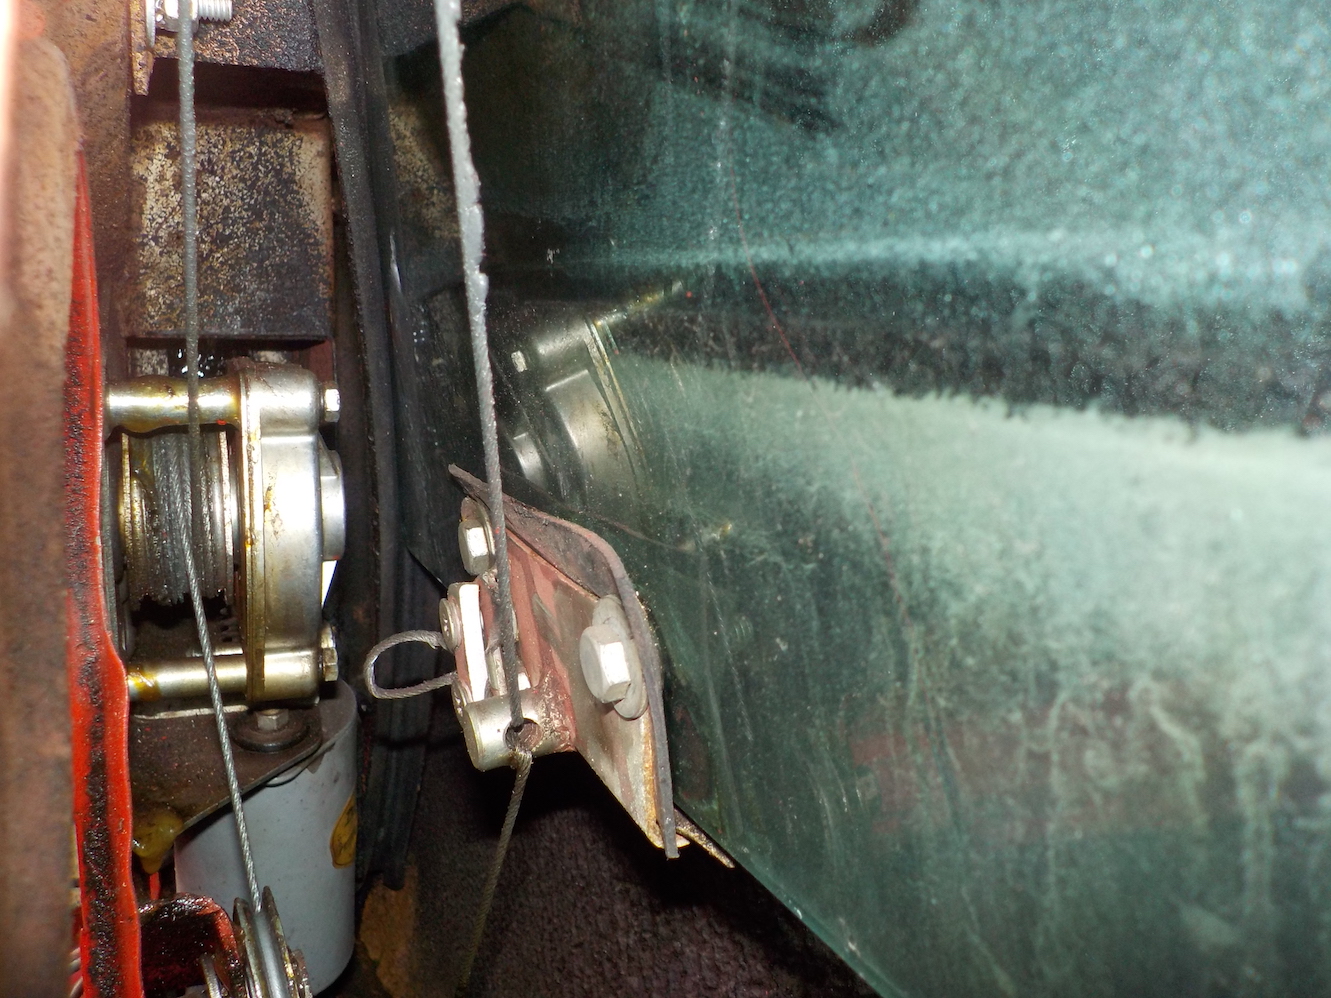
The window lift regulators are quite curious, while one releases the thread, the other one rolls it up, it is a very clever device. For the time of the car, being able to fit the rolling up mechanism in that reduced space is quite incredible.
– The famous quote “experience is simply the name we give our mistakes” is also applicable to Lamborghini. I mean that the first chassis had a few imperfections, which were later corrected. This quote is applicable to all car manufacturers, today and in the past.
We cover the Miura’s chassis number with some duct tape, the body number is stamped in the right side, on the door frame.
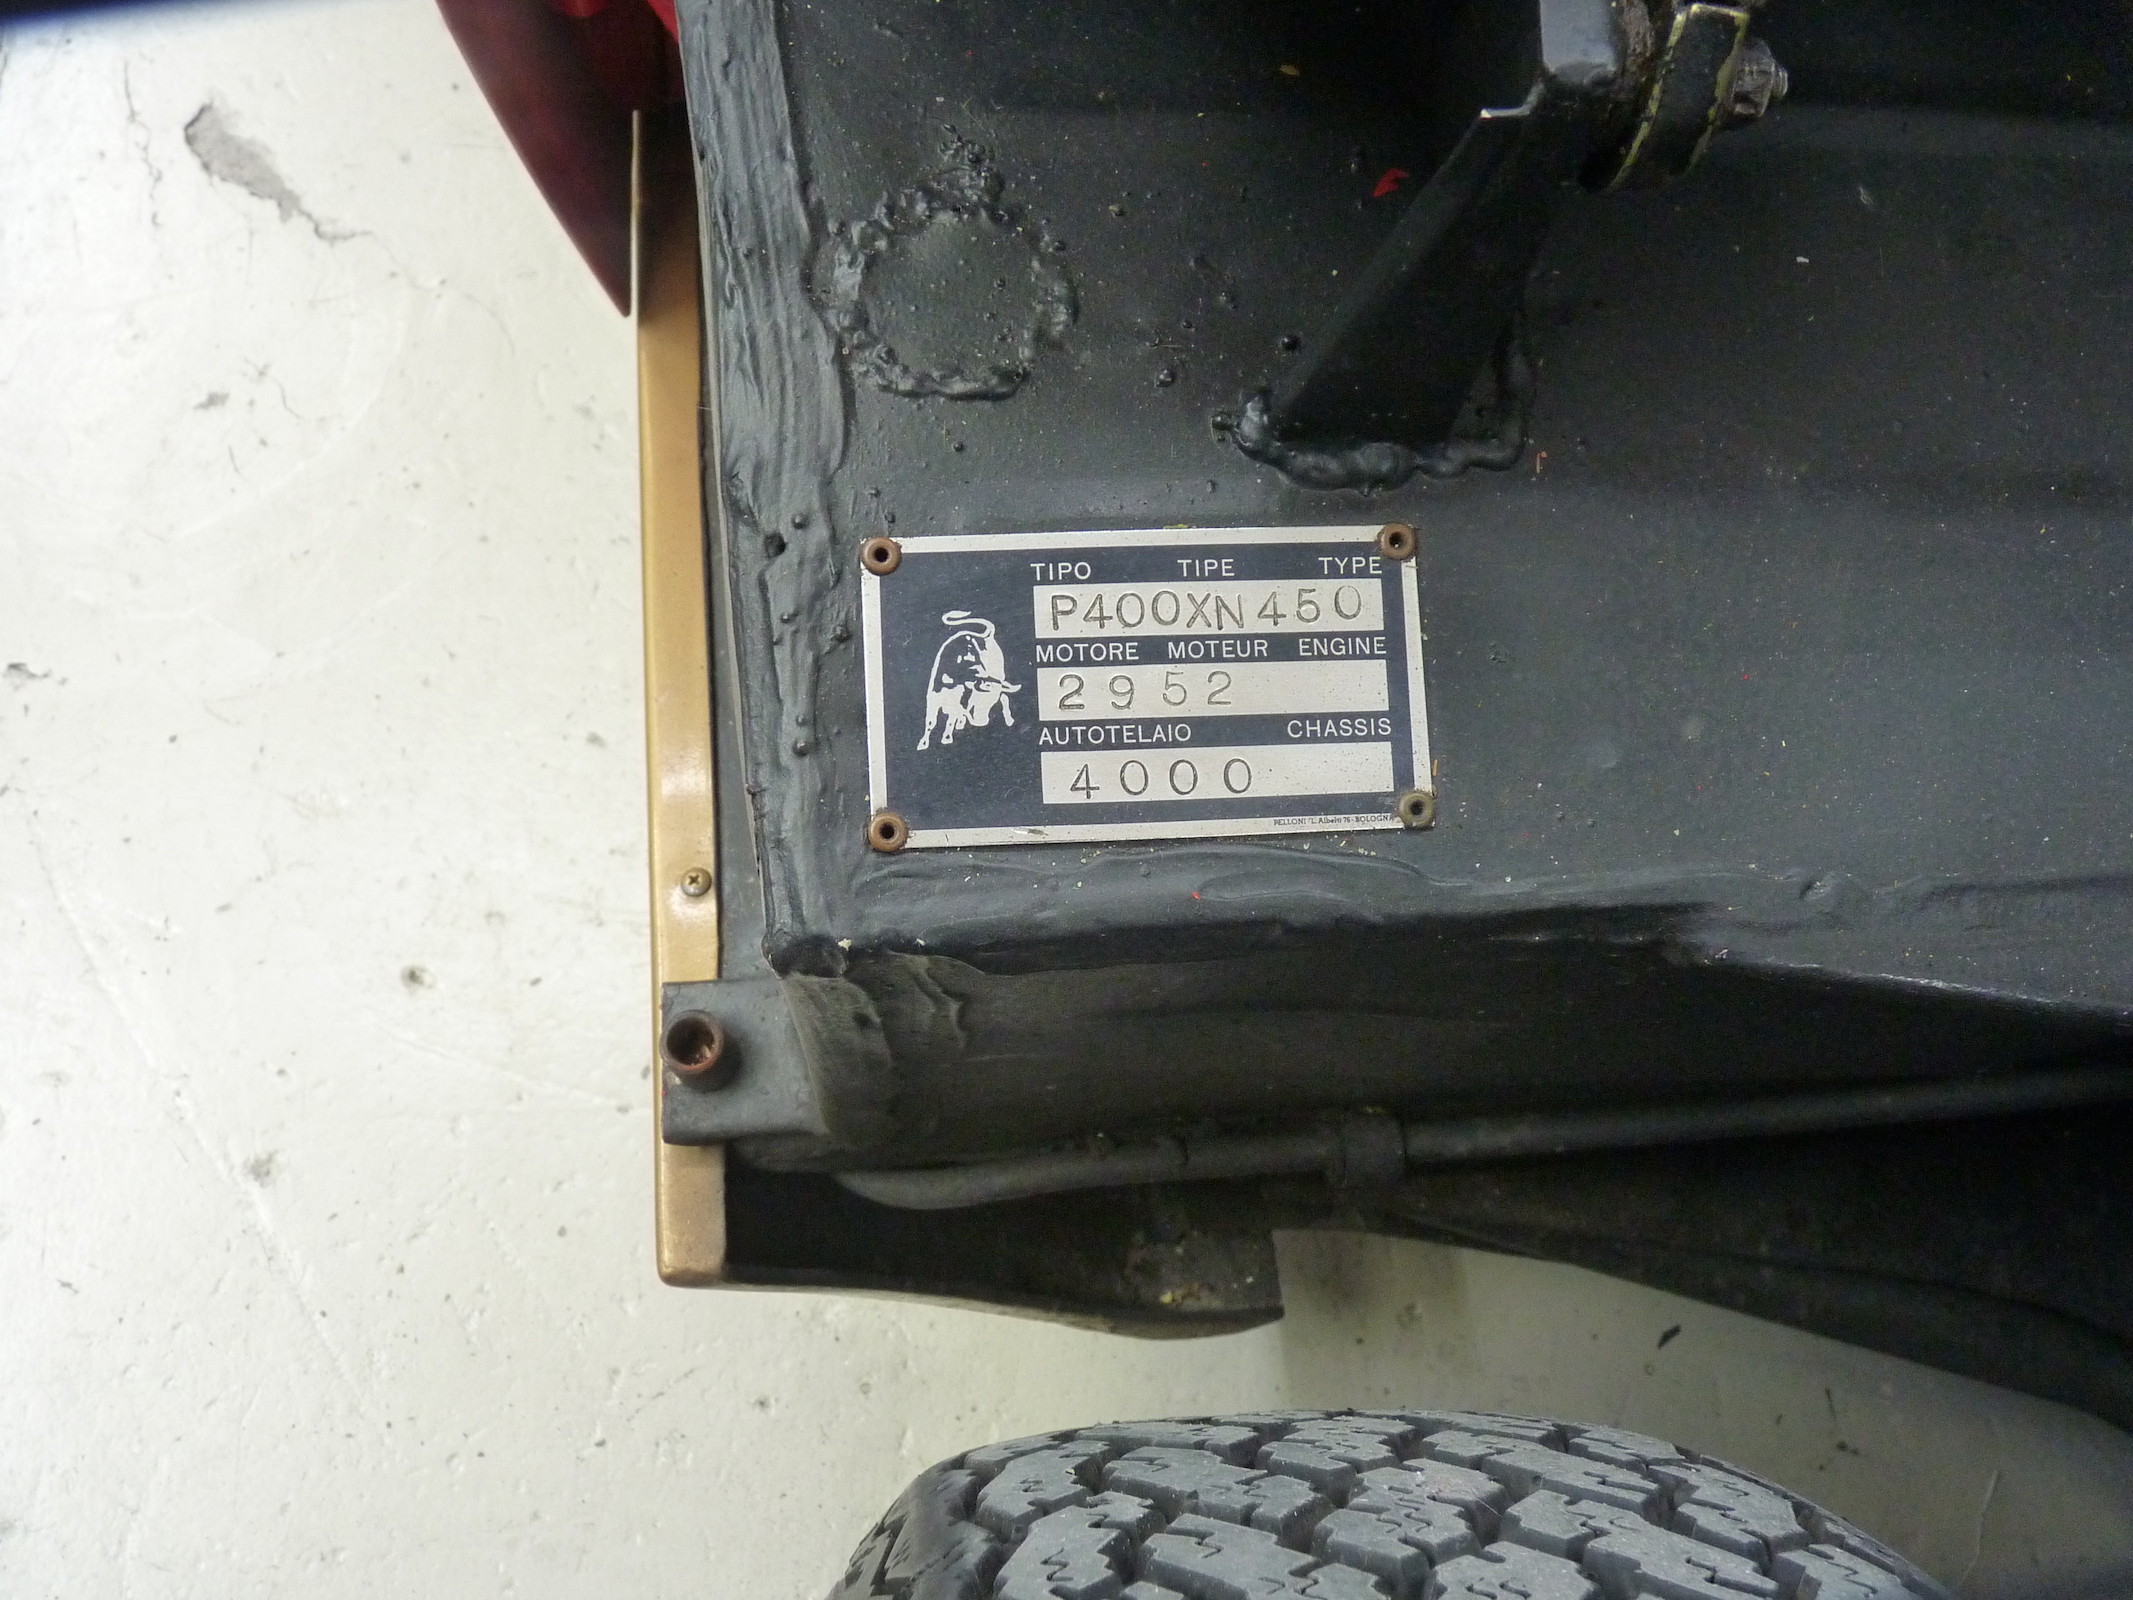
Mauro points out that the body number also states that this Lamborghini’s doors, with this number, are only good for this car. The engine needs to be stamped with the same number too, which is actually the Matching Number.
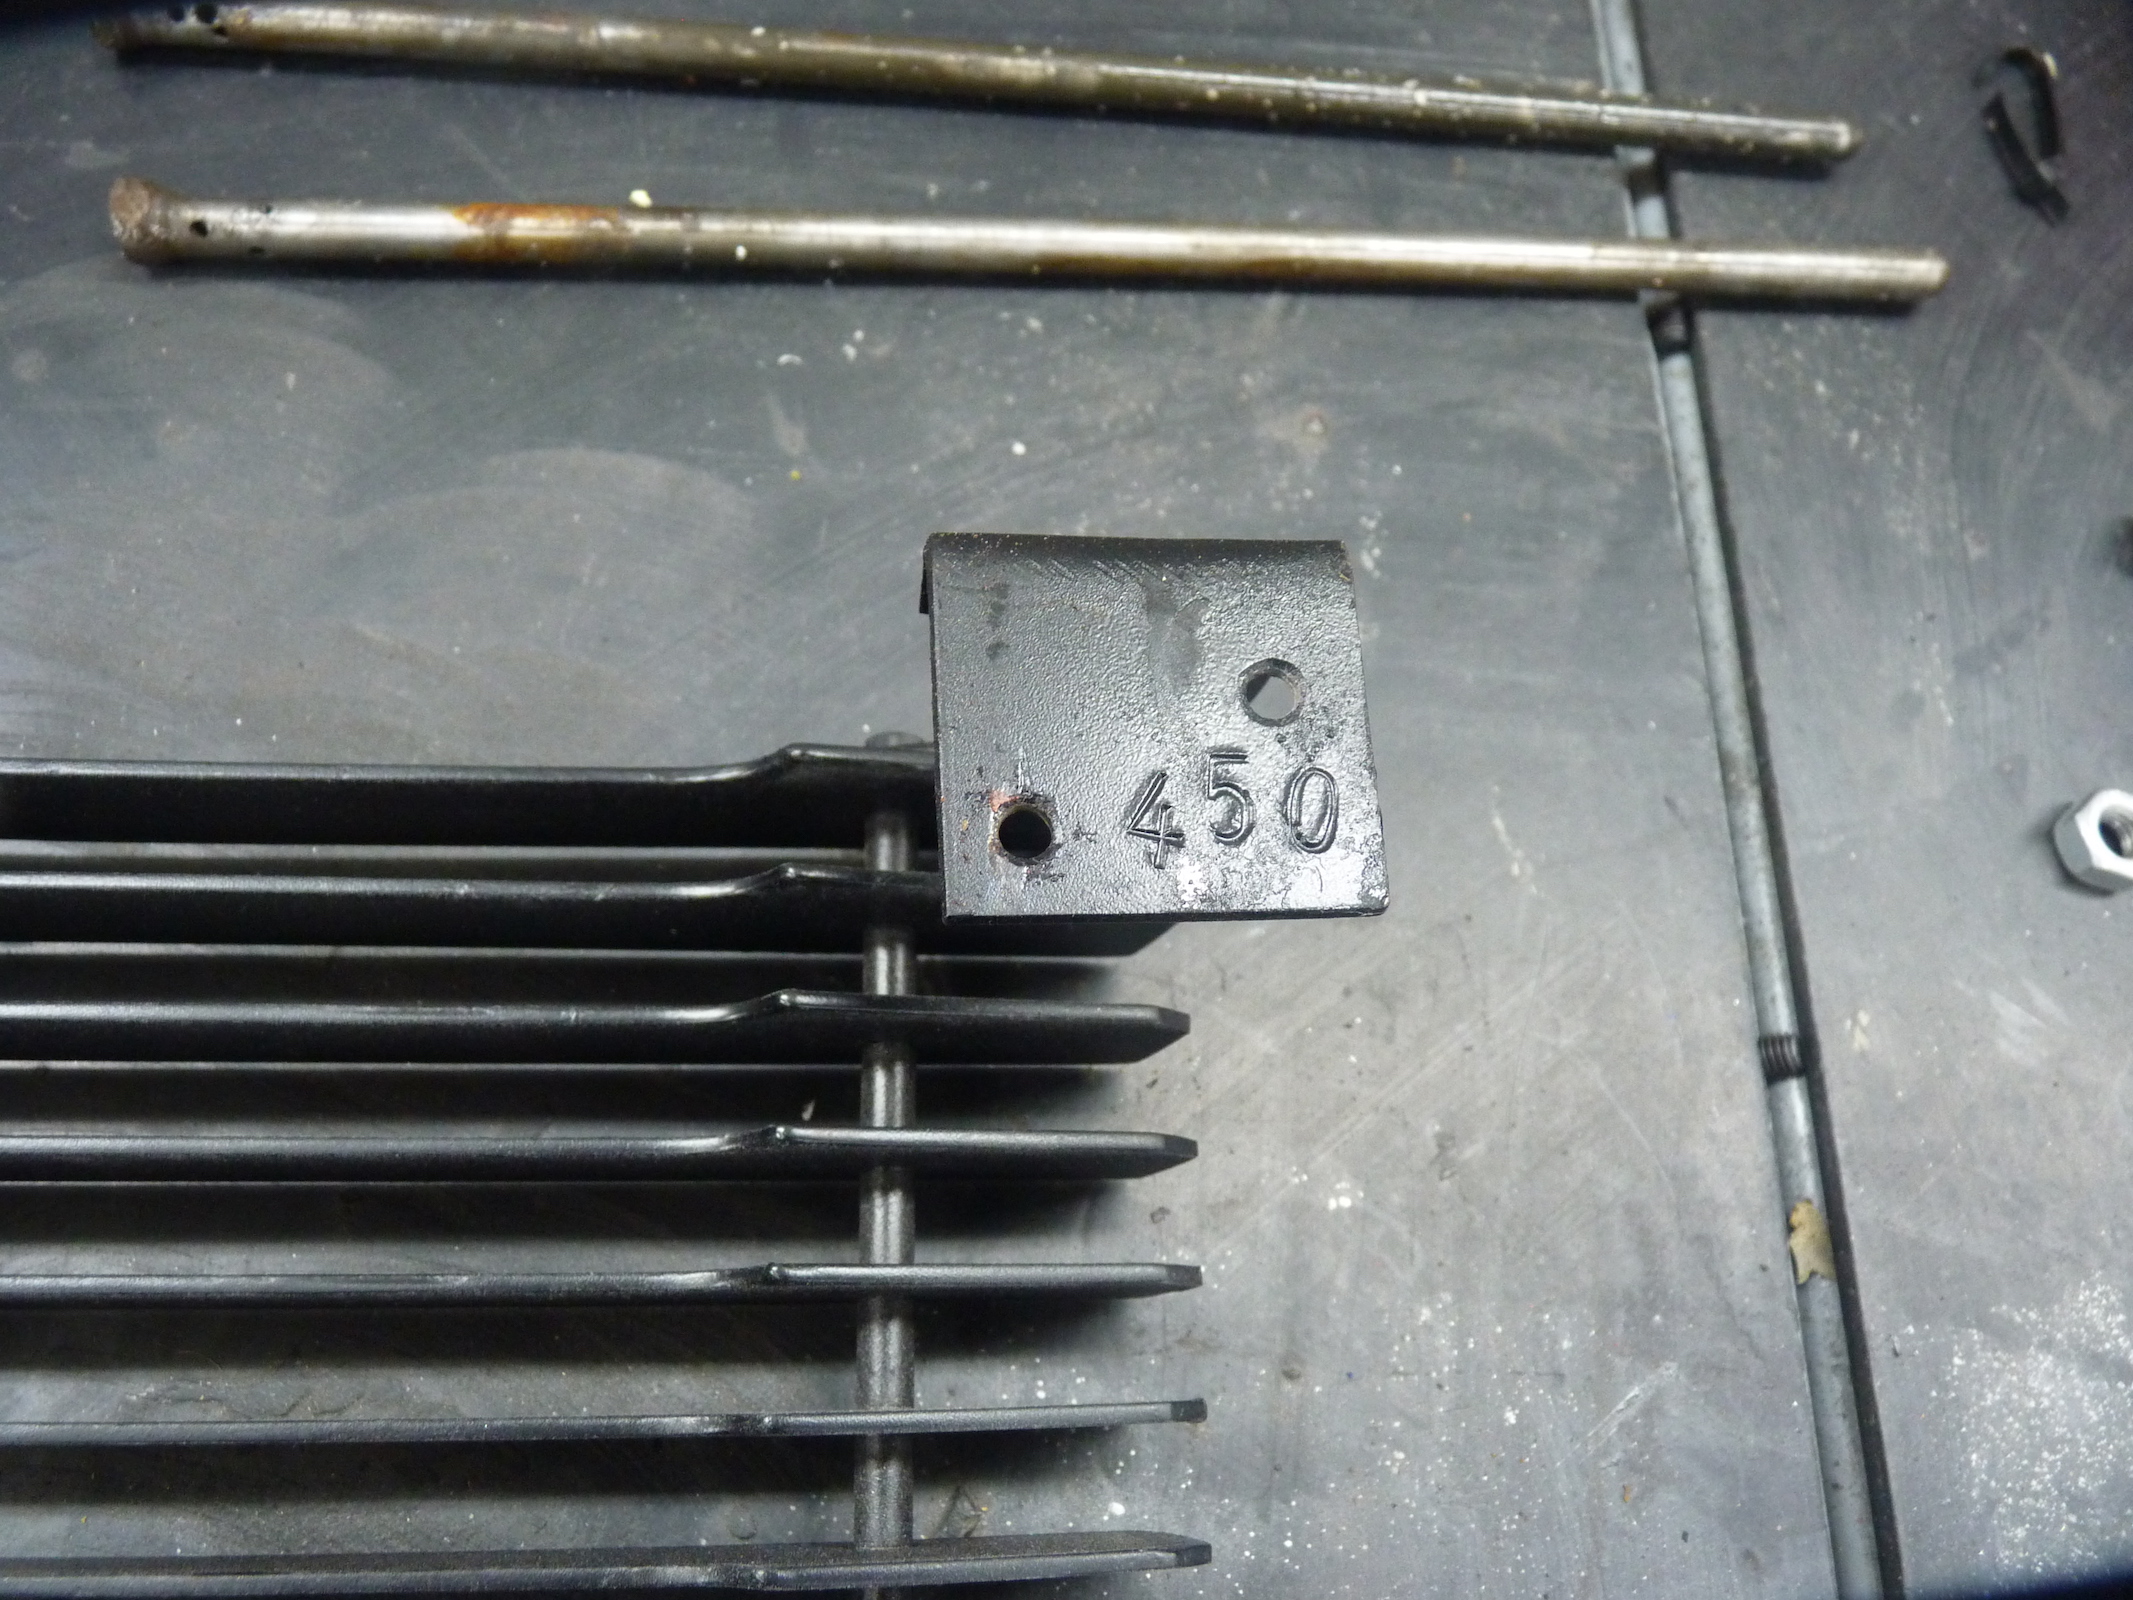
– Therefore, we have the identification label which must be strictly fixed with copper nails, which are reddish. The label can’t be touched, even if it’s dented, scratched or marked. It’s unique and it is that one.
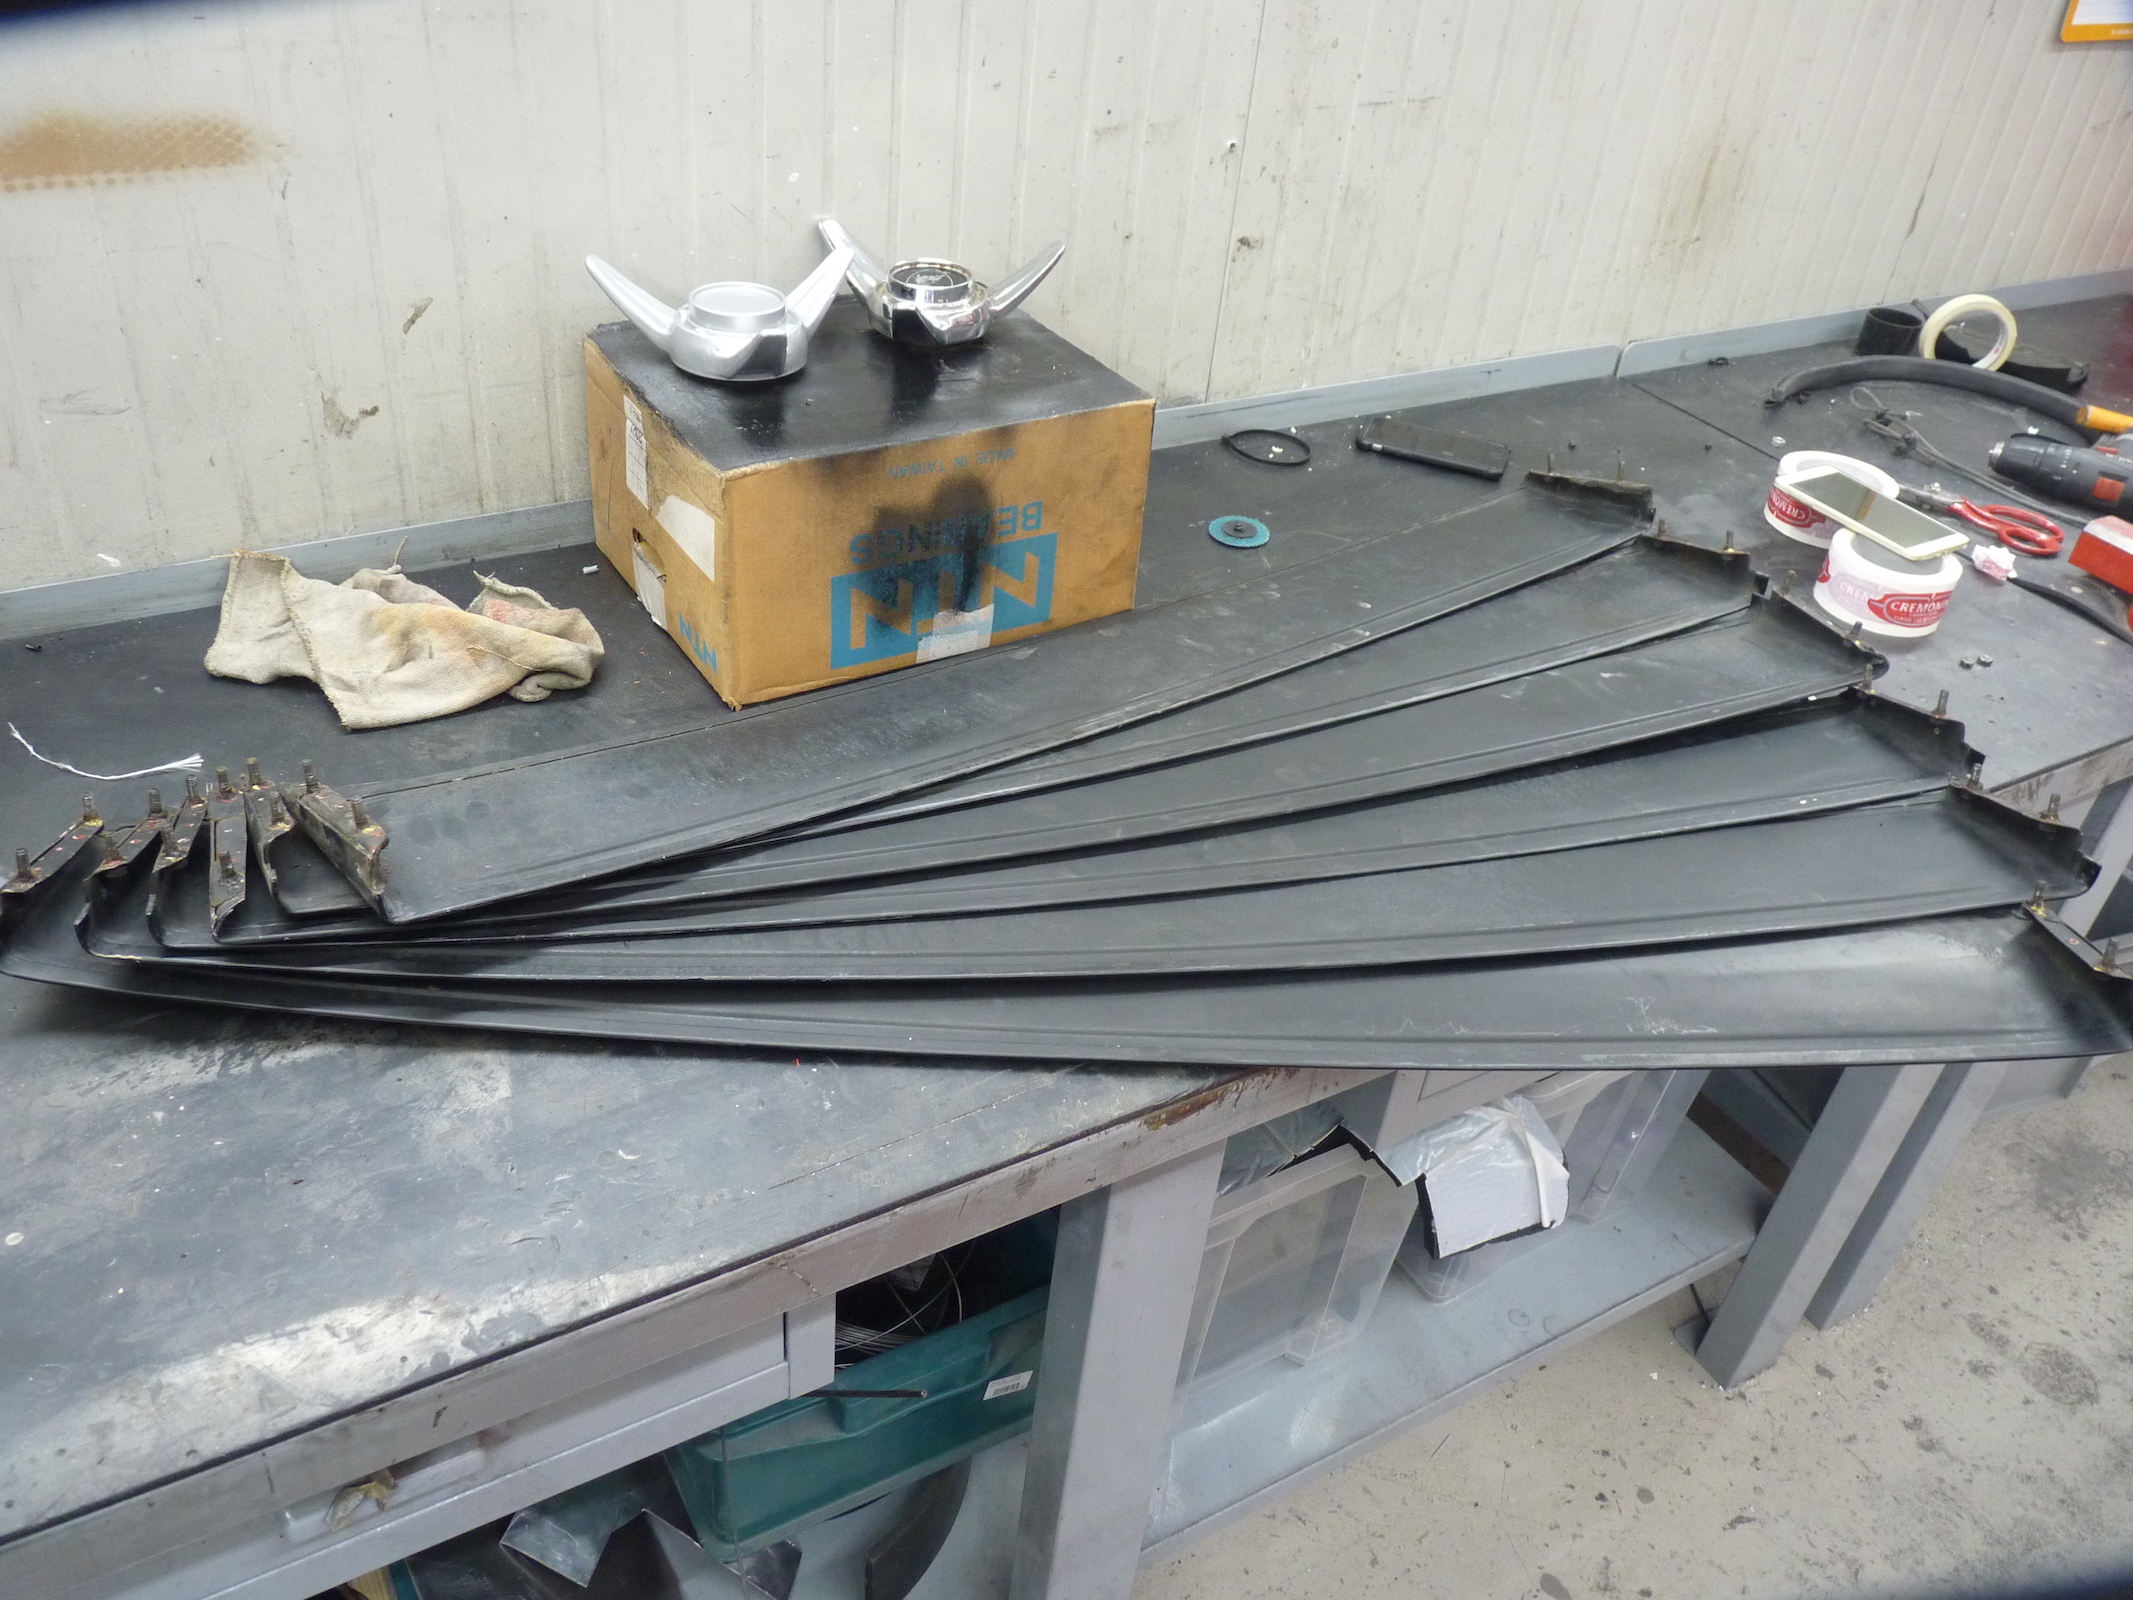
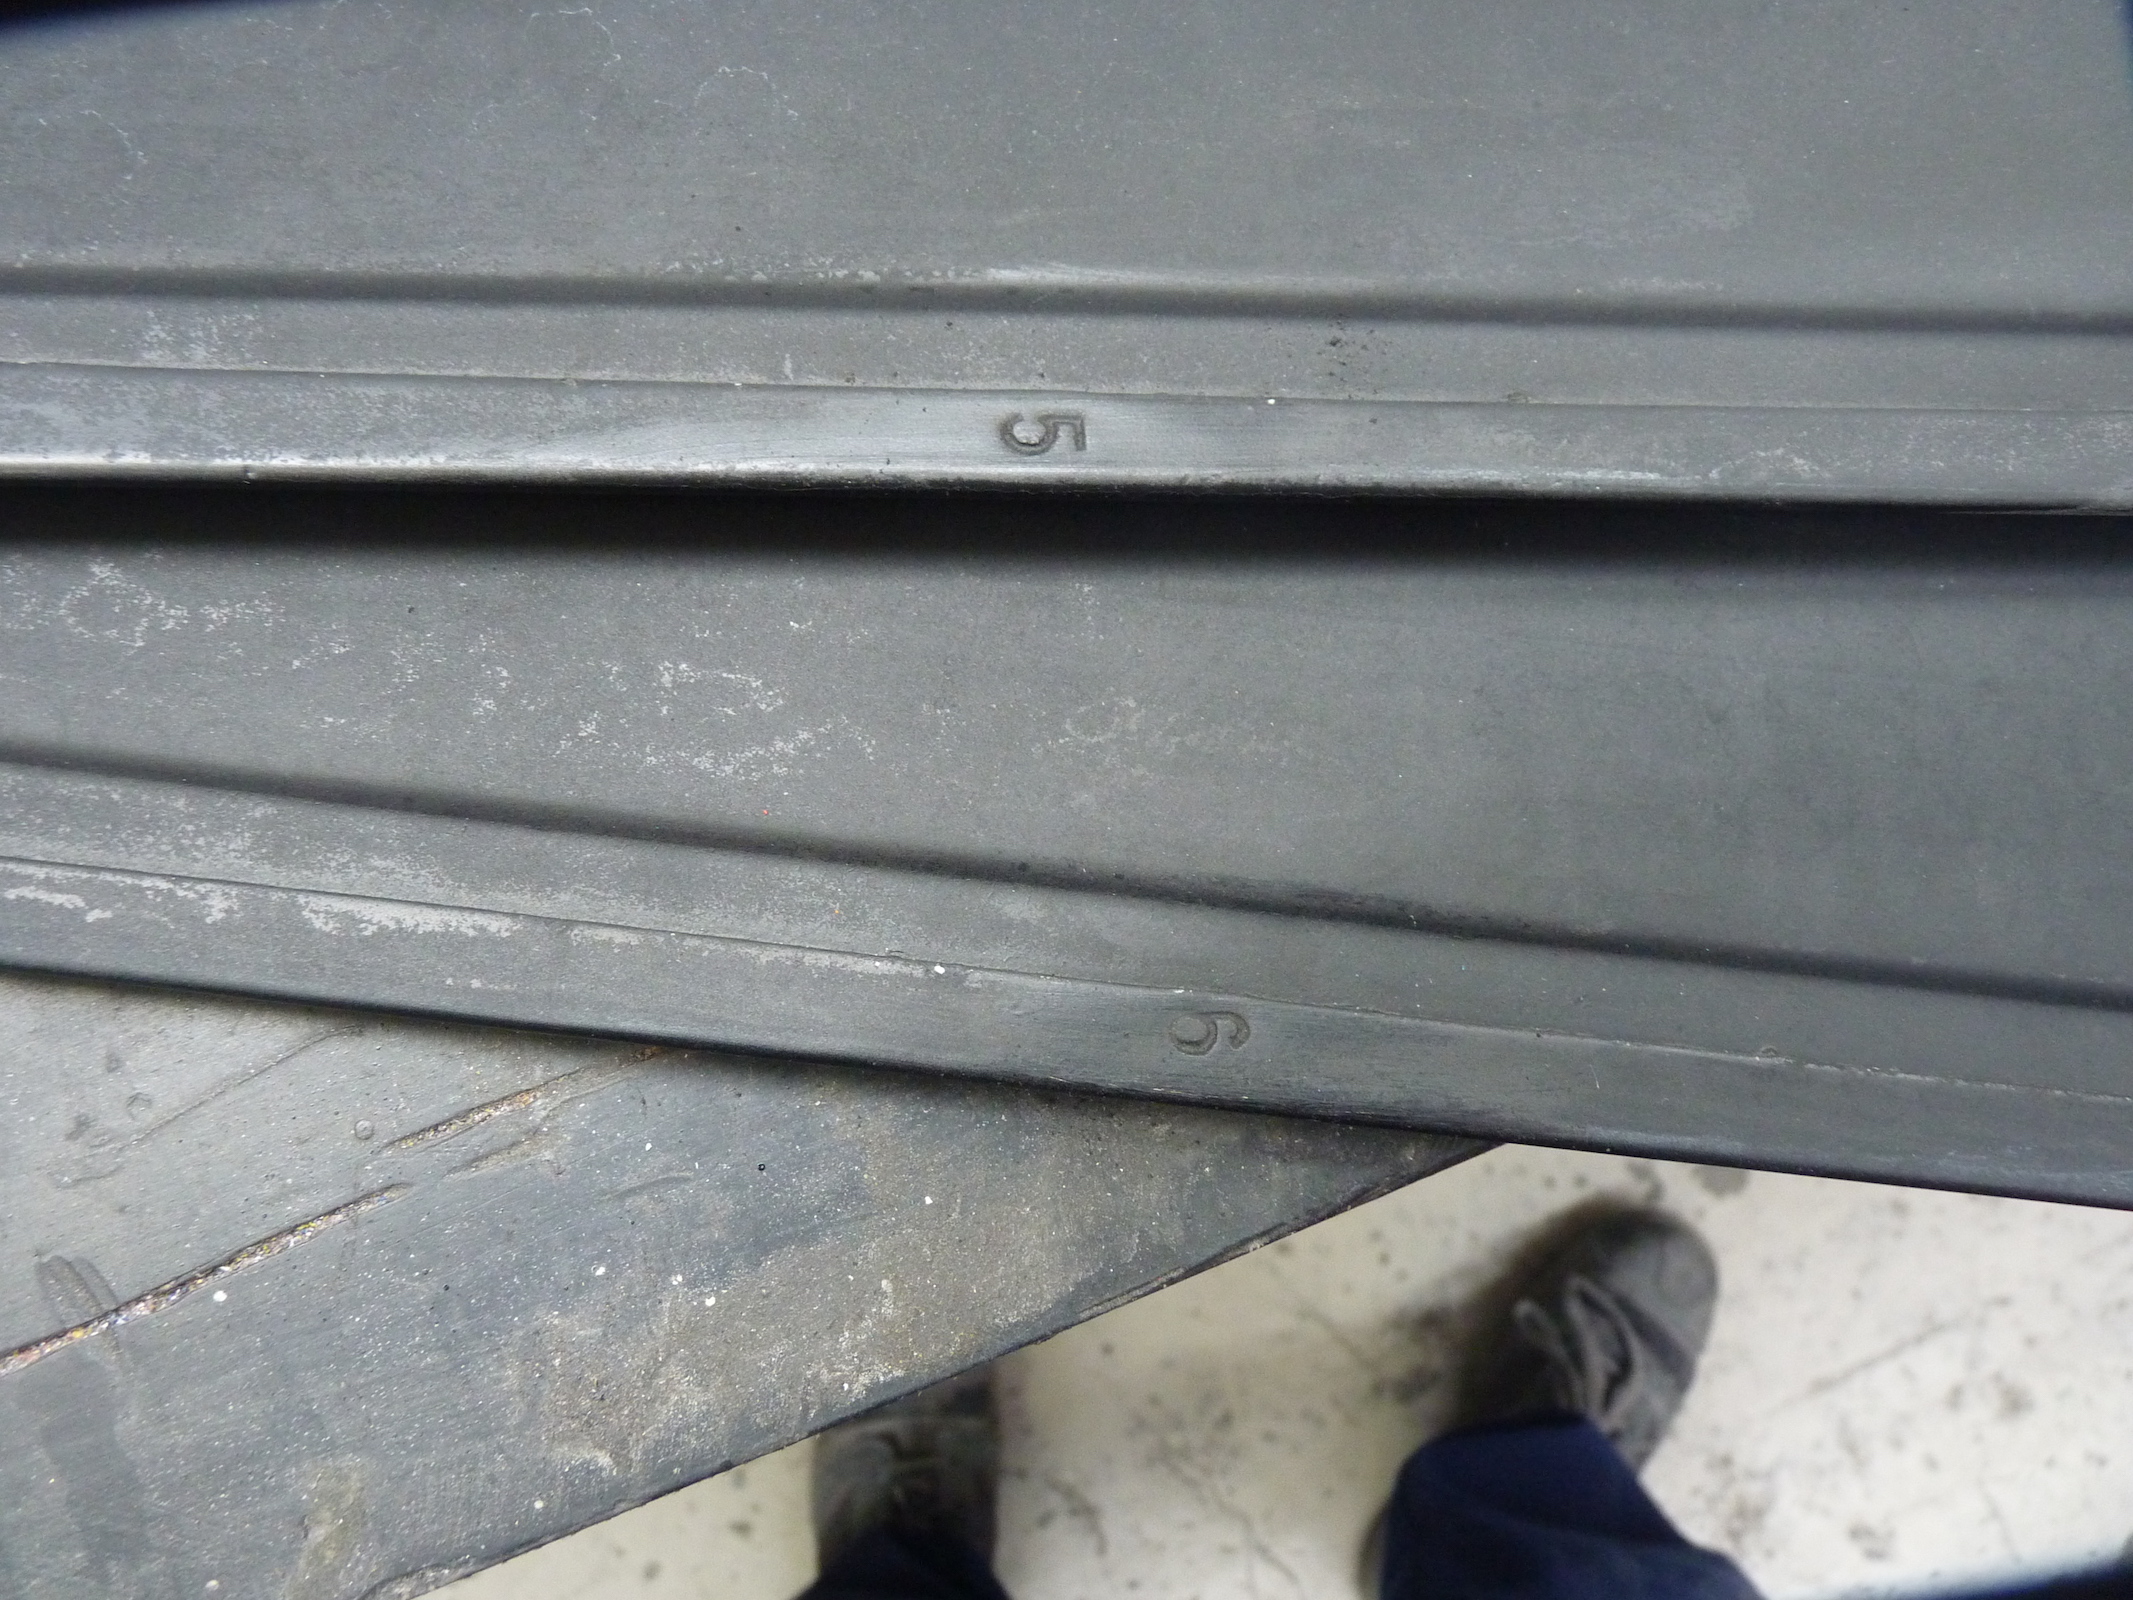
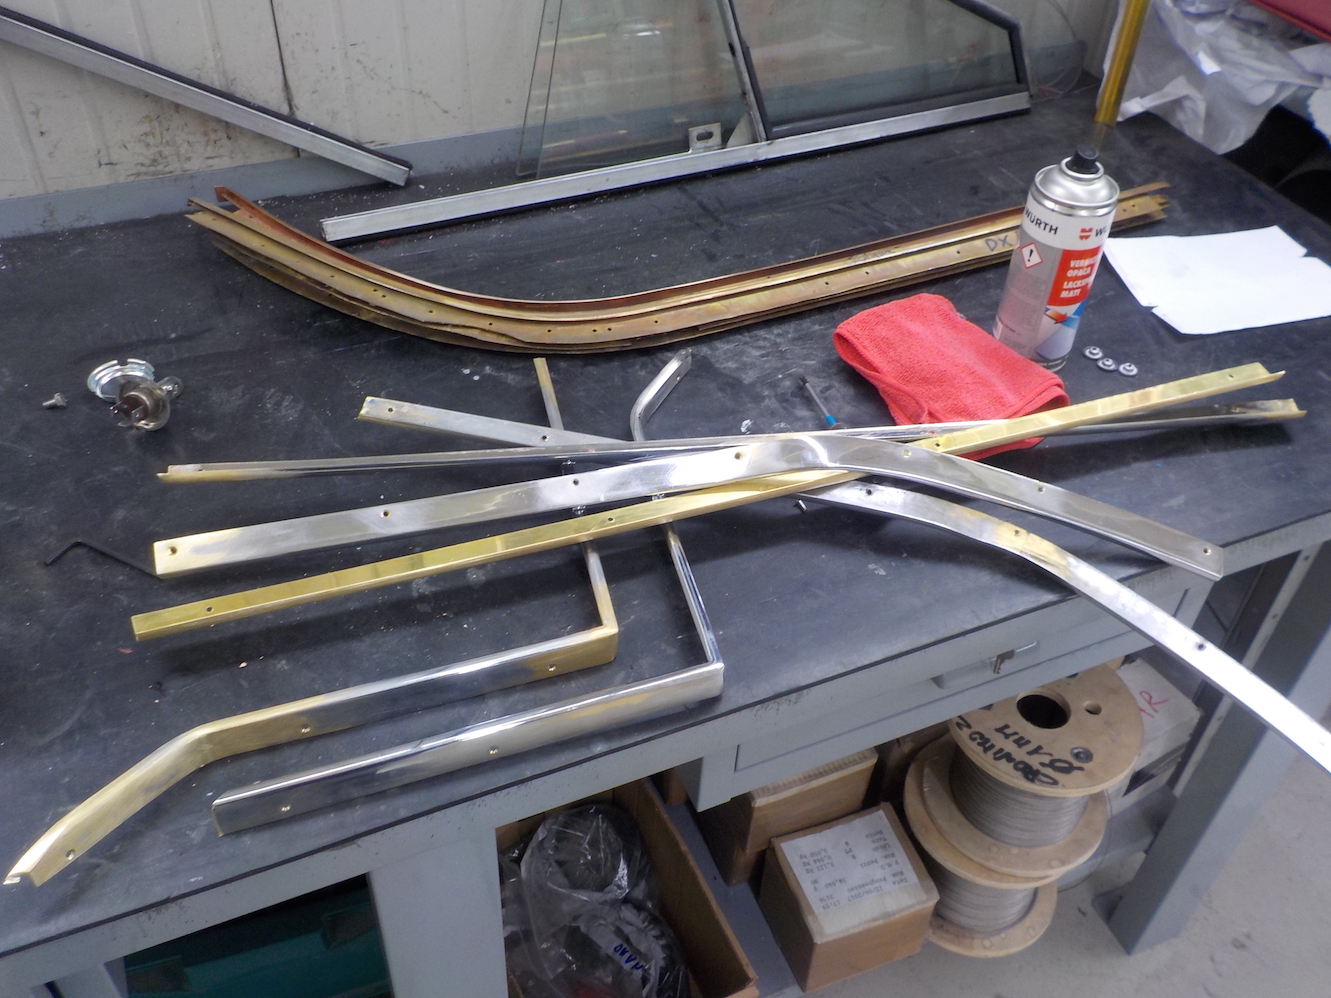
These are the rear fins, they’re also called blinds, they’re already numbered because they have an assembly number. The first, which is the one next to the roof, doesn’t need a number because the radius matches the shape of the top of the bonnet.
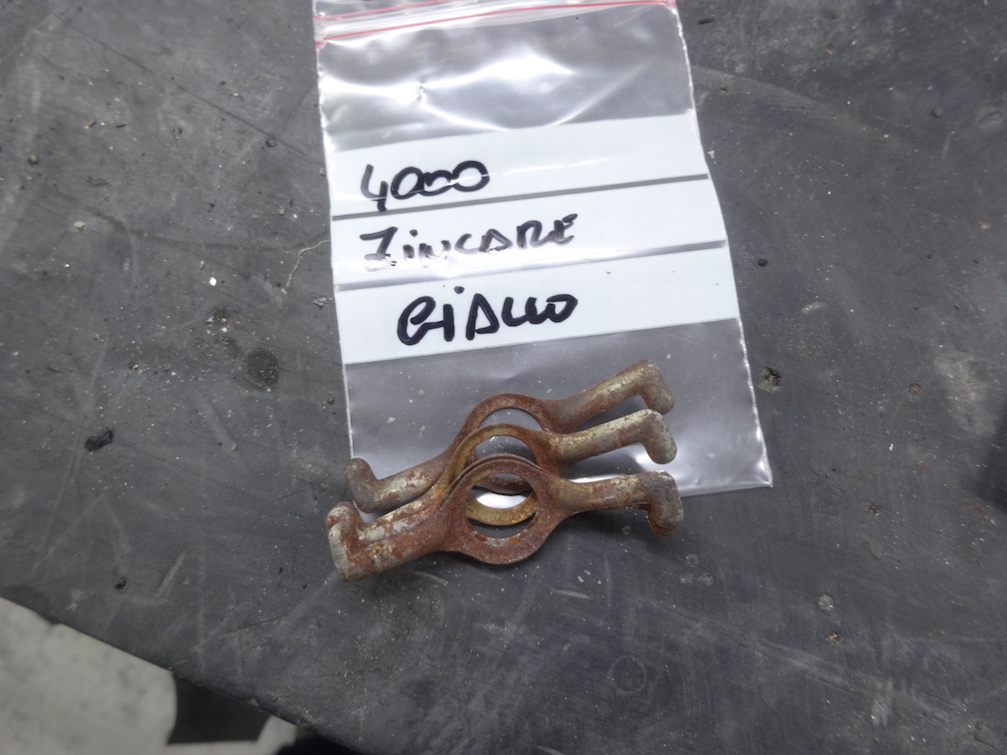
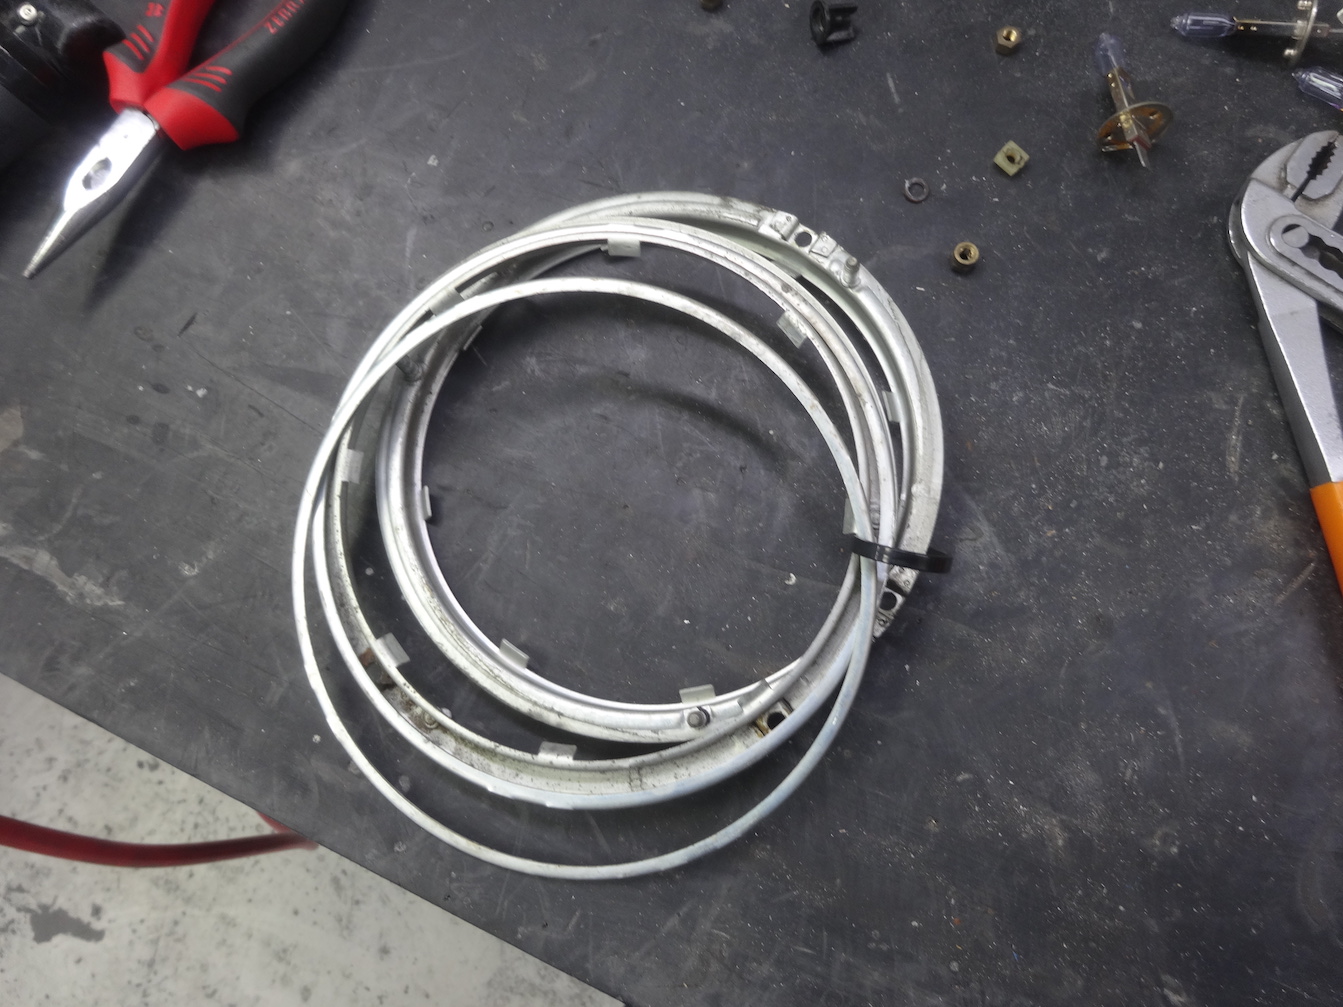
– For the zinc coating, we proceed immediately with cleaning and separating the yellow from the white ones. The yellow zinc coating applies to doors, while the white applies to the headlamp rings. Thinking about headlamps, it’s important that there are no sharp corners or encumbrances because they could scratch the varnish when we fix them.
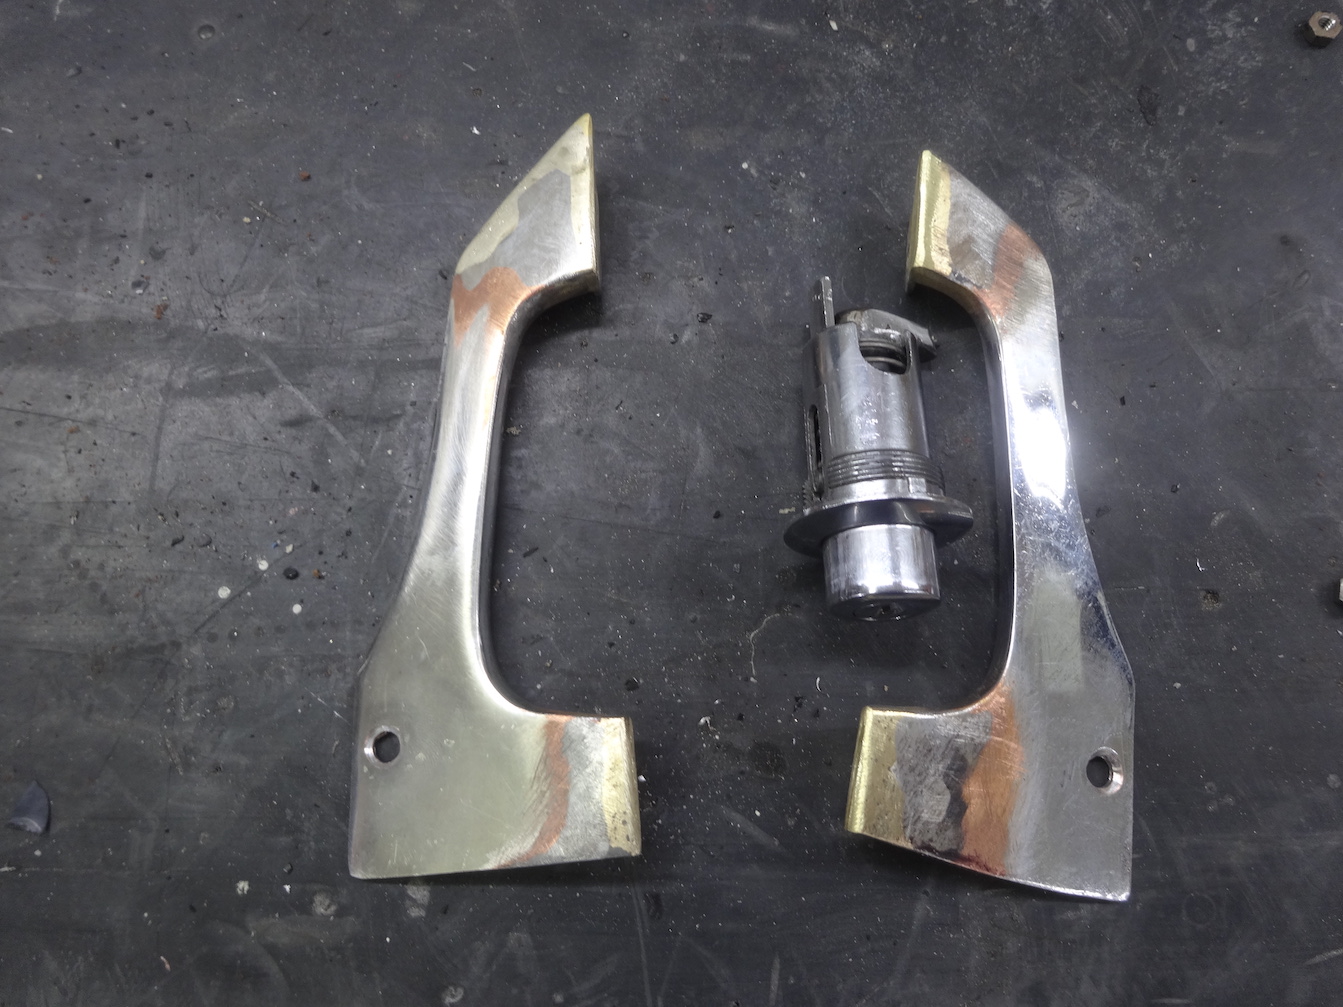
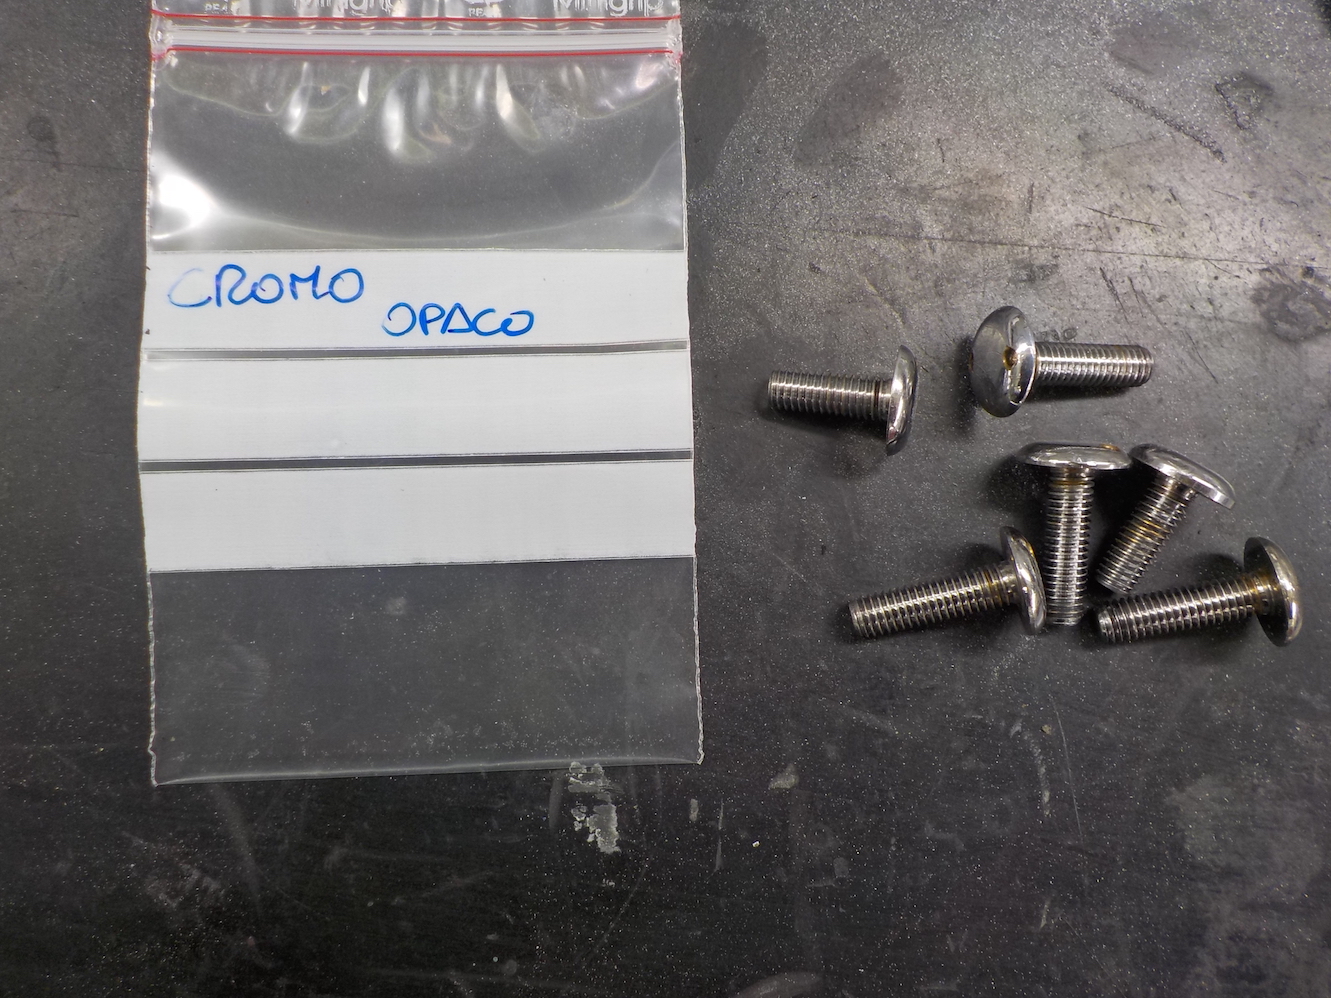
The chrome plating is ready to be stripped, adapted, be copper-coated and then chrome plated for good.
– I’m referring to the handles or the panel frames. If the latter can’t be used again, we reproduce them in the sheet metal working department.
Mauro doesn’t starve us of curiosities.
– Did you know that Lamborghini Countach inherited the front, rear headlamps and the lateral front squared indicators from the Alfa Romeo Alfetta?
The quote for a restoration job varies based on the choice of the varnish. It could be a matt and transparent base or, if they want to comply with the production years, up to the early eighties, we would talk about acrylic paint… here is the proof, read this plate: 5030 acrylic Miura green. This is the original swatch book, it dates back to 1972, and the colours were divided by model.
Can forty-three years leave a colour imprinting?
– Metallic blue Vincennes, that was the Maserati Mistral’s shade and this is the Lamborghini Rosso Corsa. If we want to be precise, Rosso Corsa is a Lancia shade, which was later used by Bertone too. The paint factory manufactured the shades and the manufacturers chose the colour range. It could happen that one colour was used by several brands, the only difference was in the name, because the constructor personalised it. For example, in the nineties, at the time of the Diablo, the Lamborghini carbon black corresponded to the Ferrari sidereal black, it was the same identical colour, you could retouch one using the other!
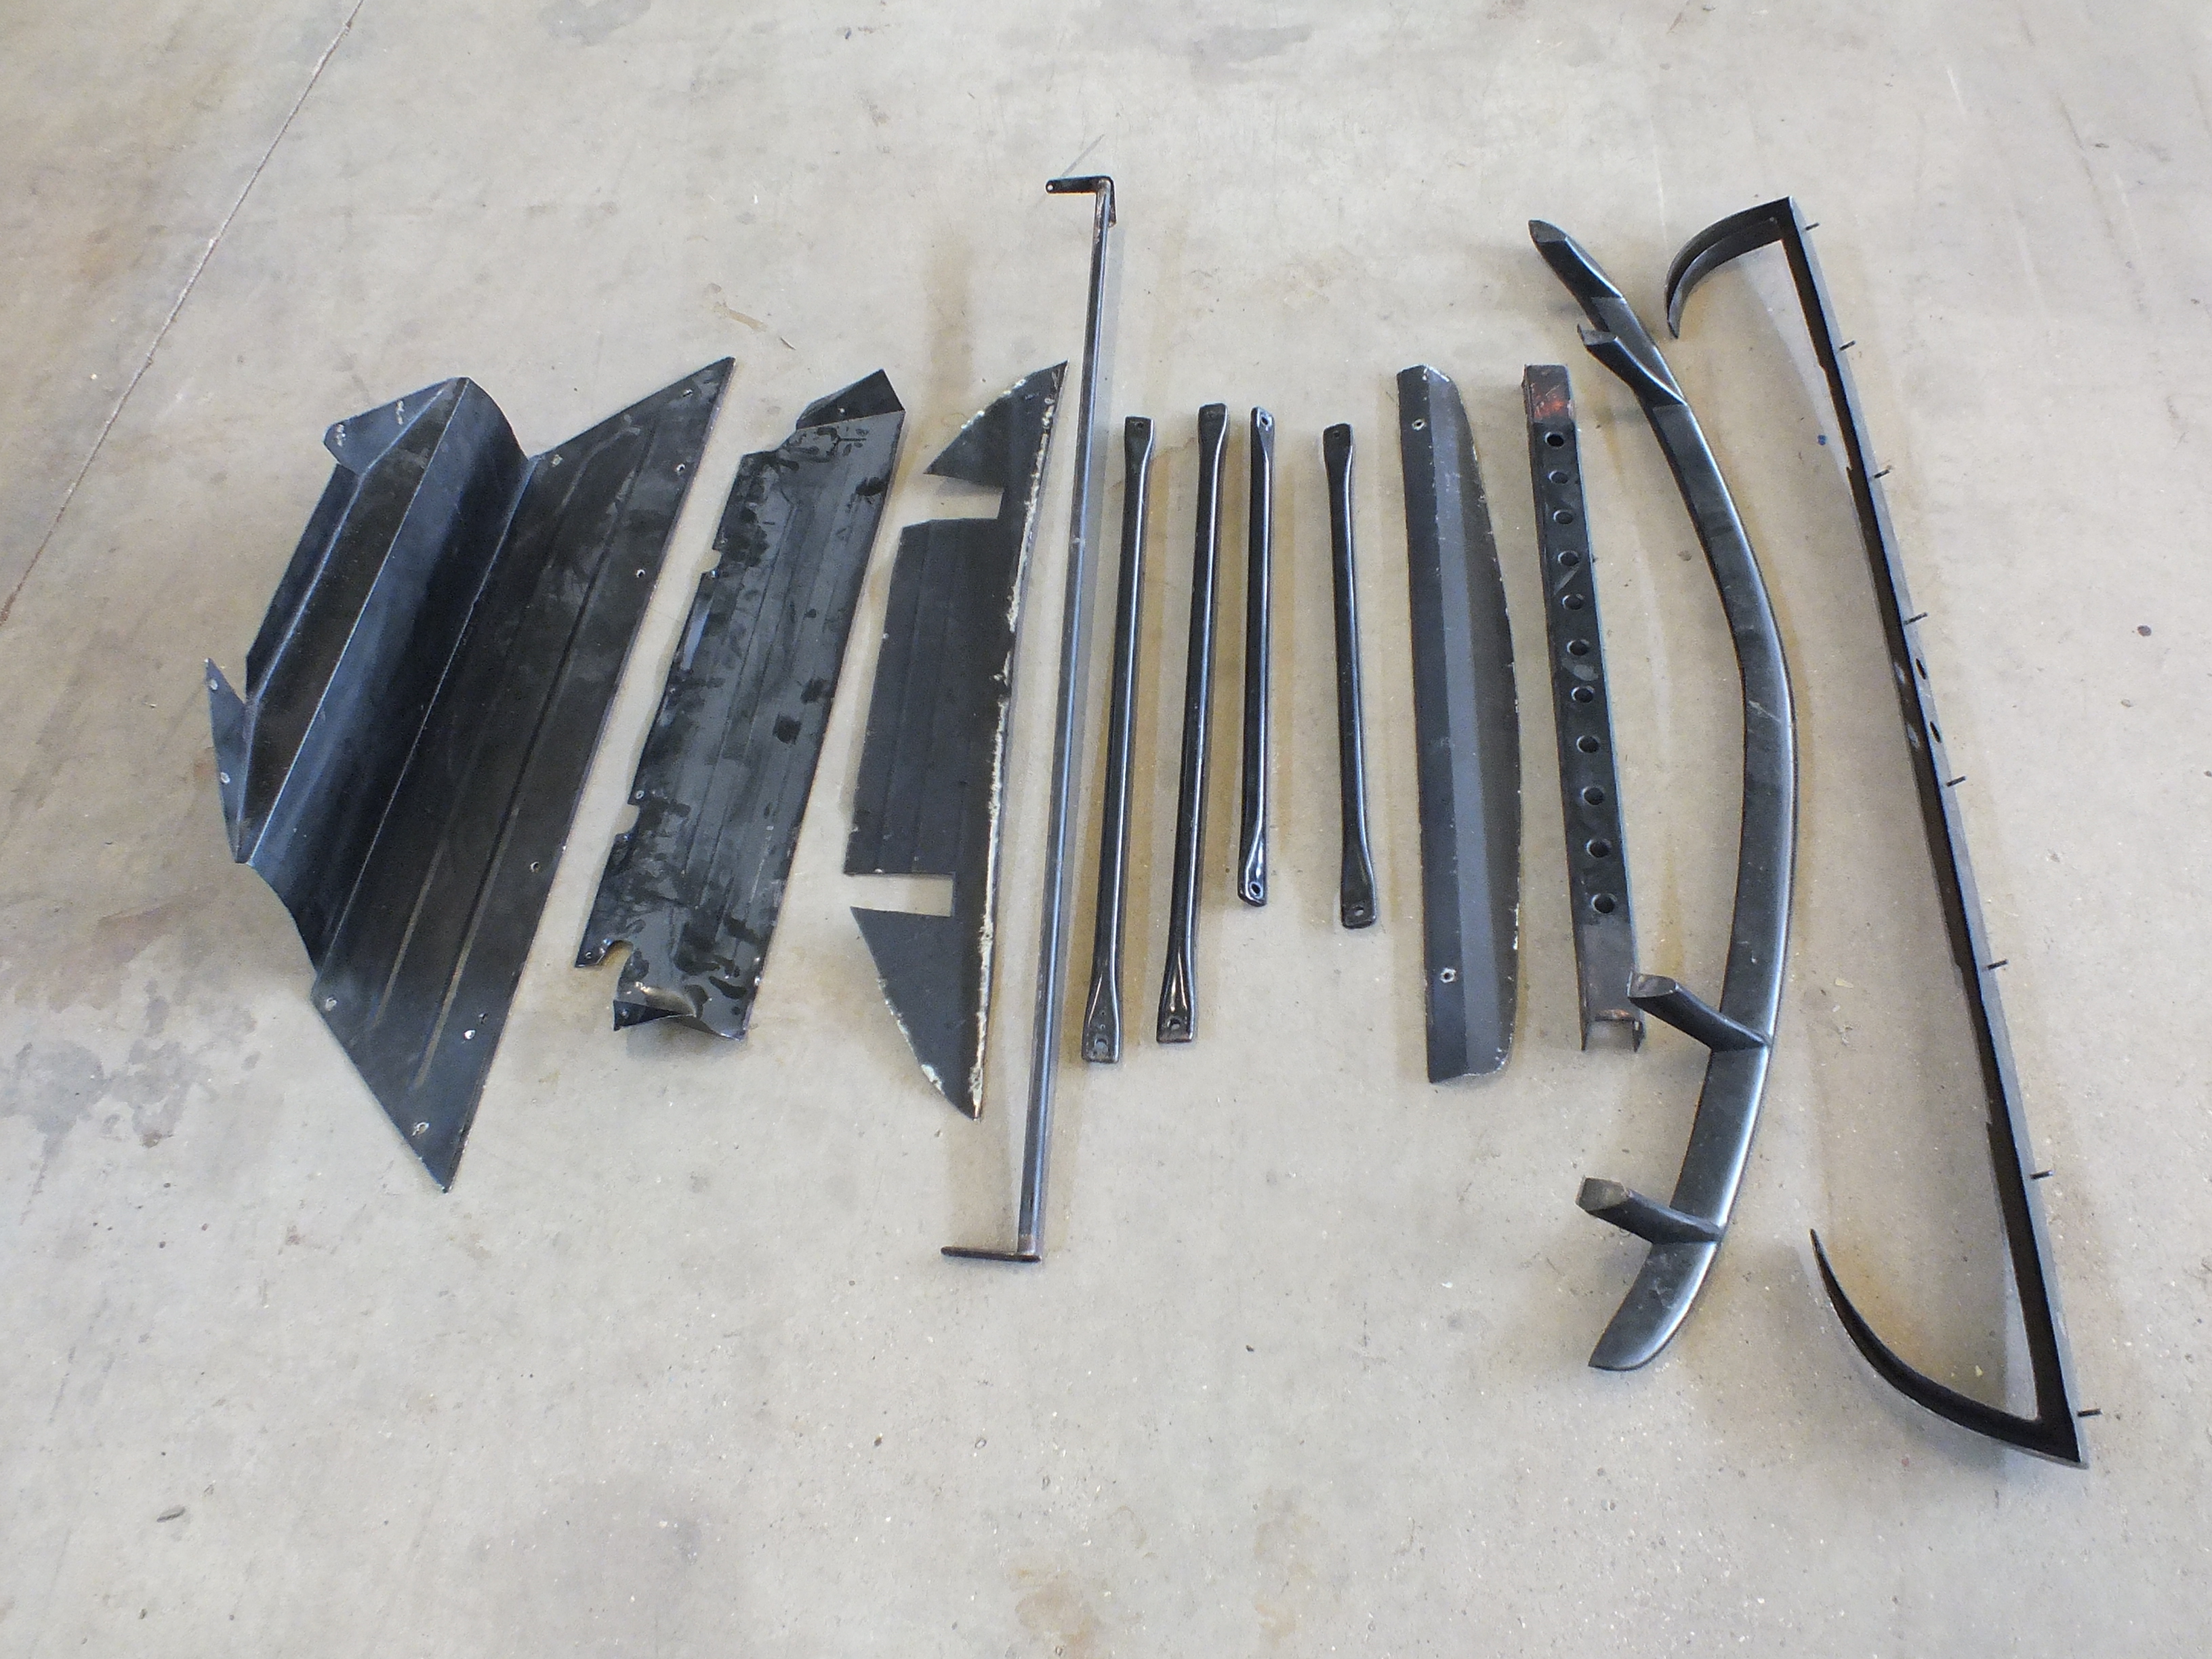
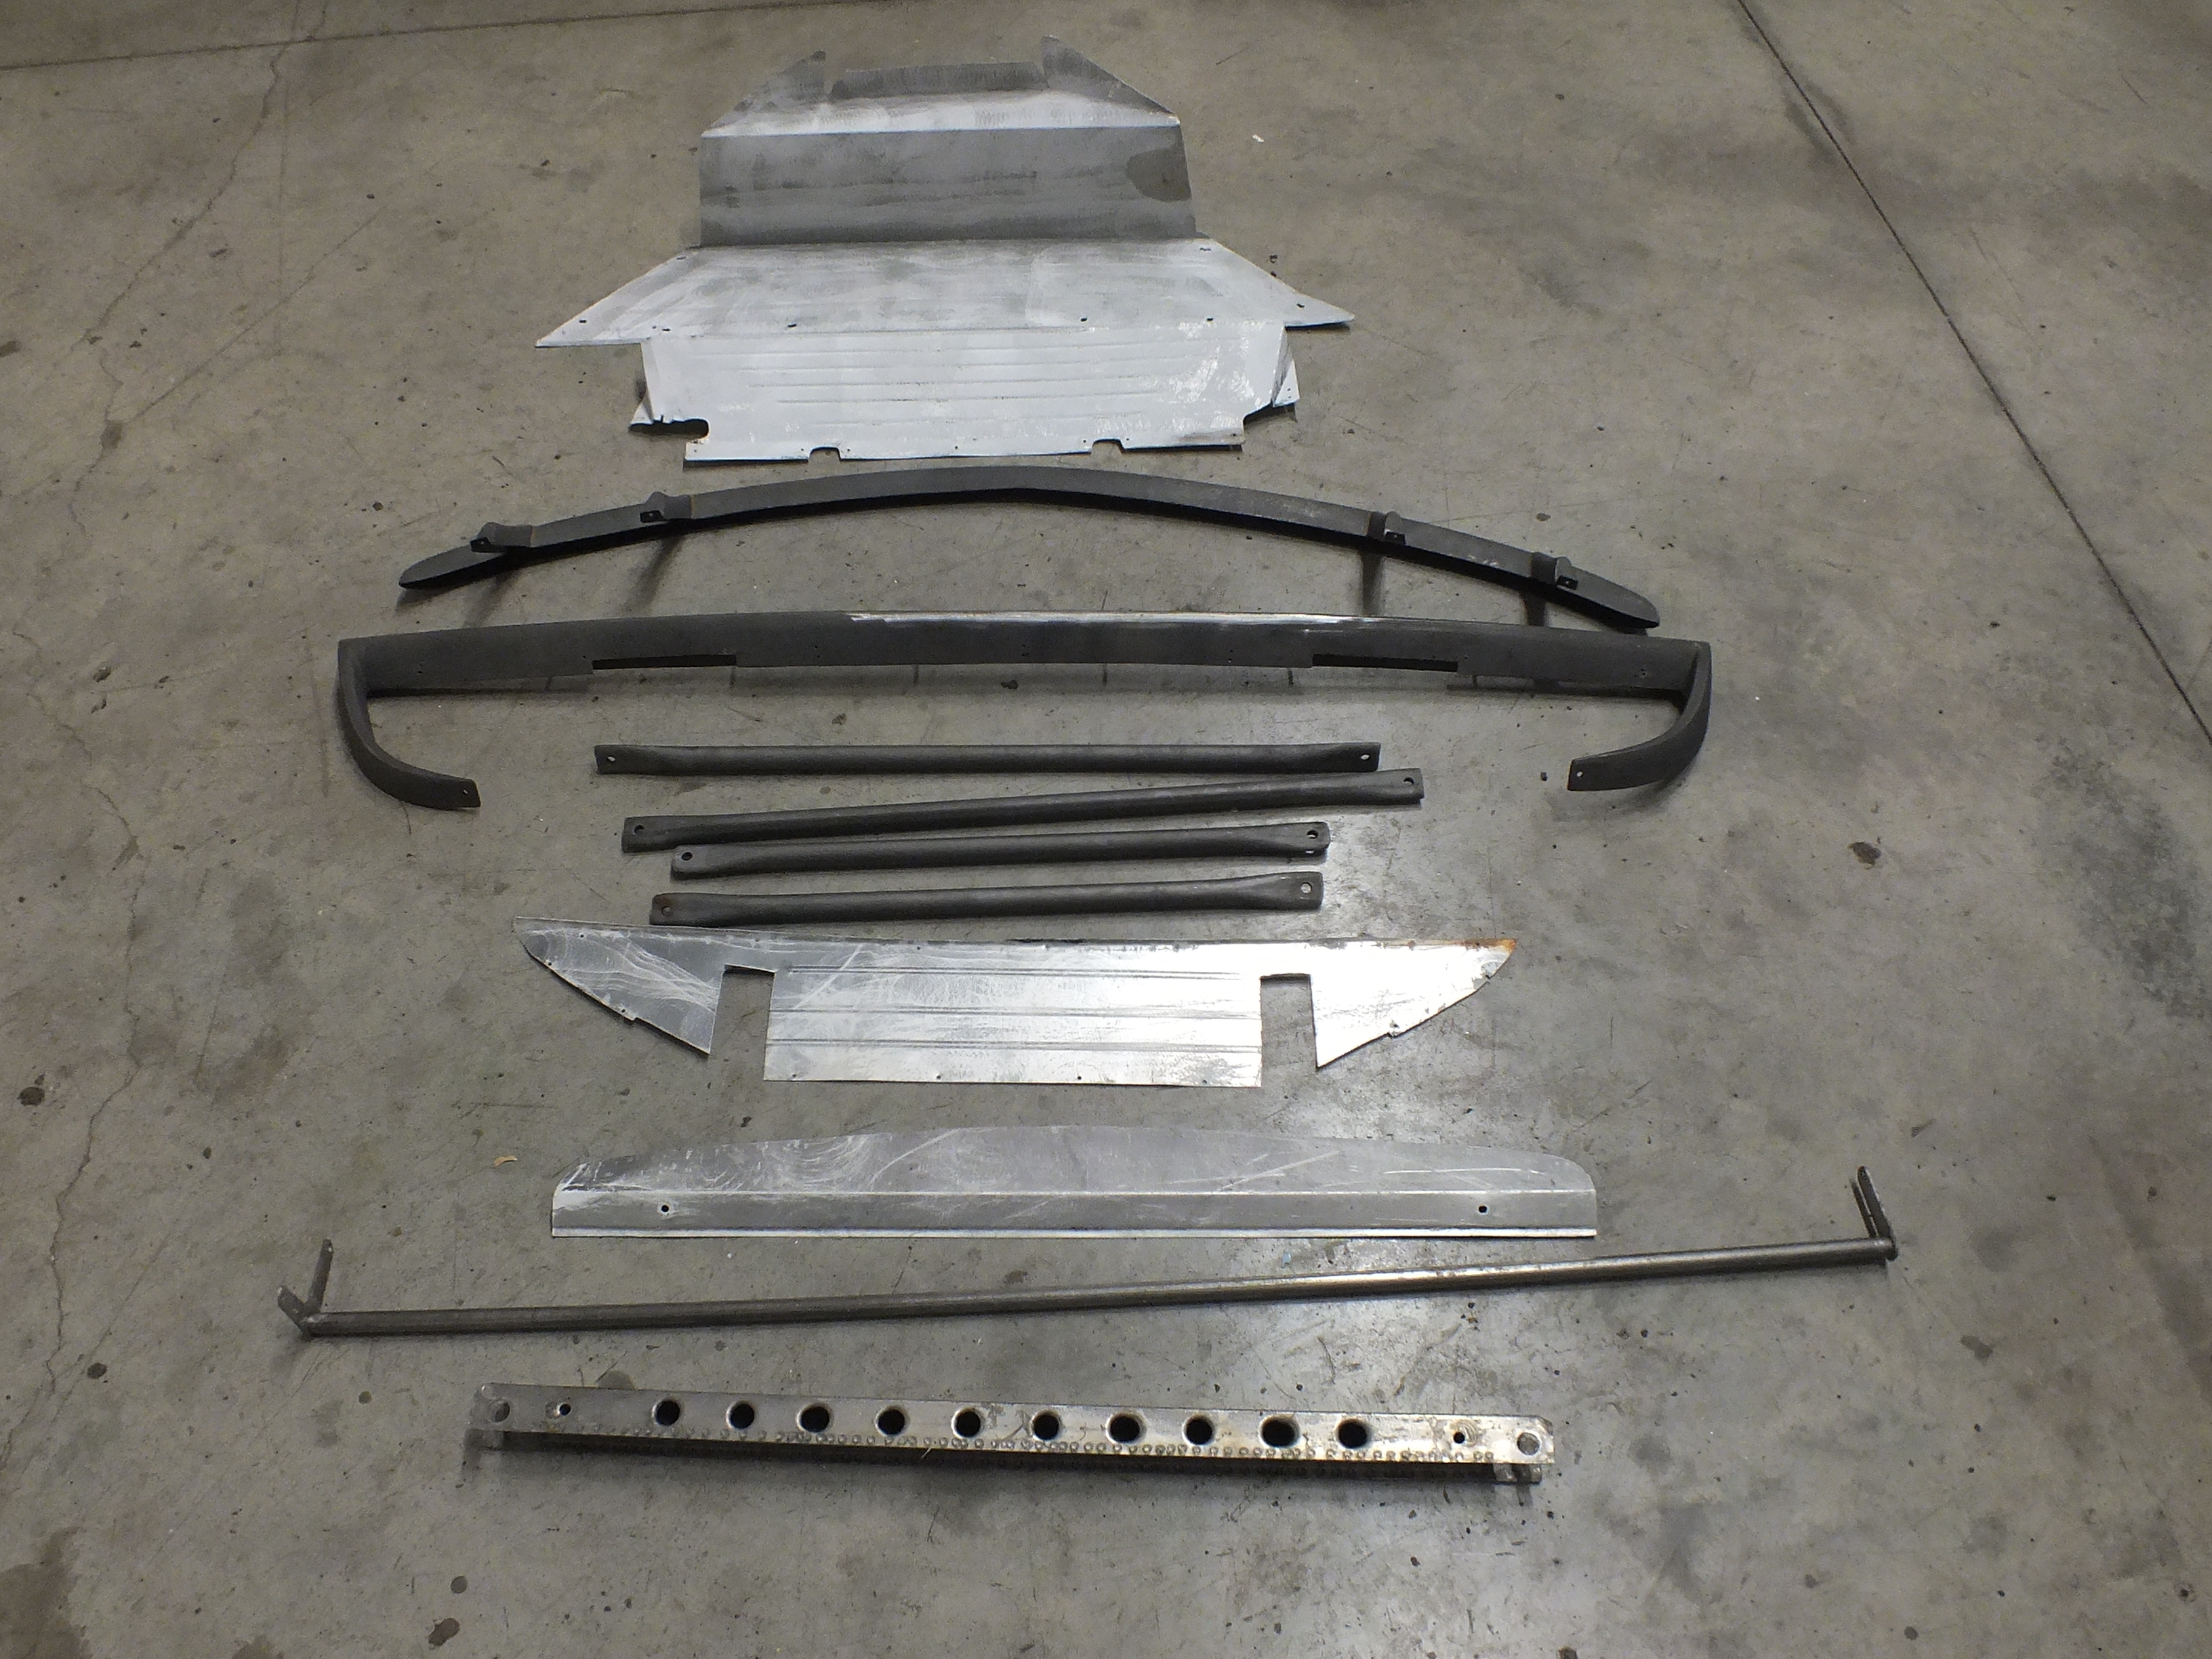
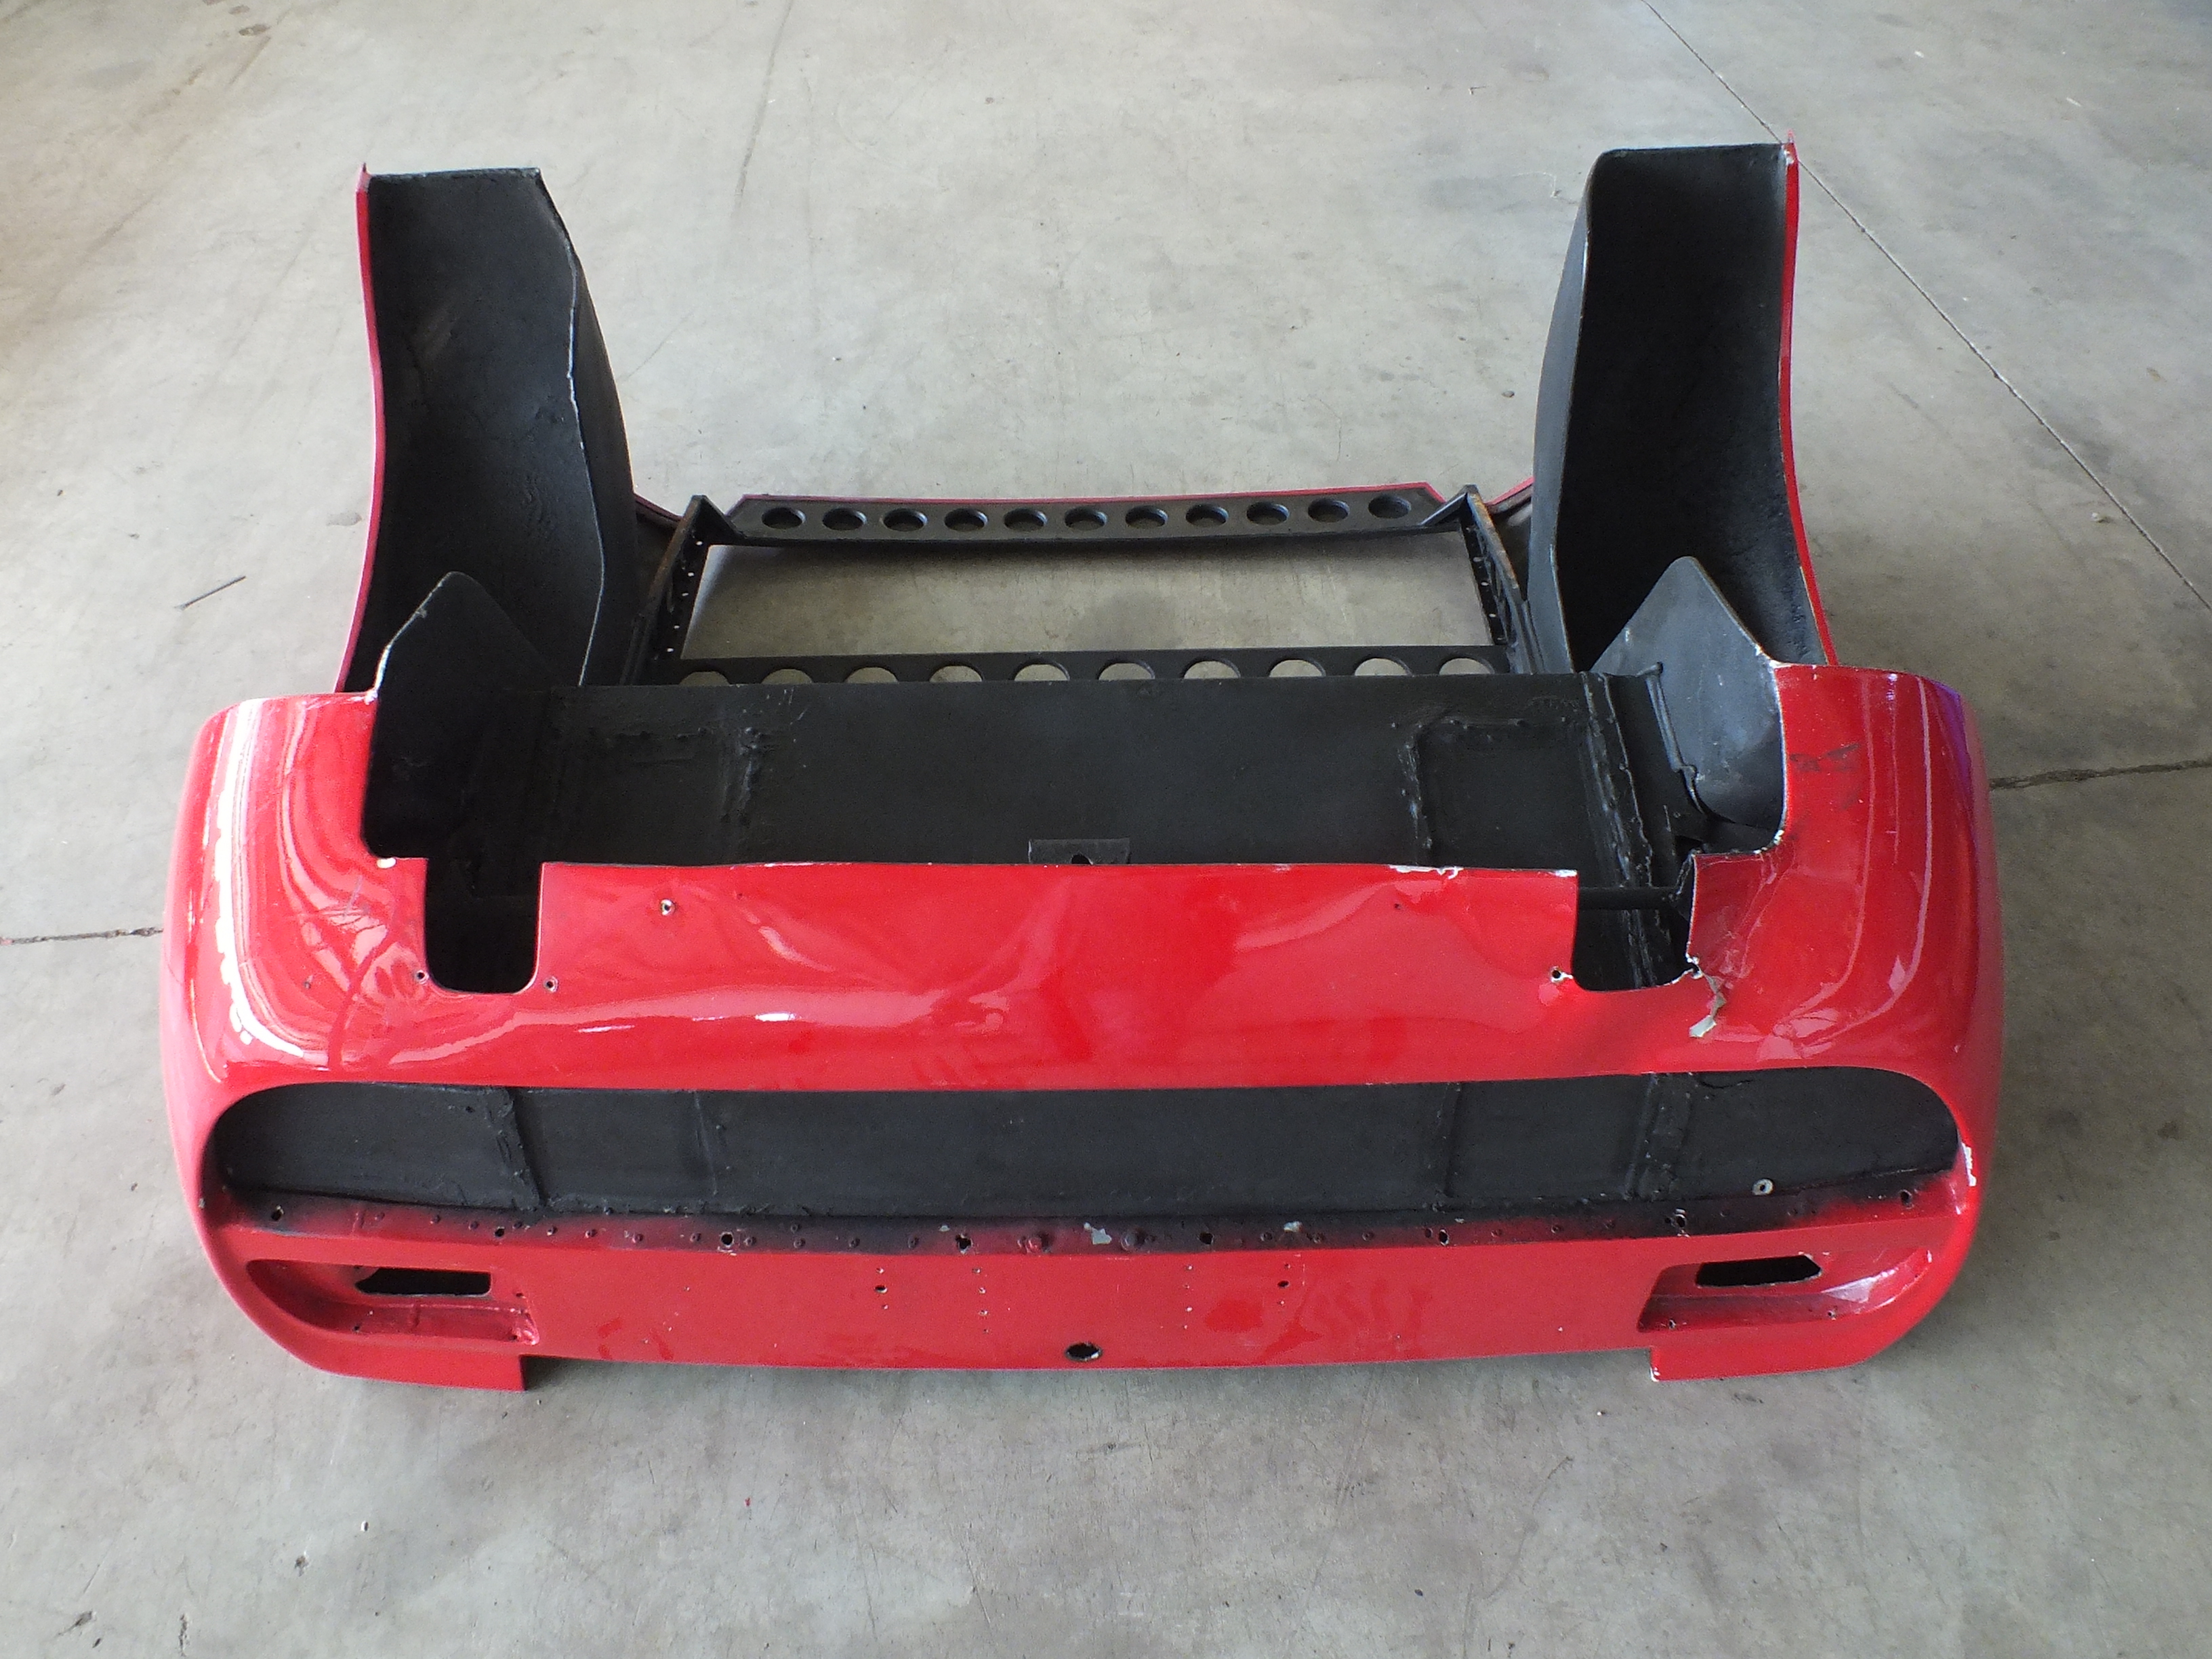
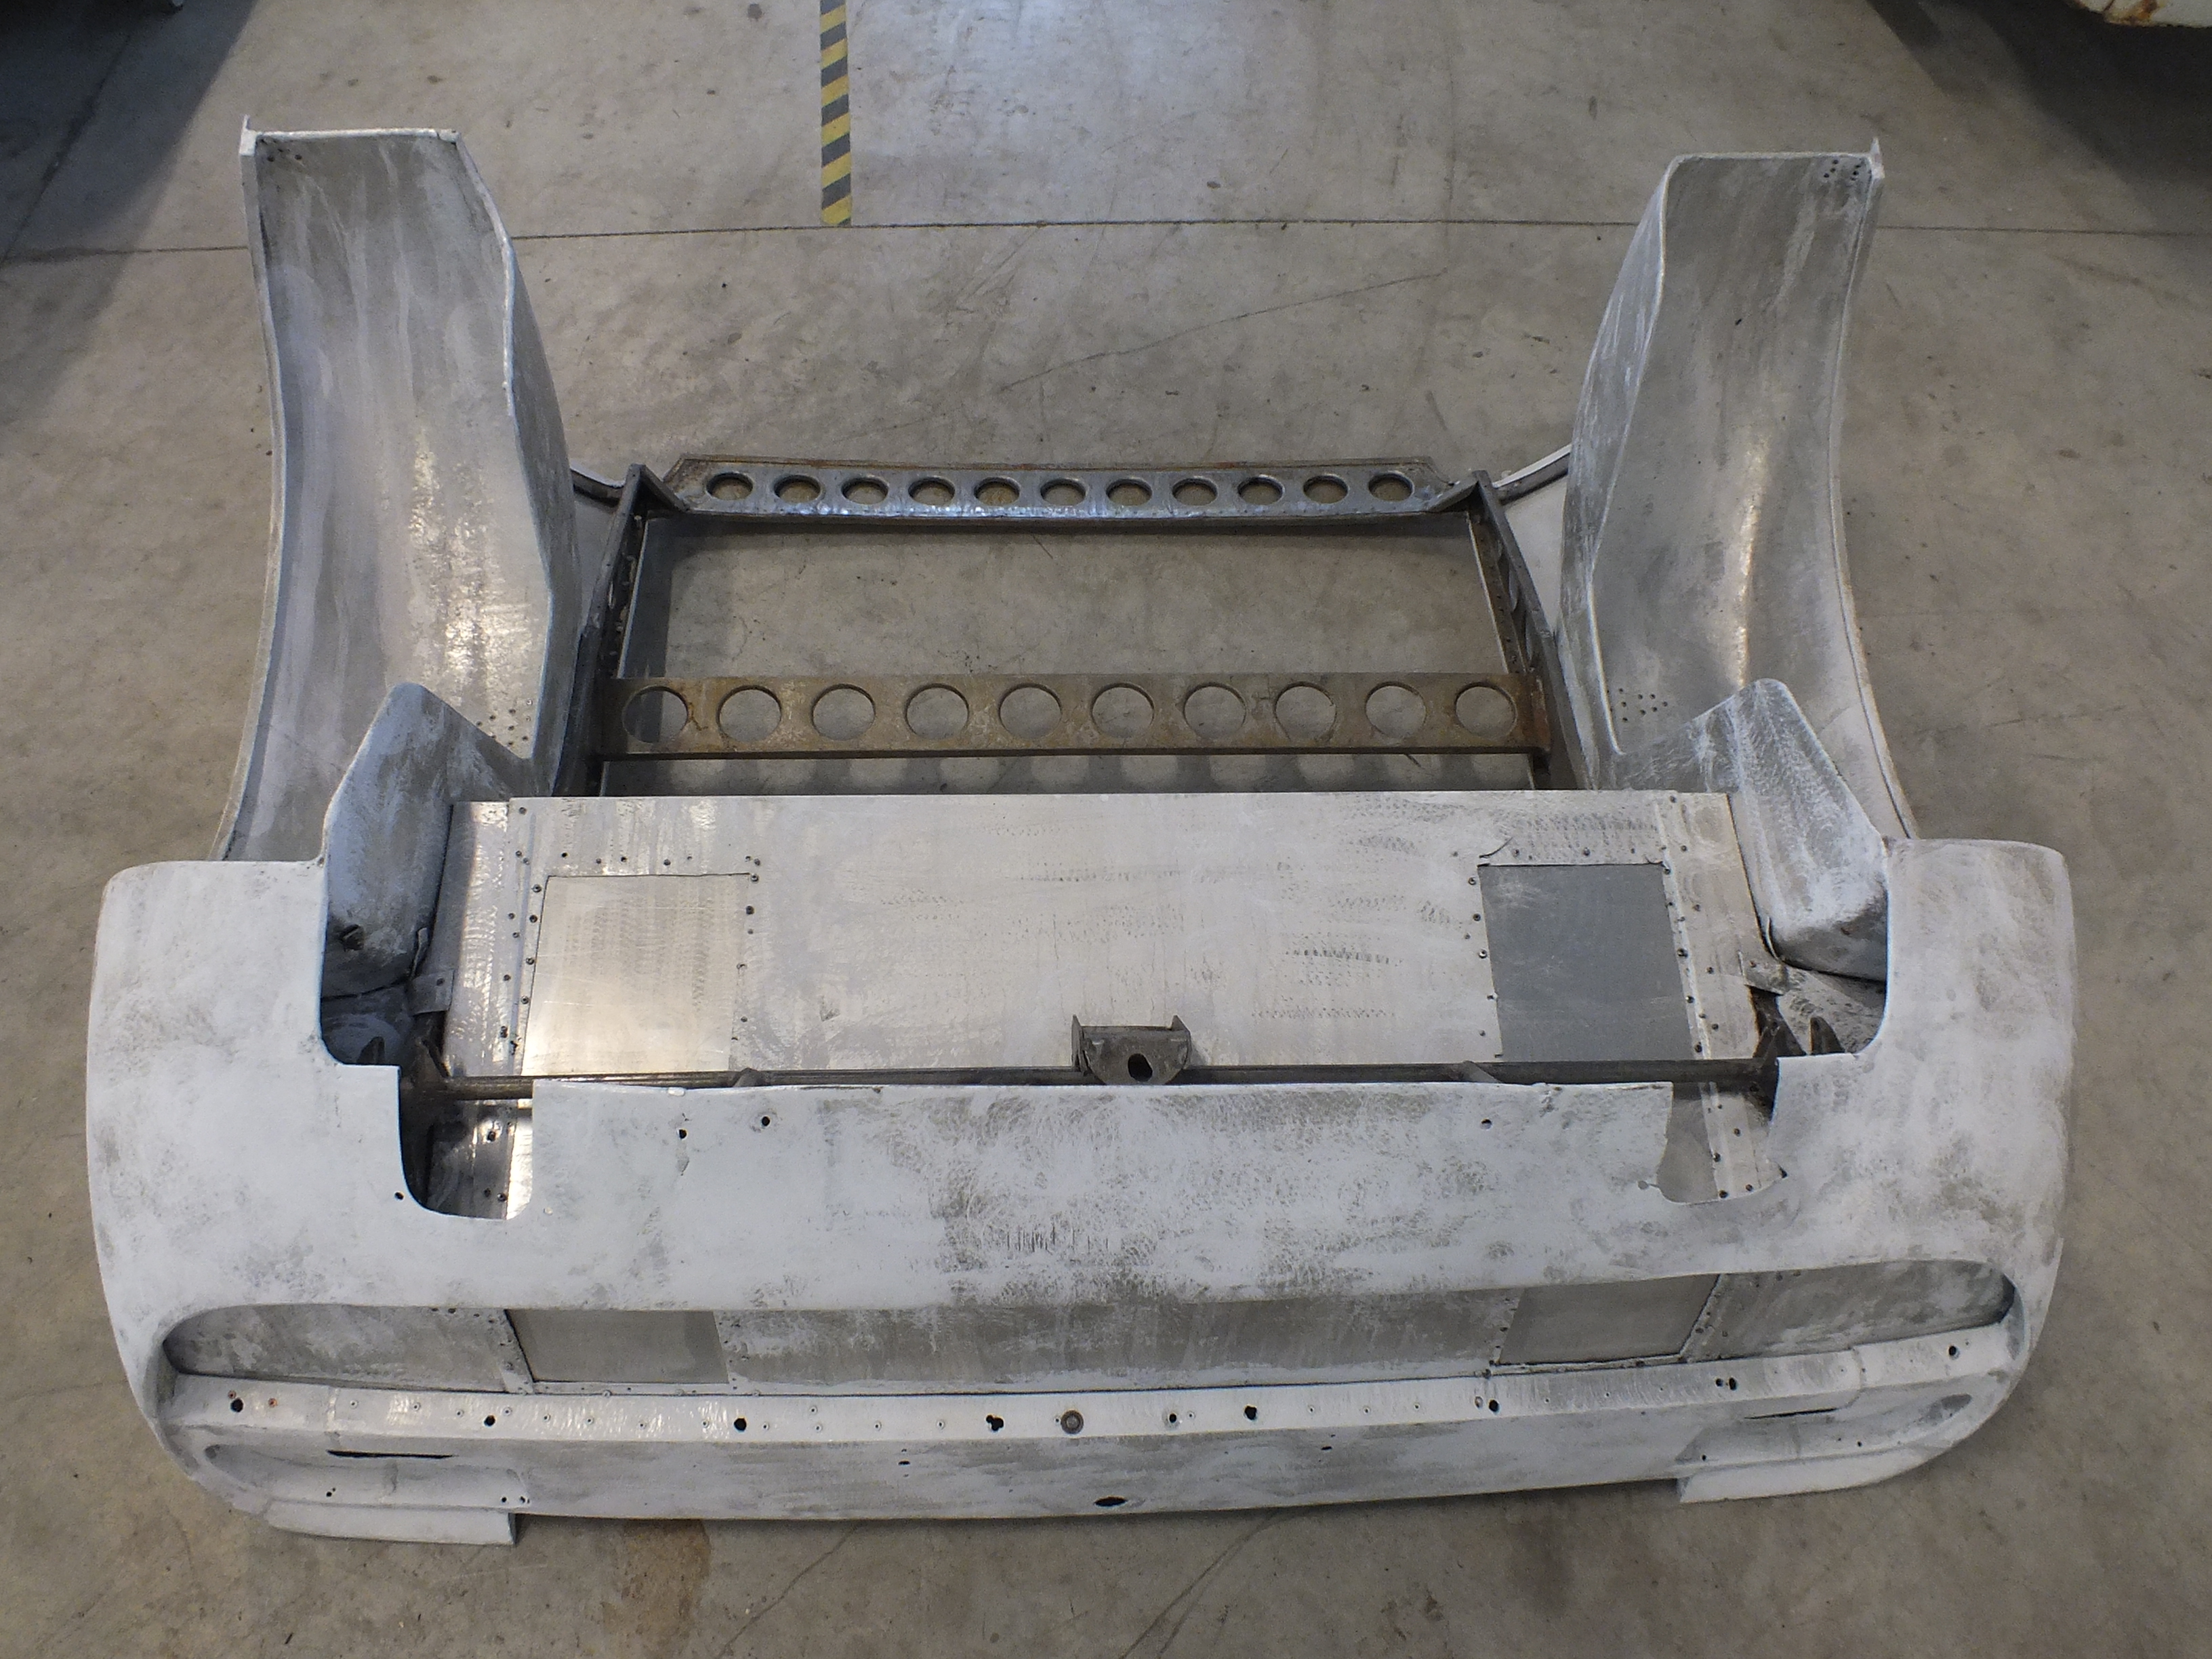
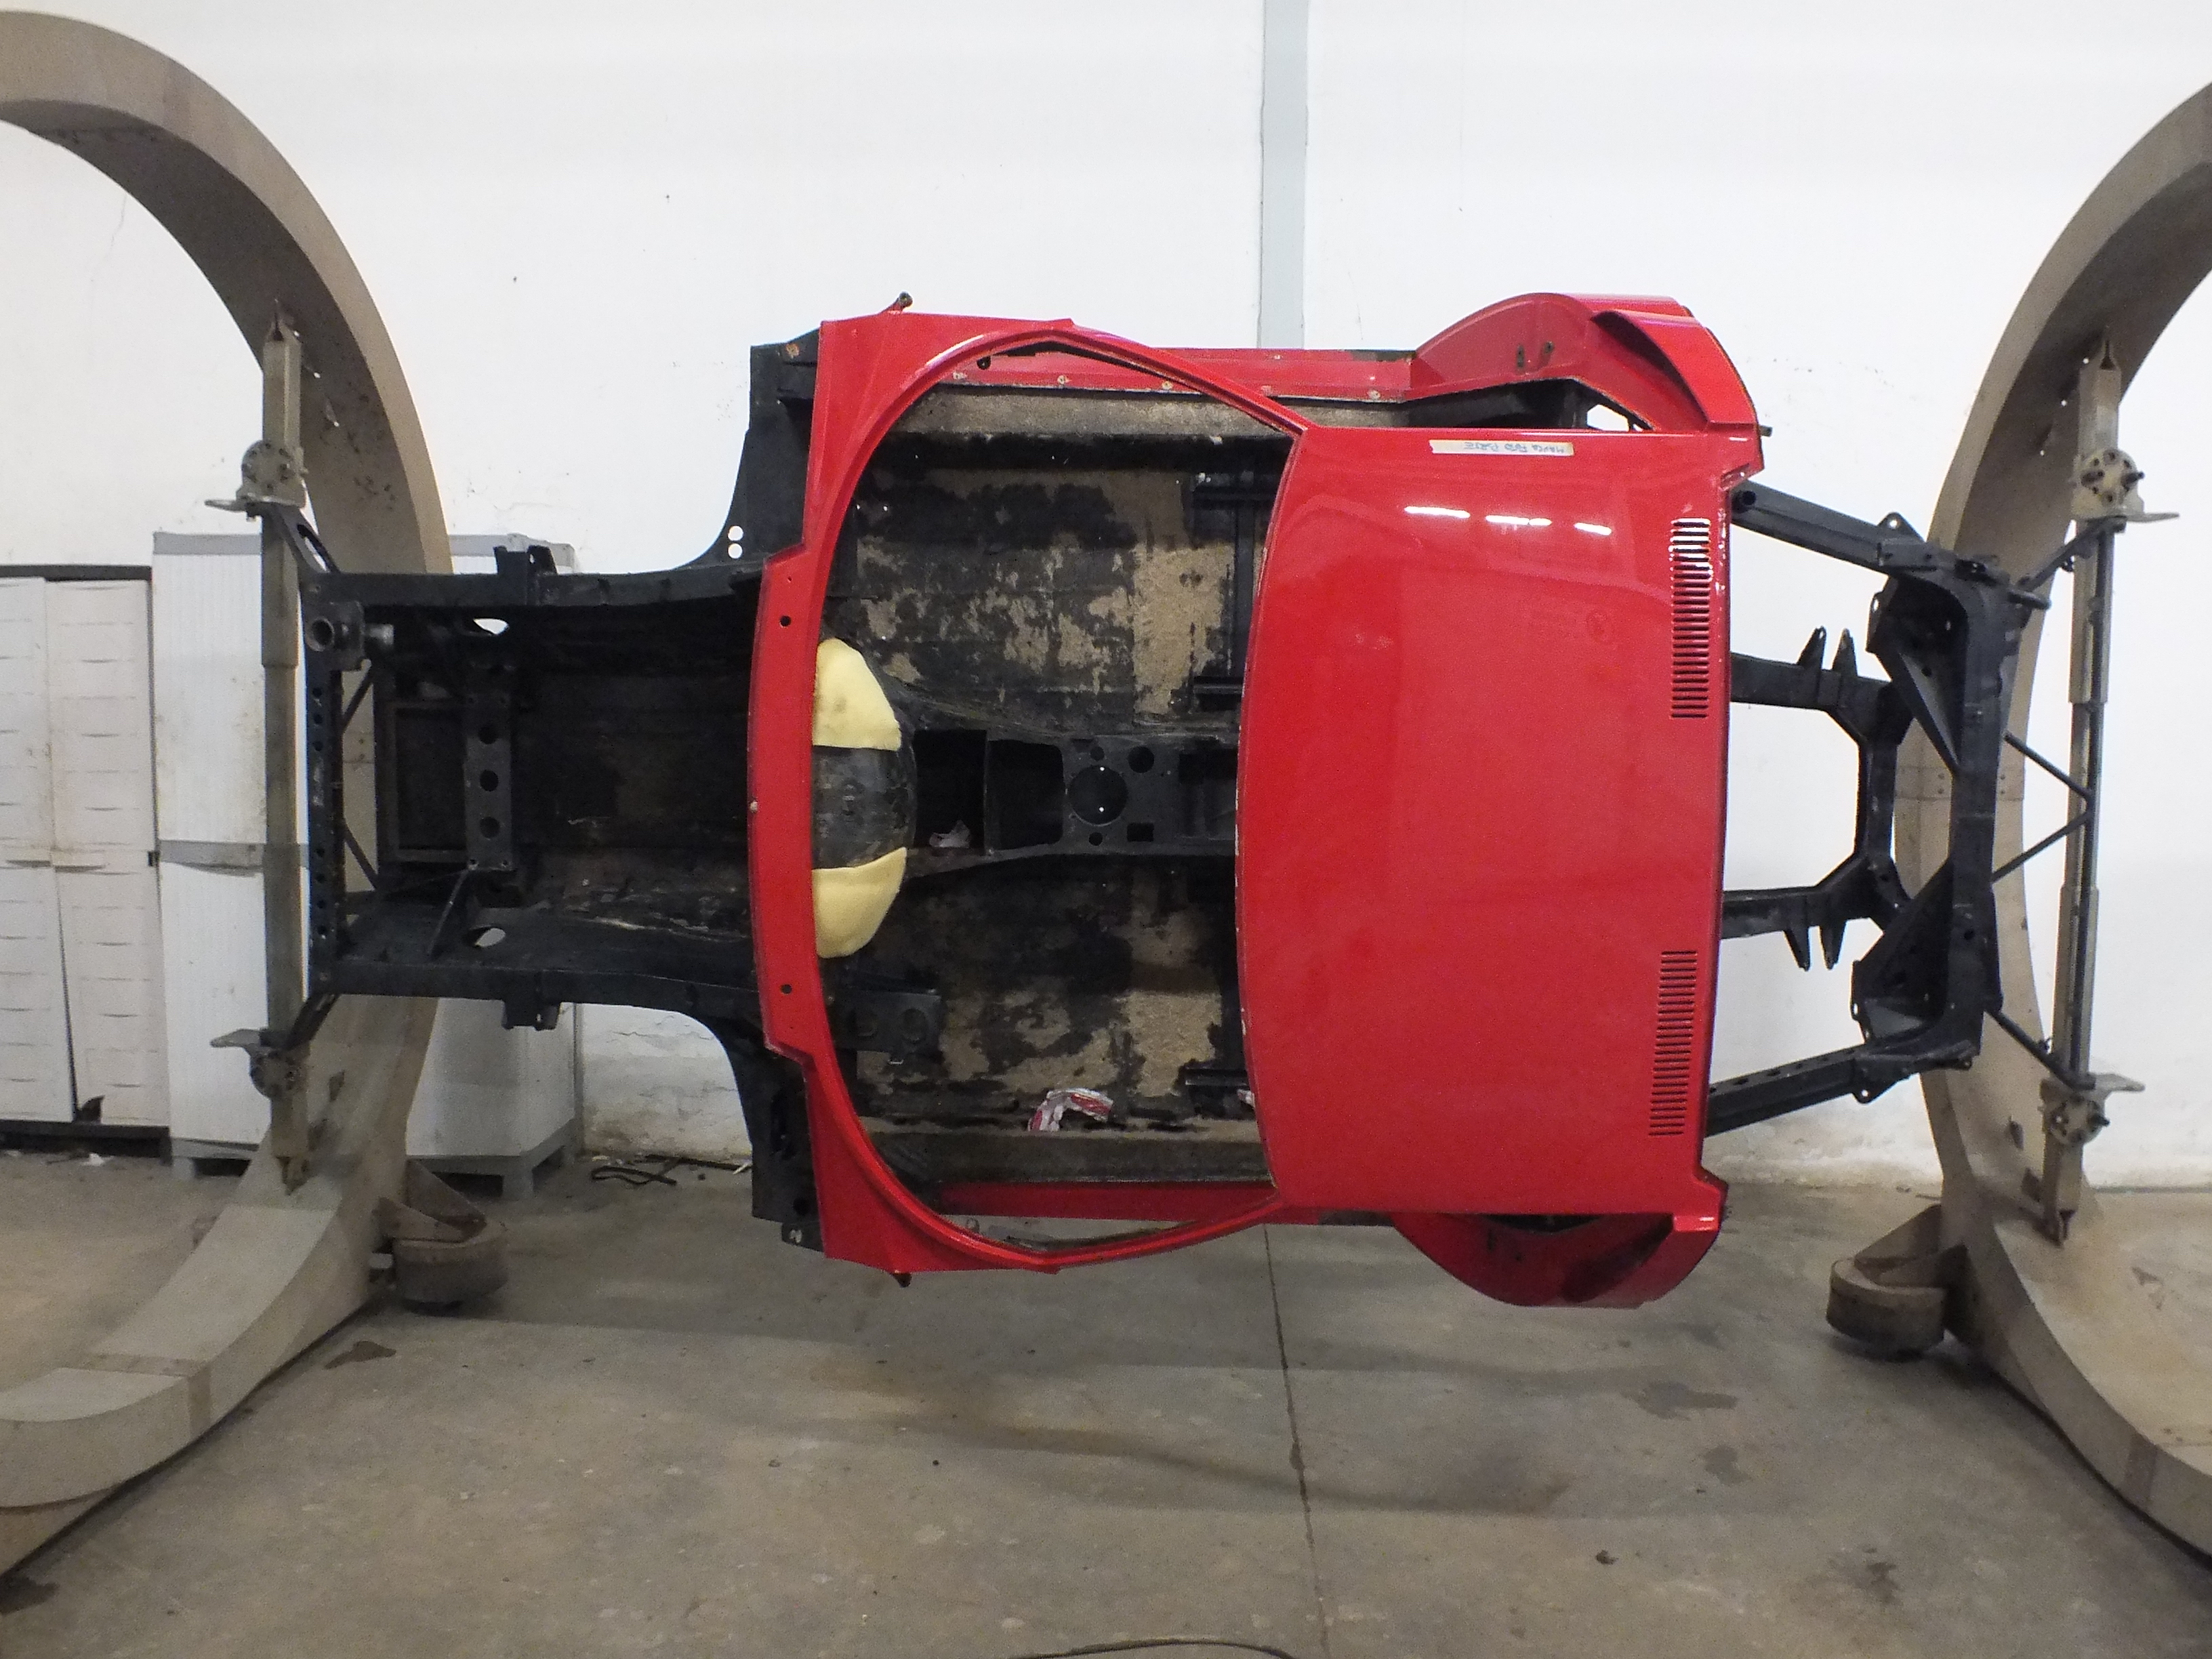
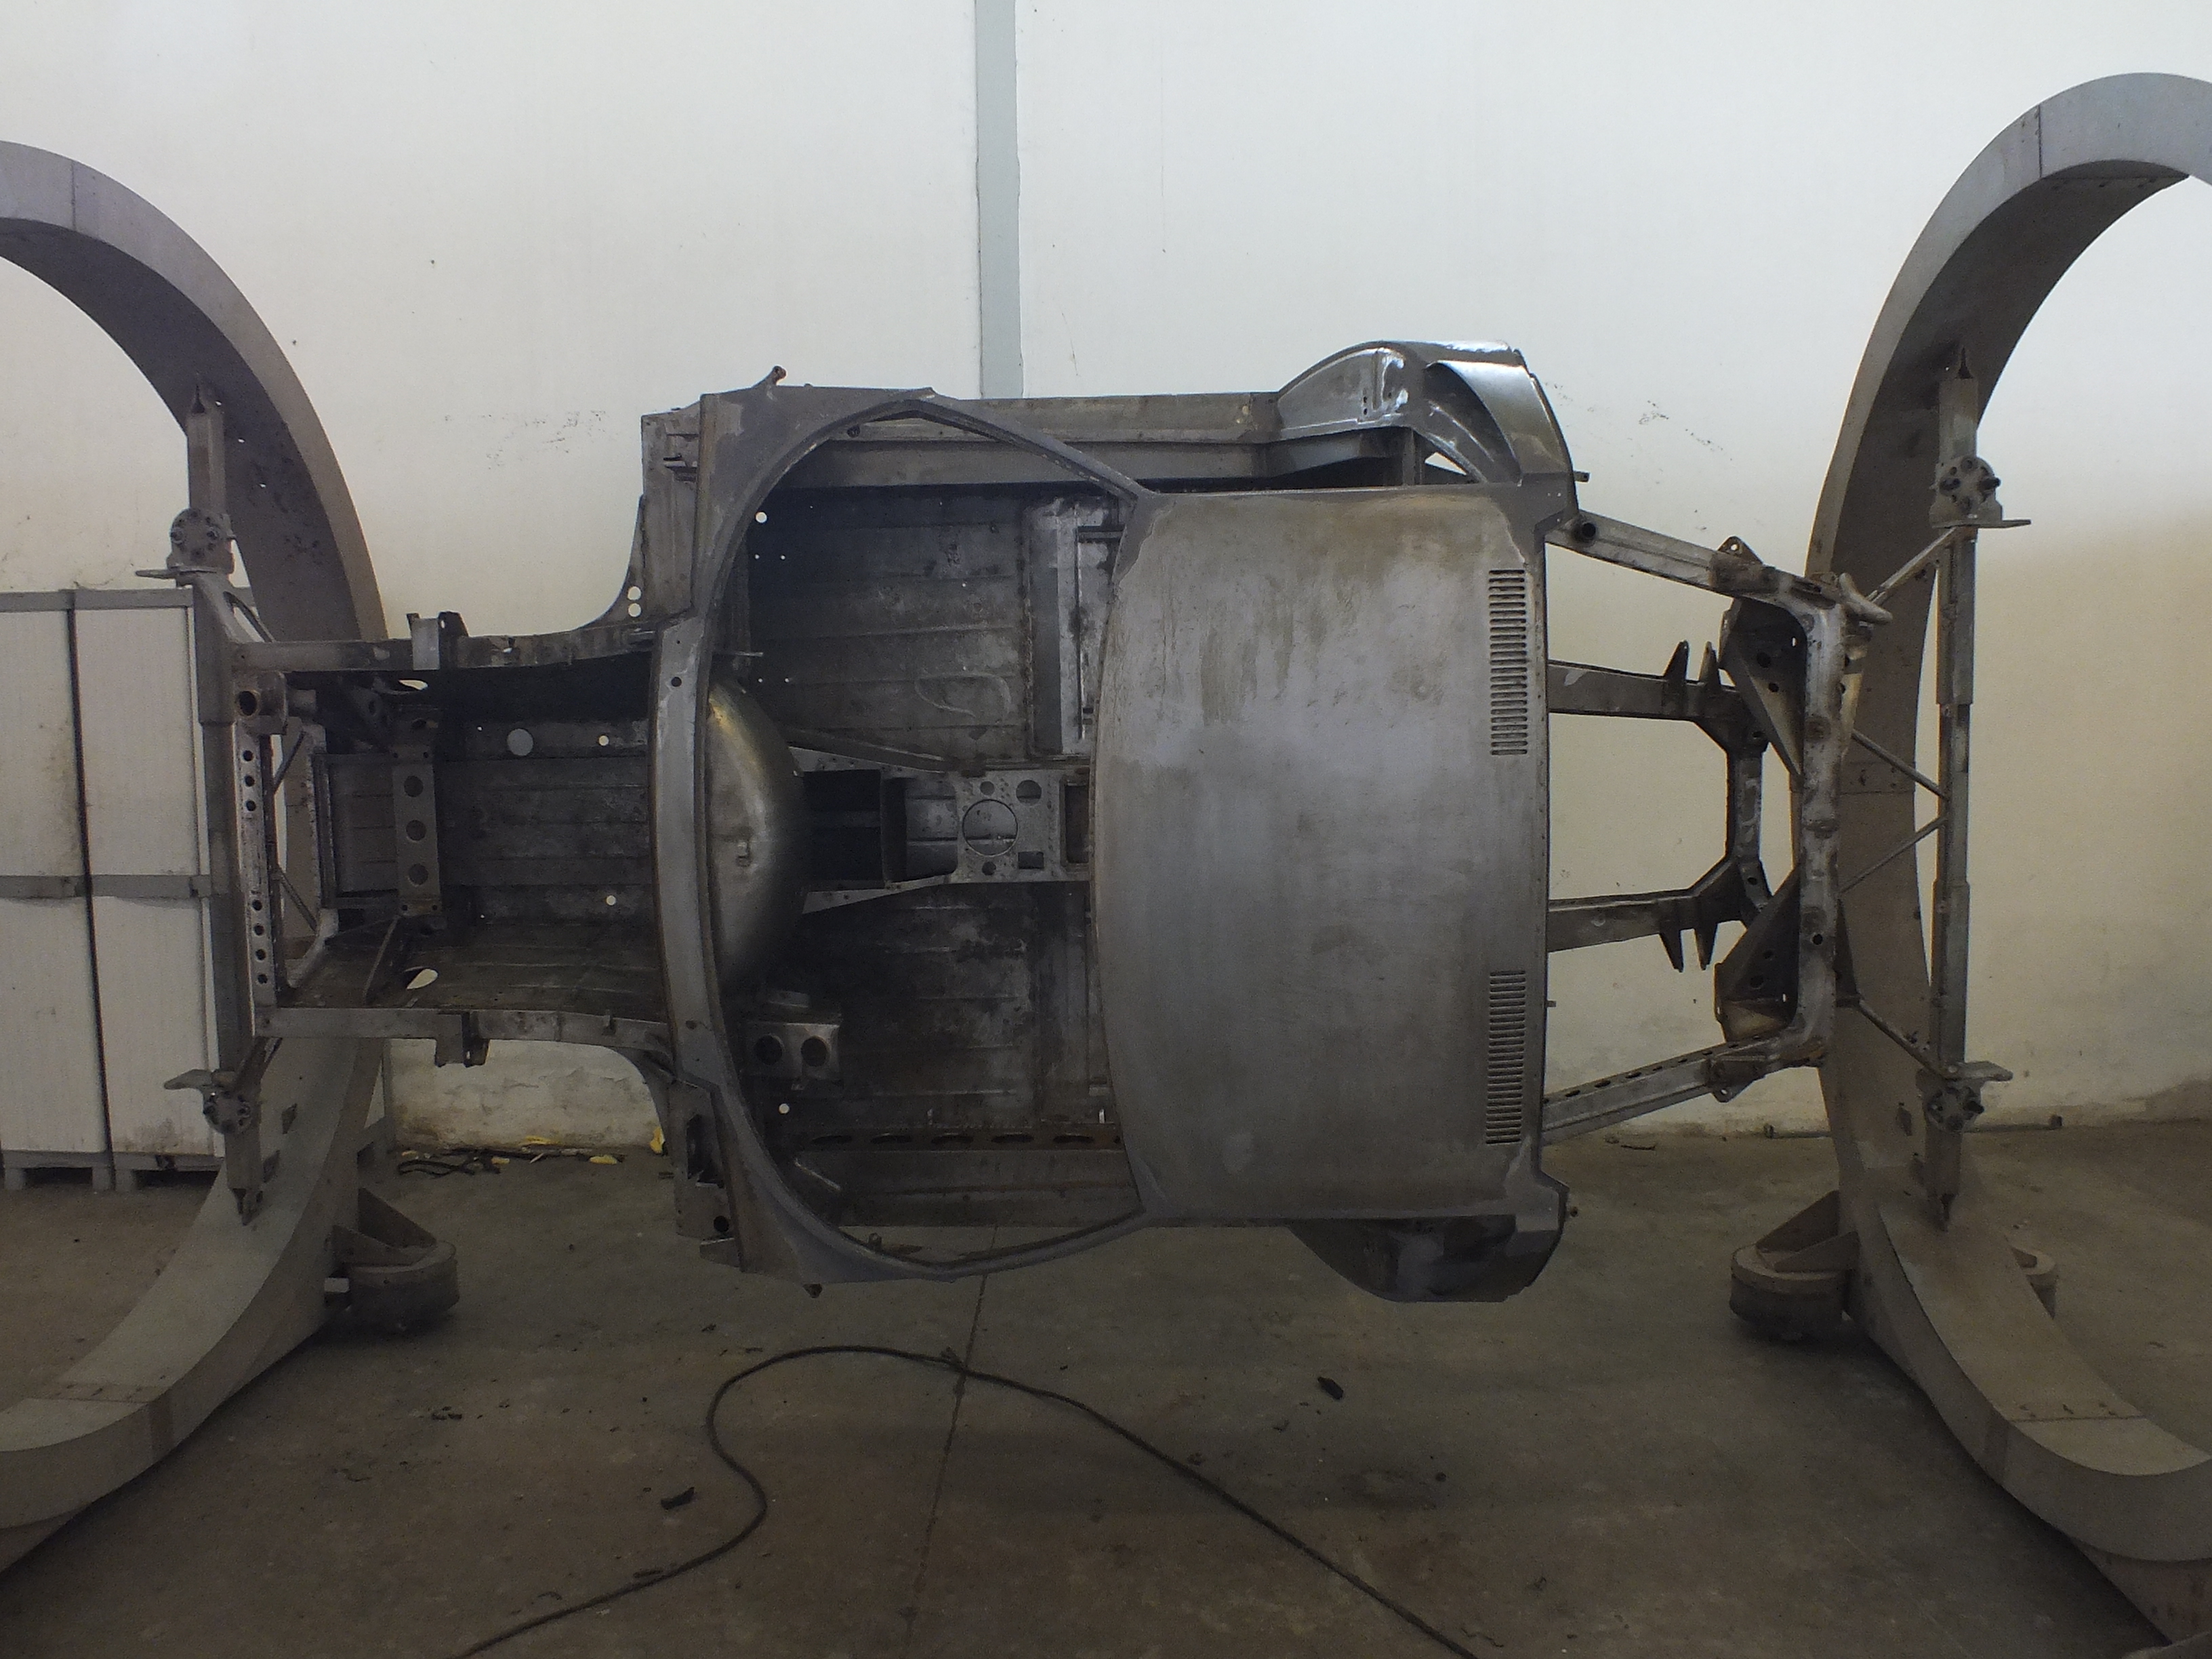
– The mobile parts and some metal sheets are ready for the paint stripping treatment. As you can see in the images, the car is in position ready to proceed with the high-pressure water paint stripping. This is the preferred Cremonini Classic technique, because it isn’t aggressive on the metal, which shows its past, like the rings of a tree trunk. With this method, you can also strip the pain in the most hidden parts. The major advantage is that water dries out without leaking in and lingering in the boxes, like it happened with sand. After the treatment, you let the water drip down and then you dry it out in an oven, to enable water evaporation in the most hidden areas. With hydrodynamics, the metal sheets remain smoother than with sanding and the tin doesn’t get damaged, which happened with the previous method, since sand is a lot more aggressive.

Thanks to Mr Mauro Barbieri for his lesson, Carrozzeria Cremonini Classic for their availability in providing us with the images’ archive and the photographer Angelo Rosa for the photographic contribution.
By International Classic
Keep following the story: Wise hands and restoration – Chapter 2
Read also:
Wise hands and restoration – Chapter 3